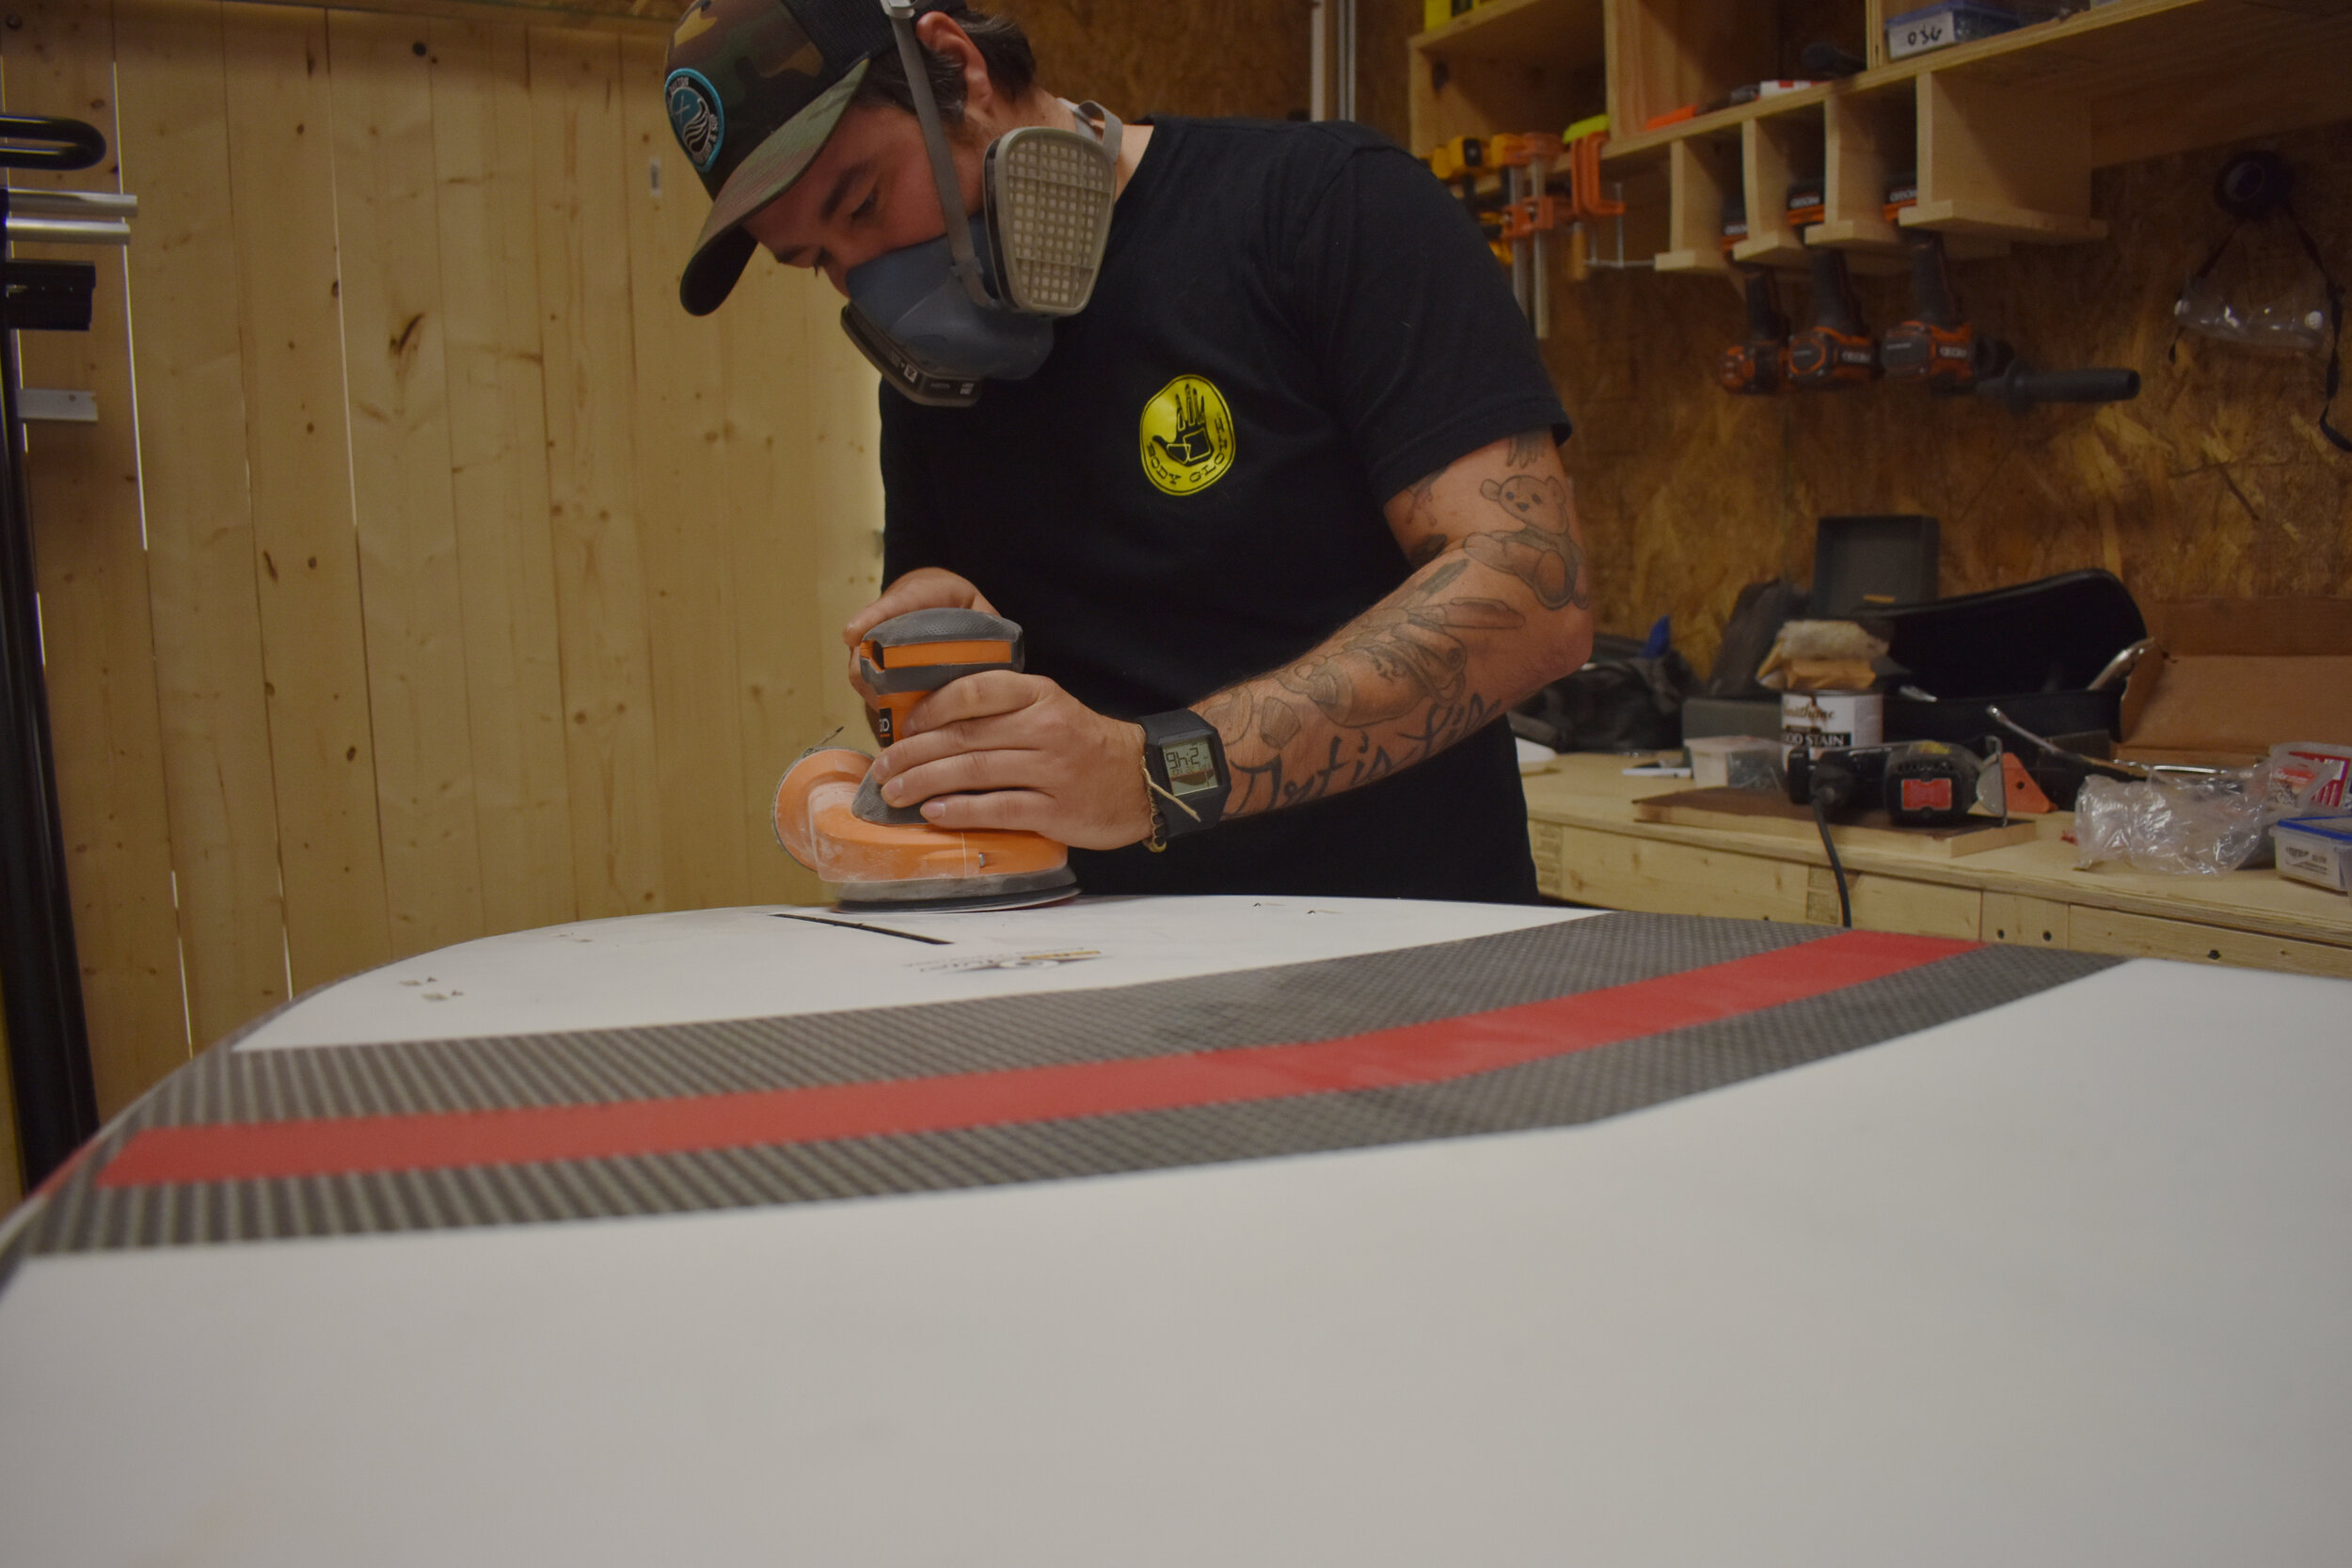
FCS Fin Box Repair
Before last year, fin box repairs were kind of intimidating to me. With Jake Brown’s instruction and purchasing a few things, I felt pretty good about fixing my torn fin box on my ocean sup surfer that got thrashed while in Florida. We are by no means “Experts” and I know there’s different methods and ways to do different repairs. However, this is how we did this particular fin repair.
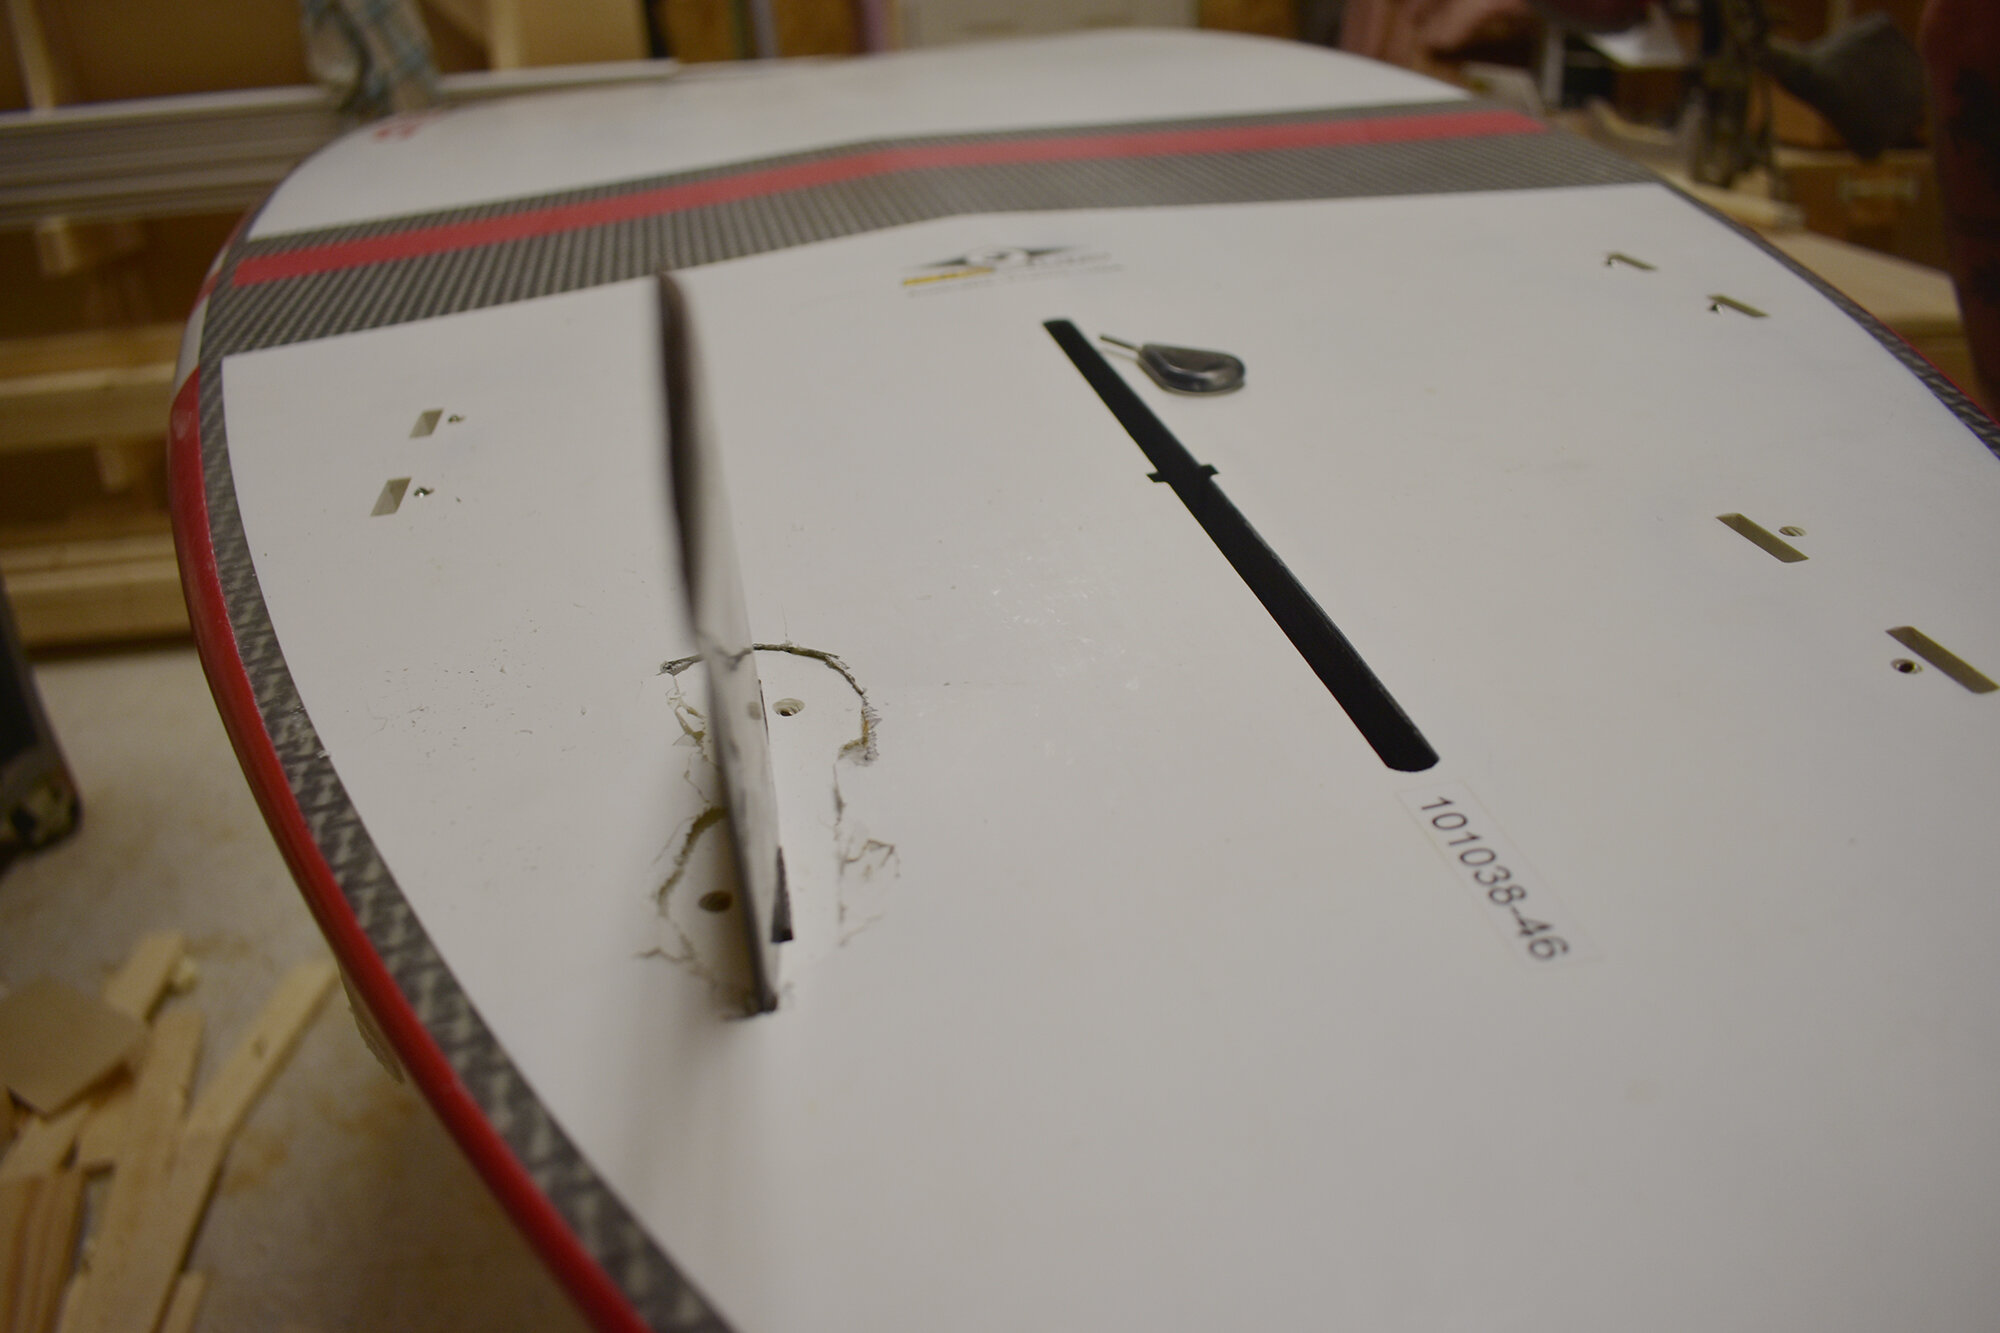
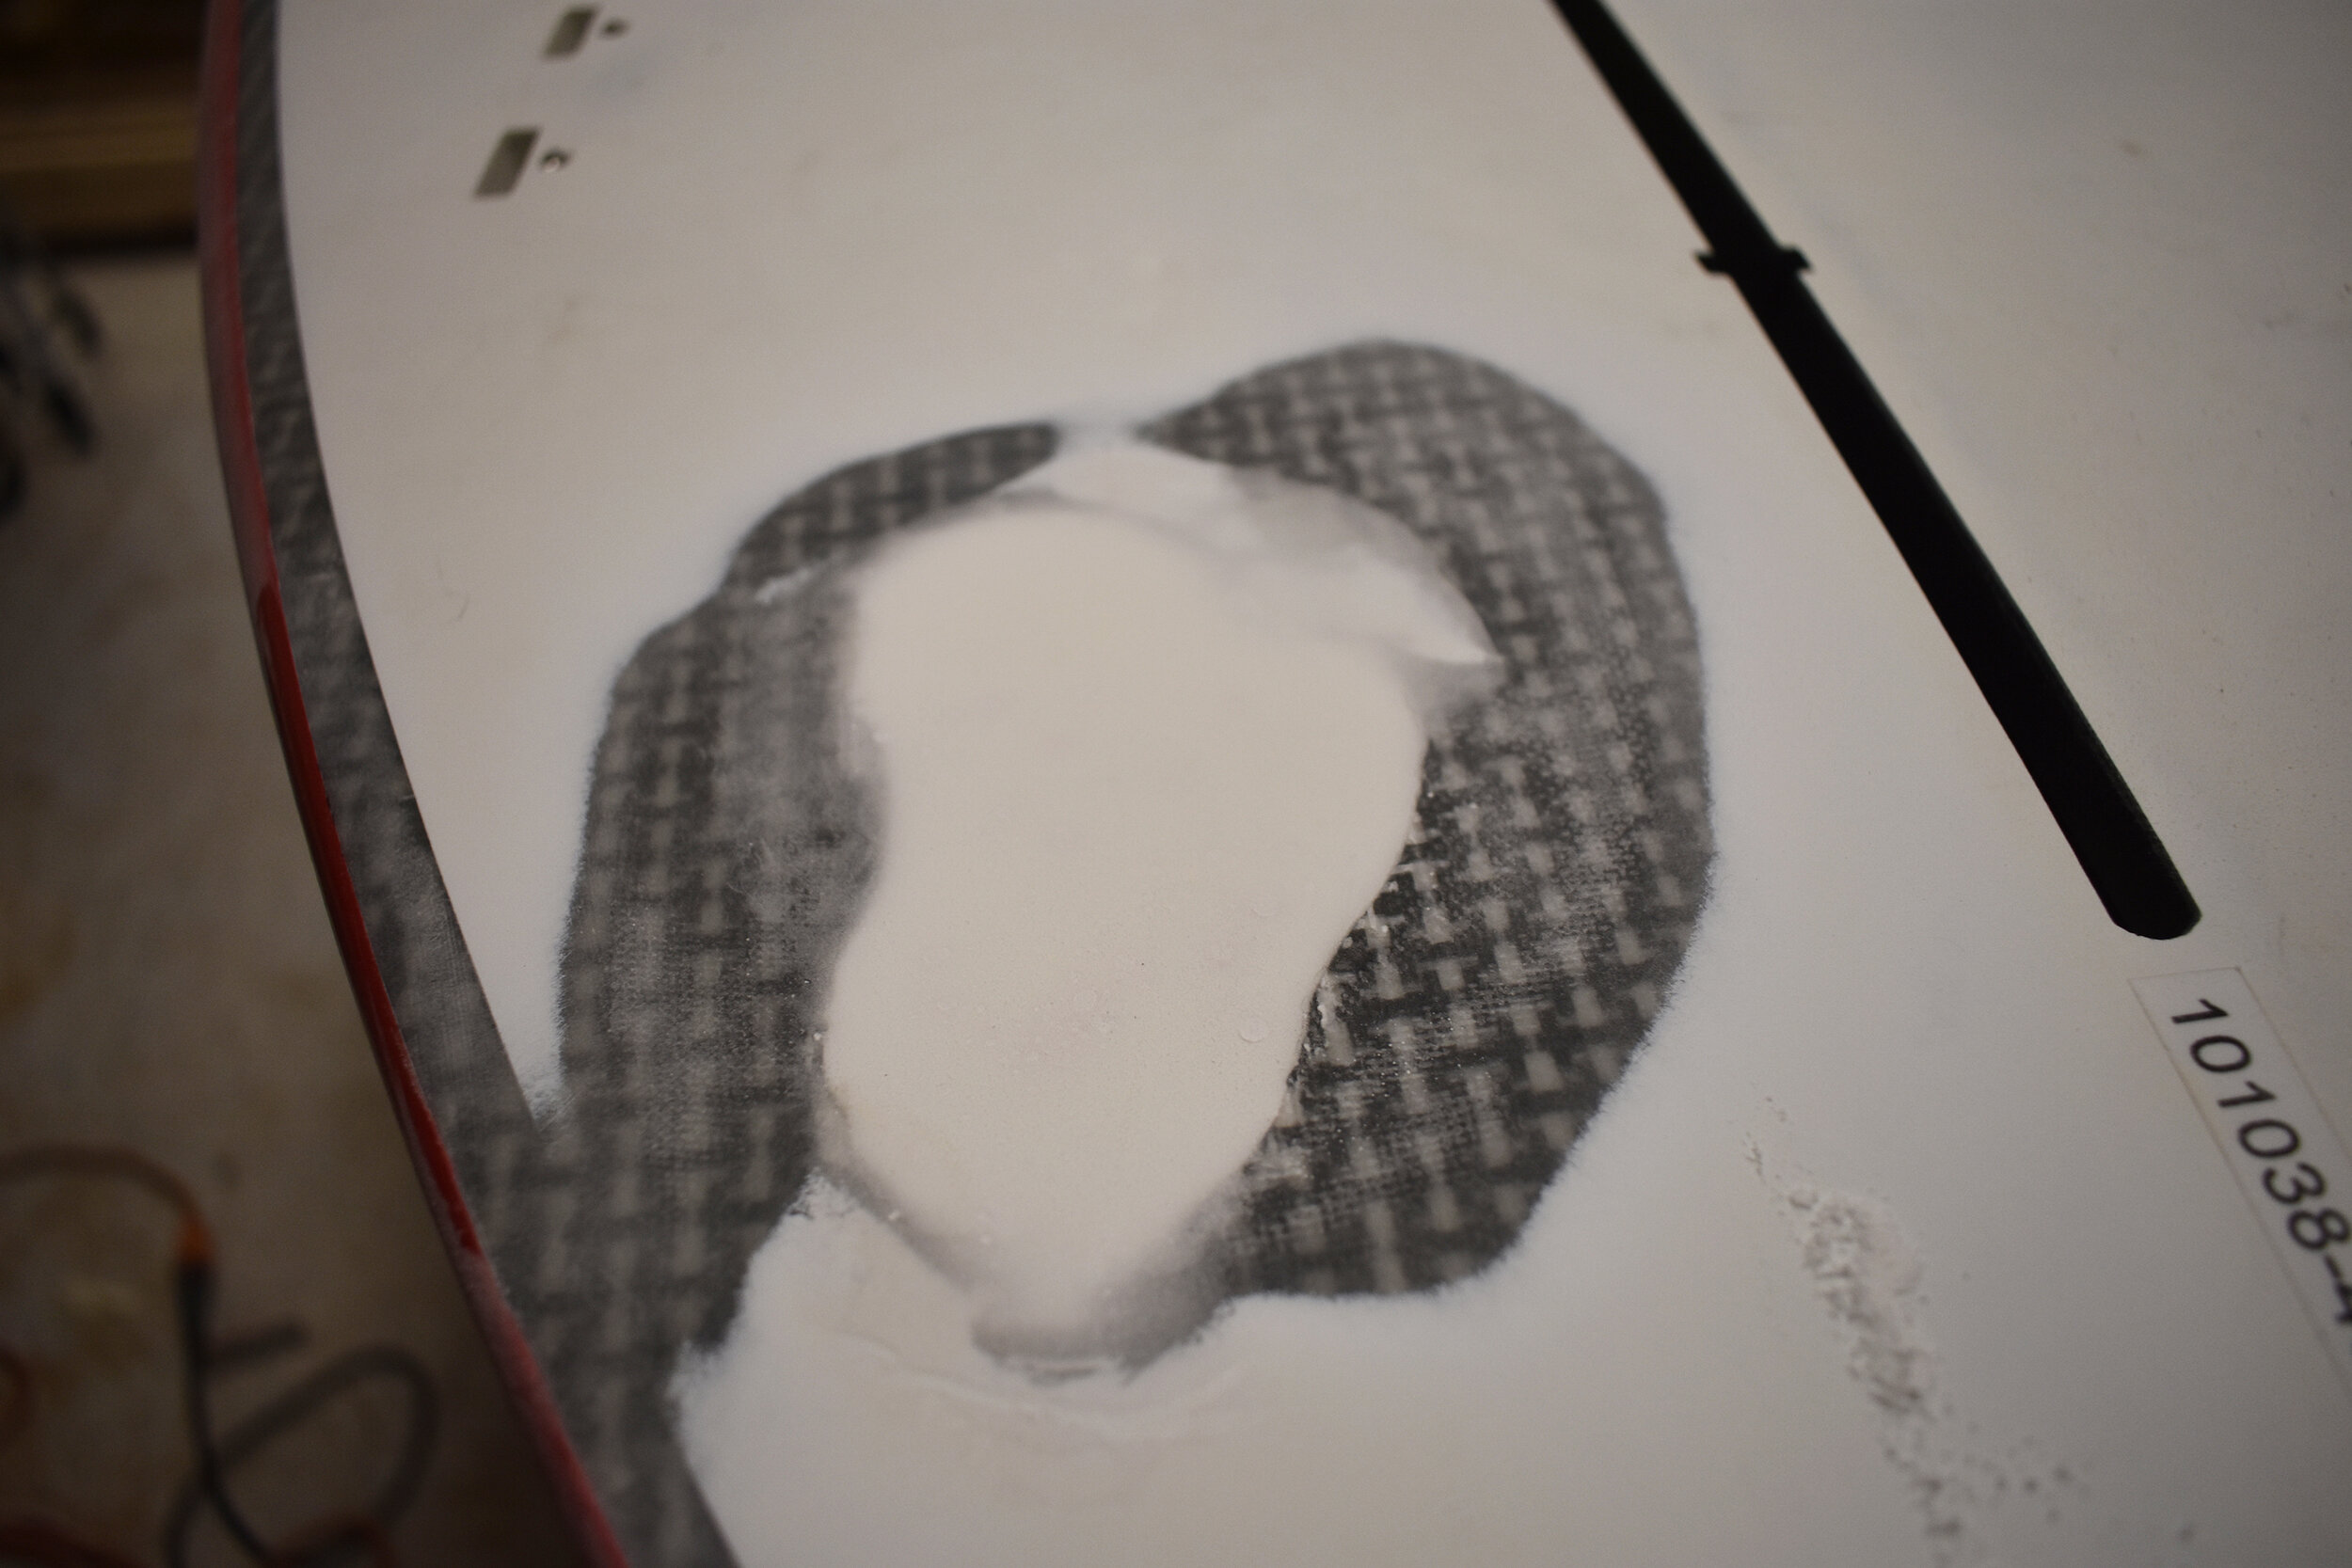
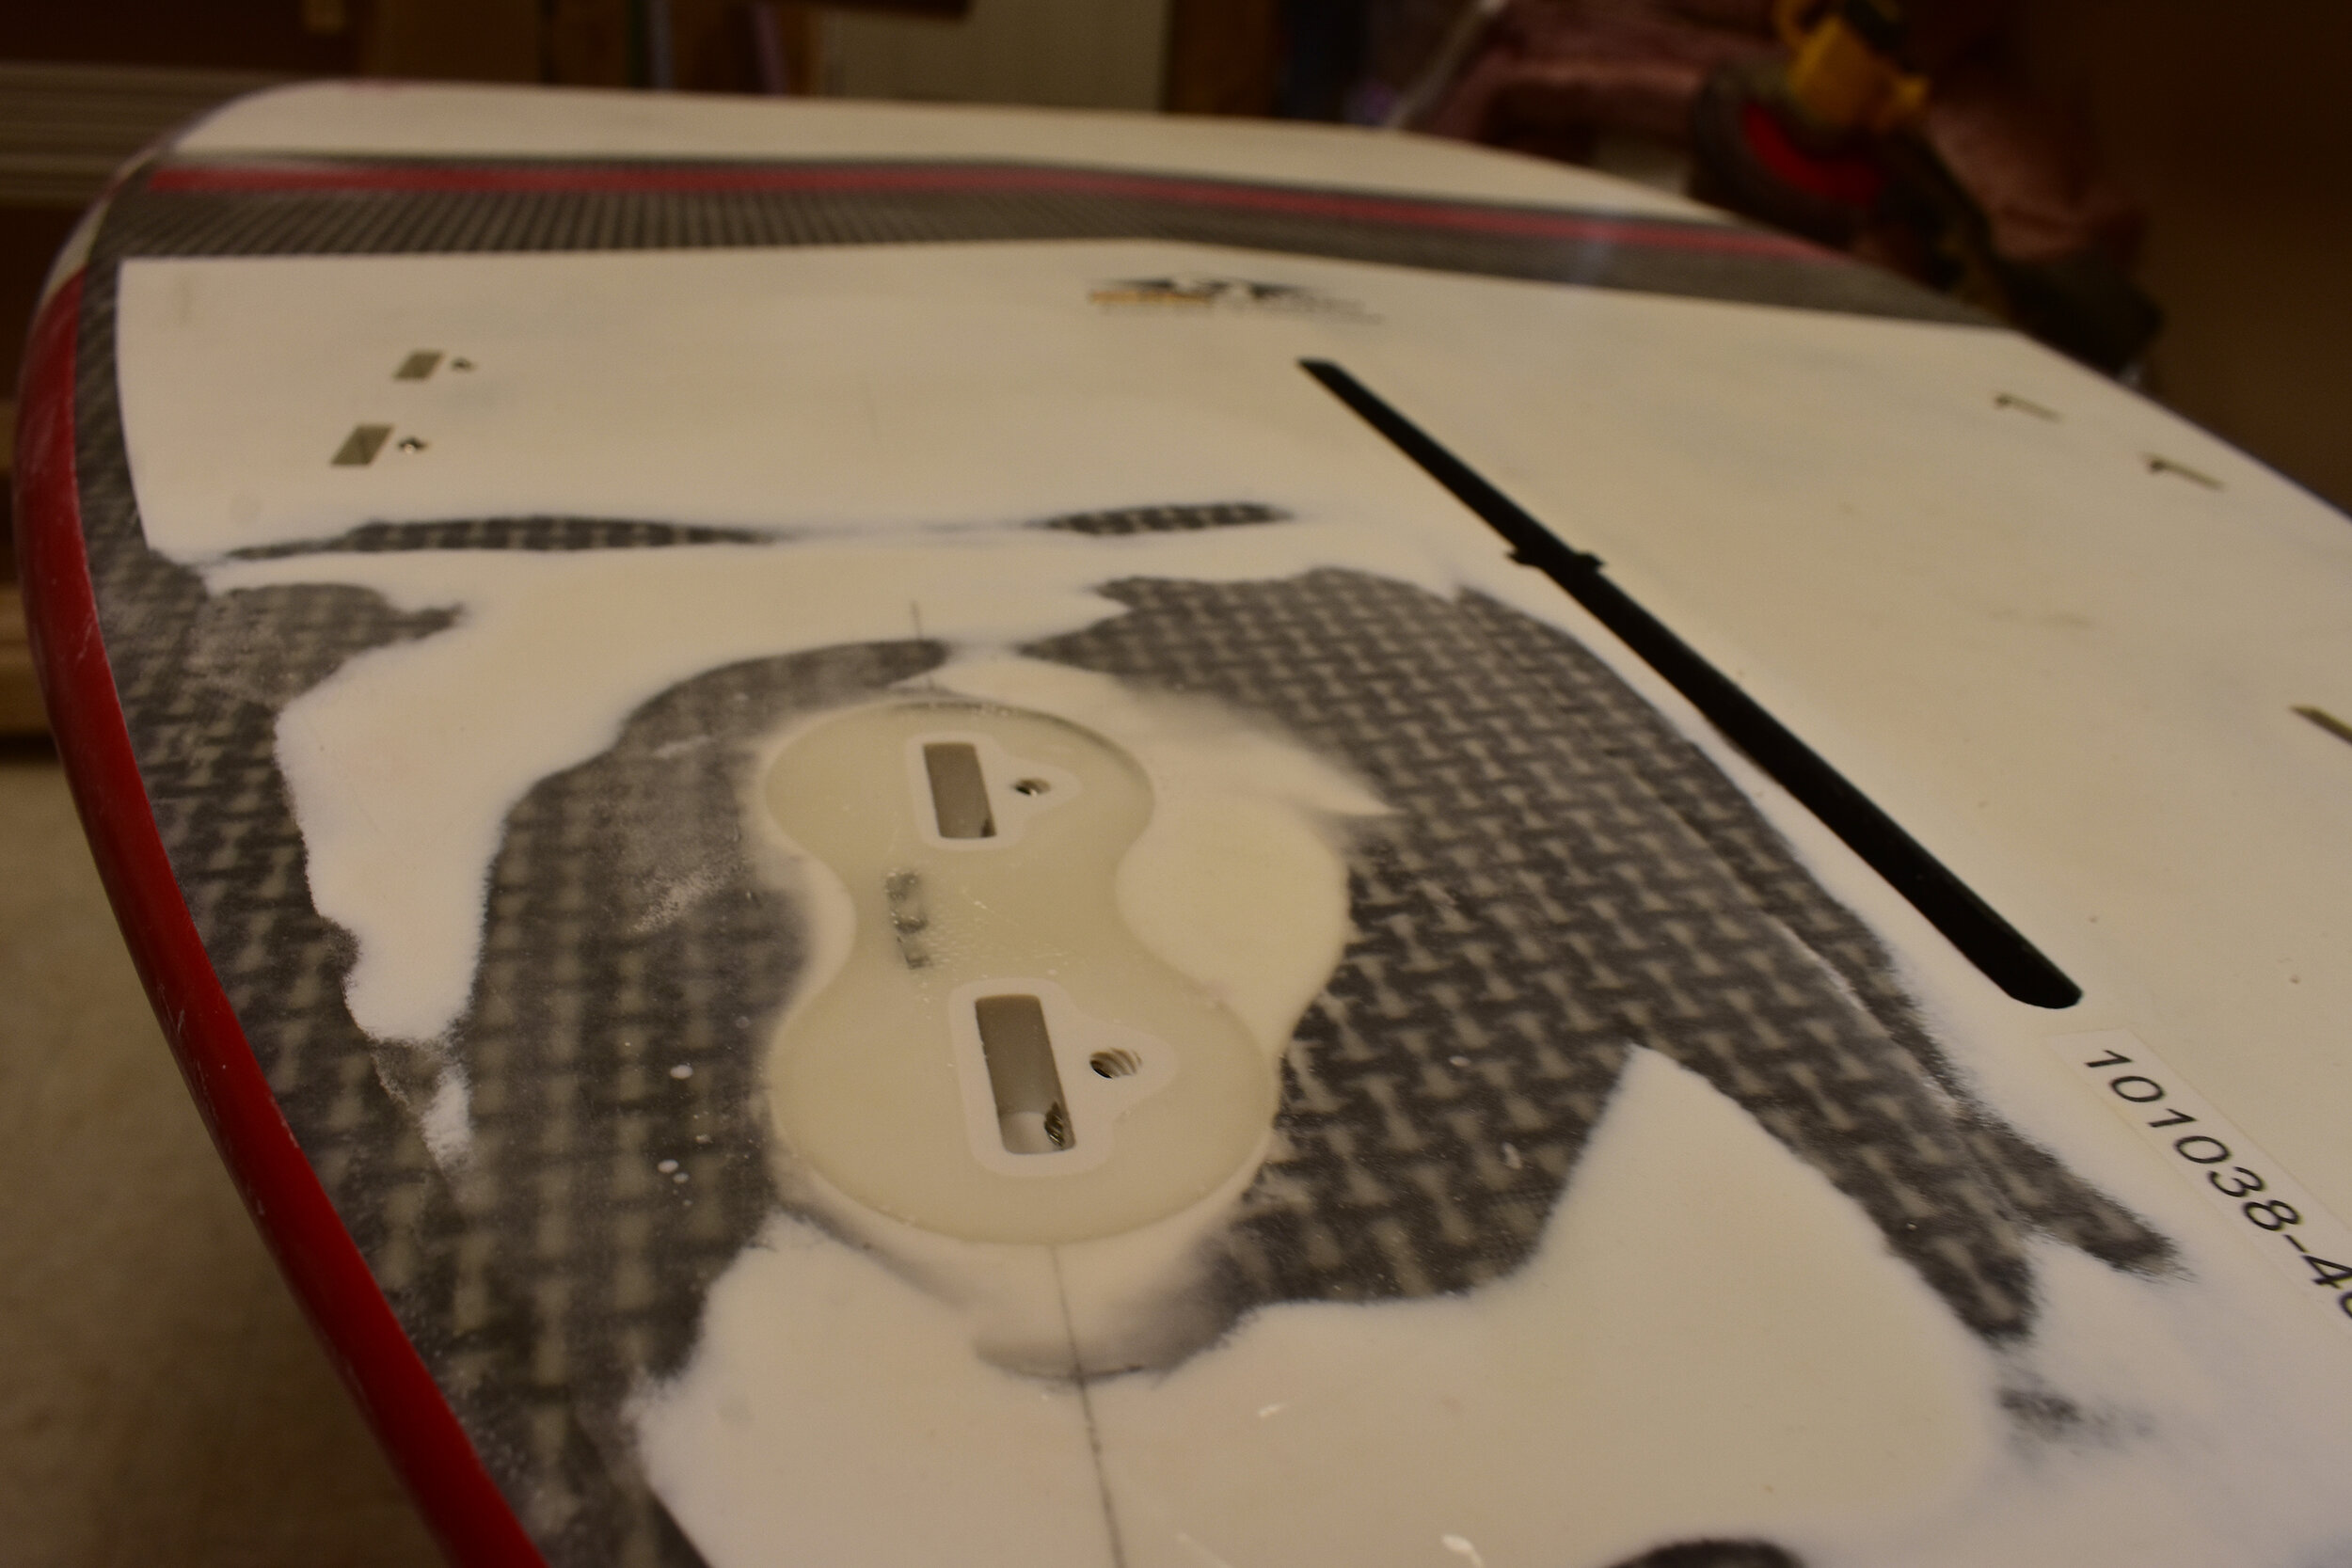
Step 1: Assess the damage. Below is the damaged fin box on one of the back quad side thrusters. We first, used a fin to remove the old fin box. We also ordered a set of new fin boxes with the same degree rail.
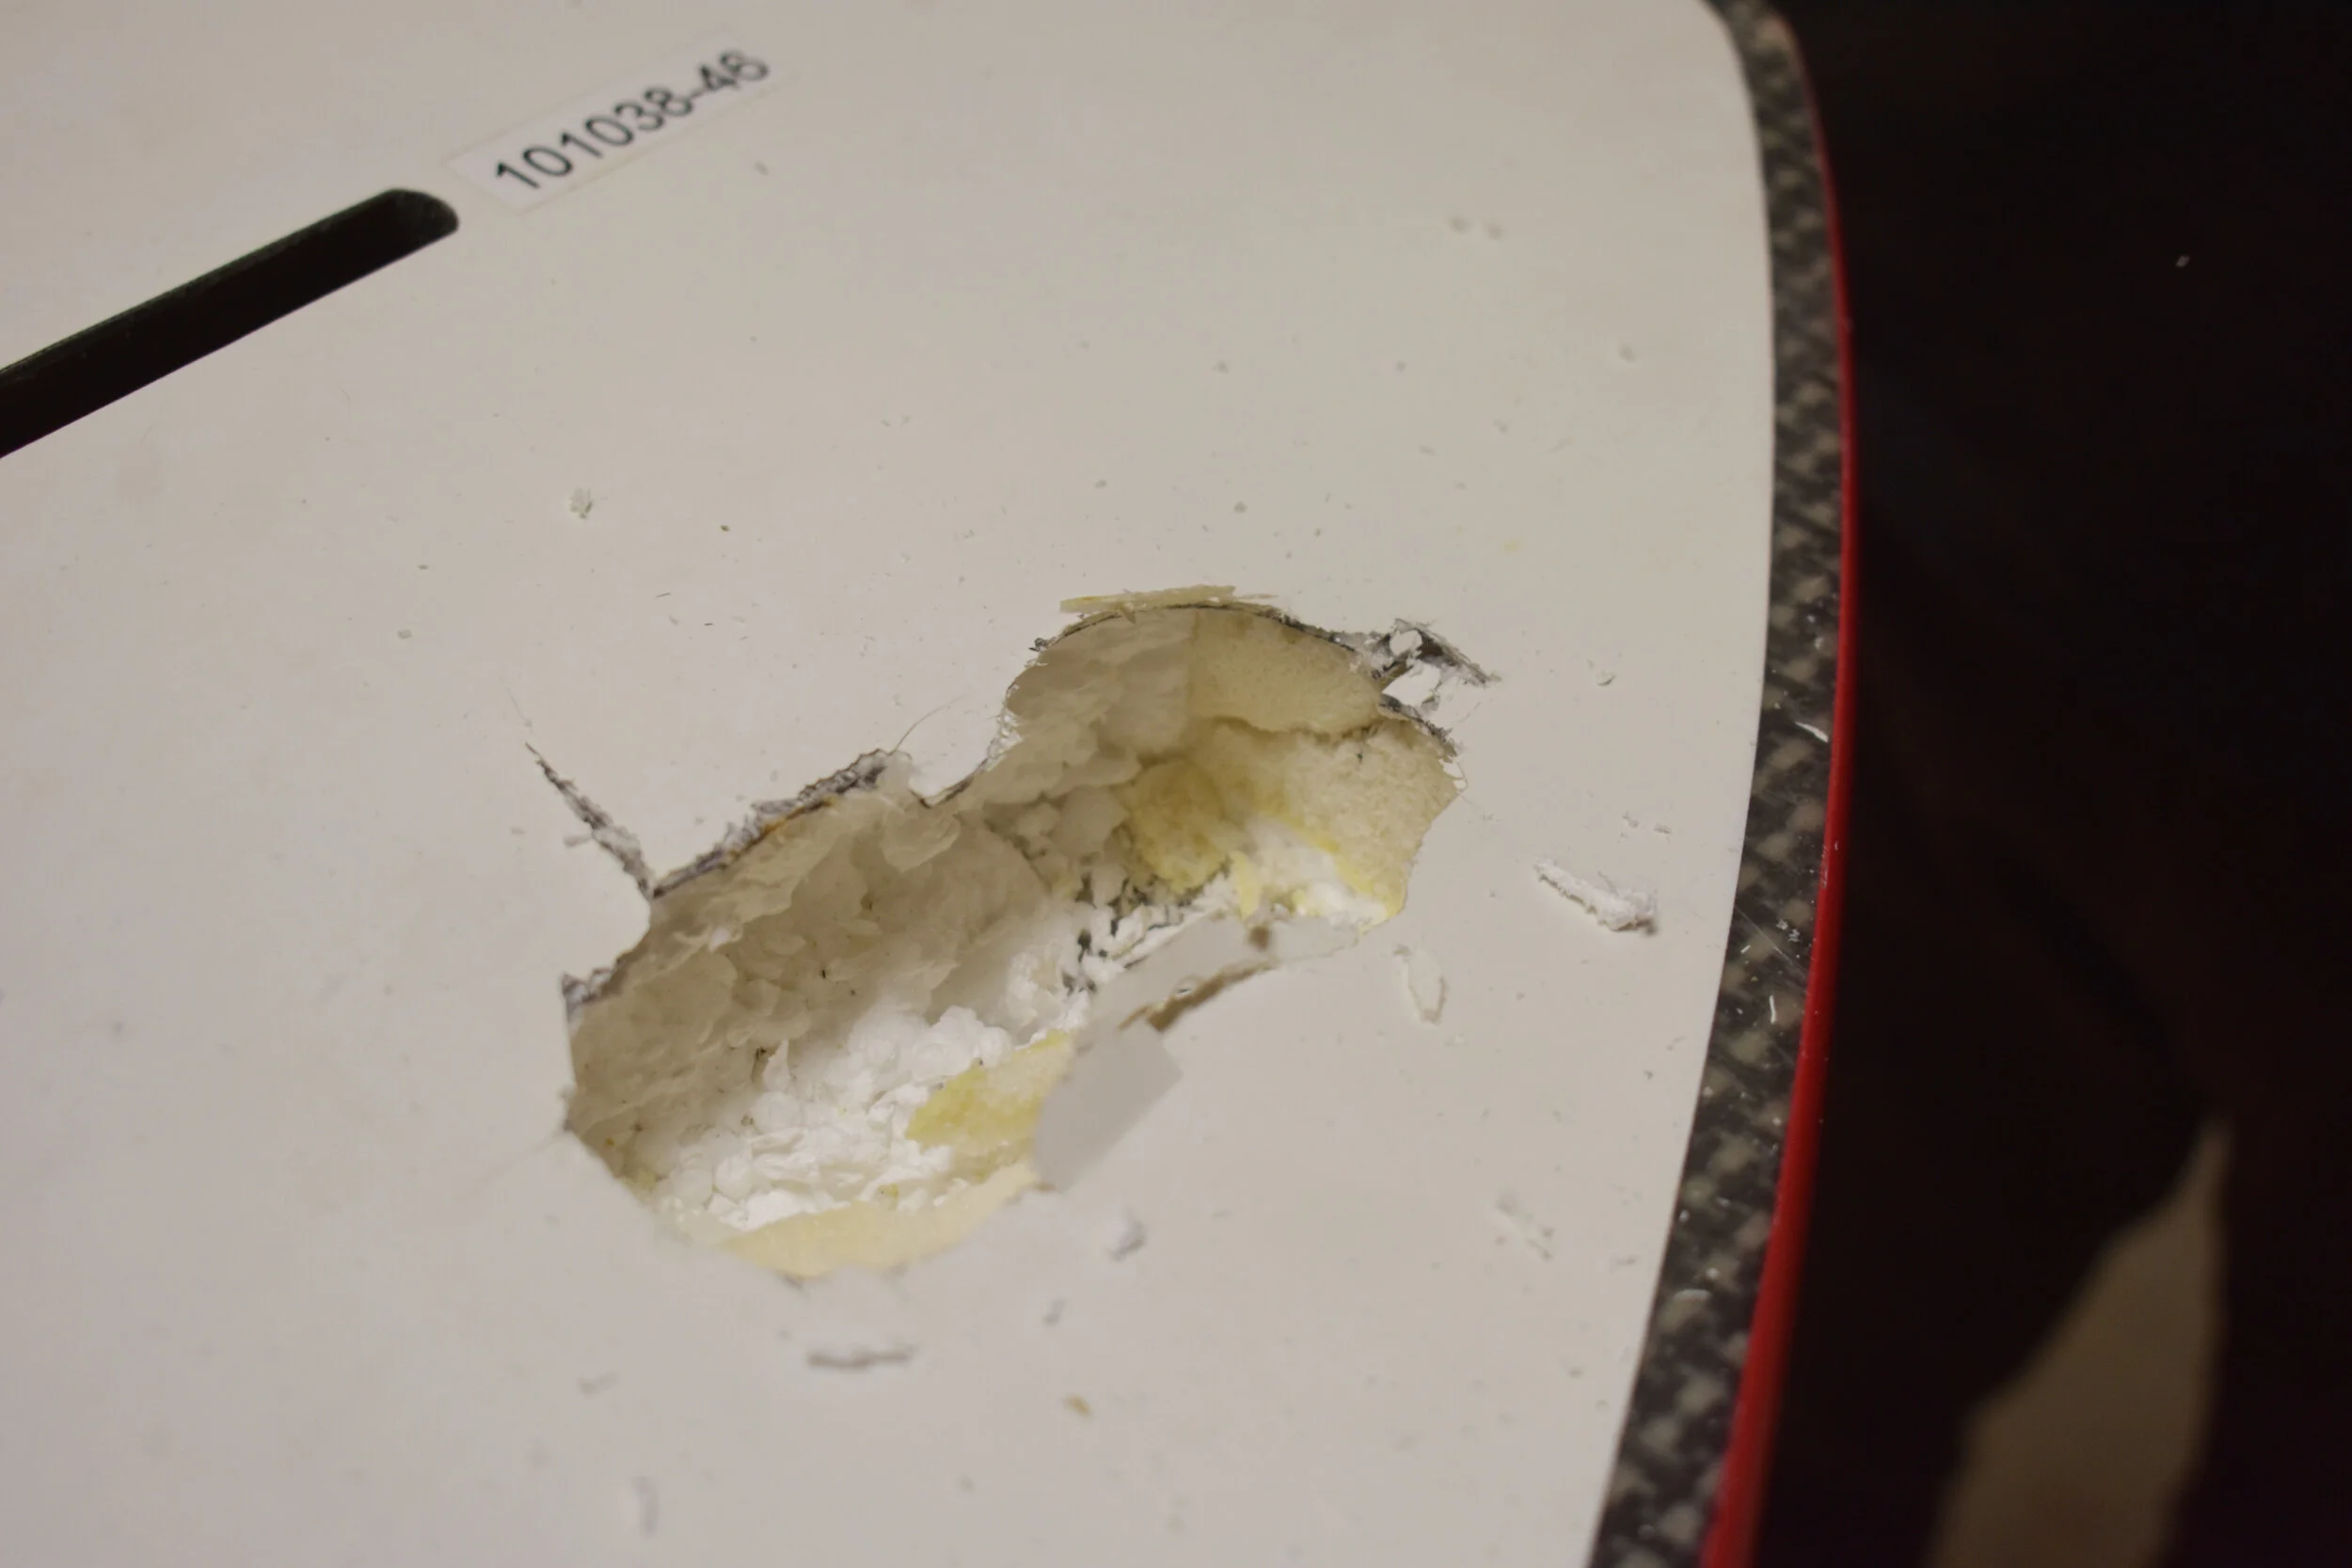
Step 2: Once the old fin box has been removed, you will want to clean out all loose foam core, debri, and damaged fiberglass. This is vital so the new foam and glass adheres well. Also good to sand down all the edges of the outer glass. Sand down the area around the fin box too just a bit to allow for new glass in later steps as well. Once all done, clean out best you can with shop vacuum.
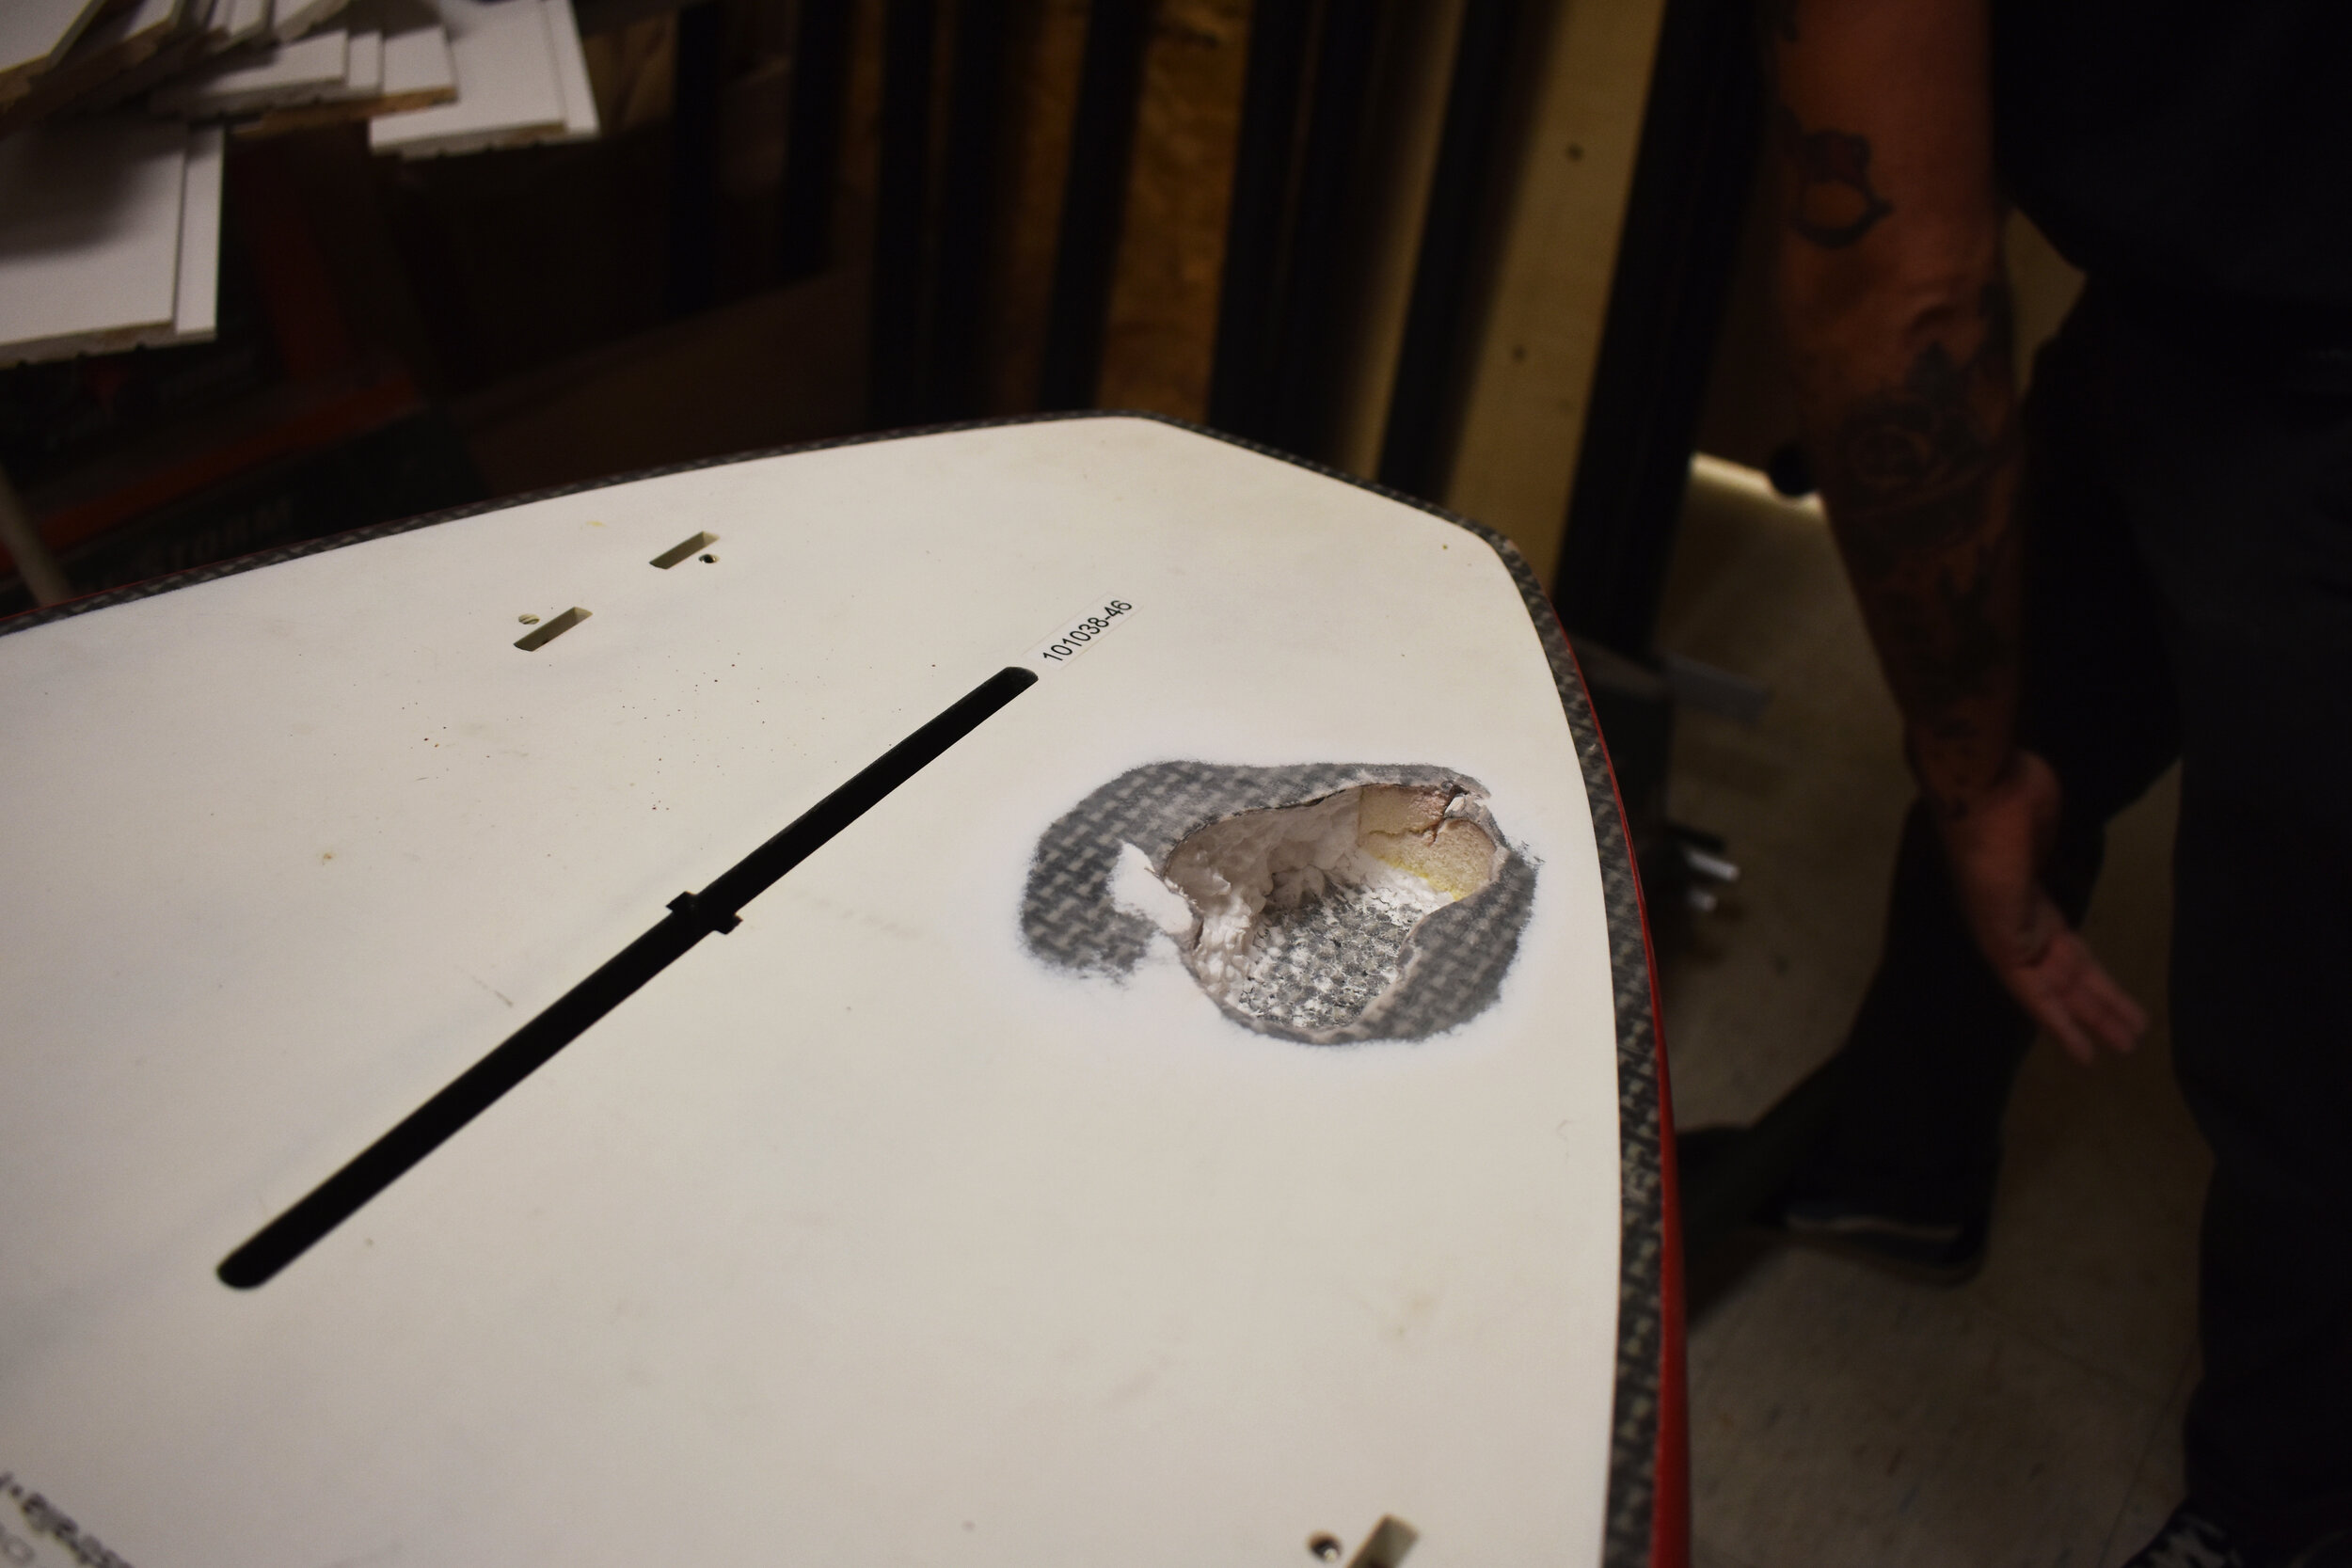
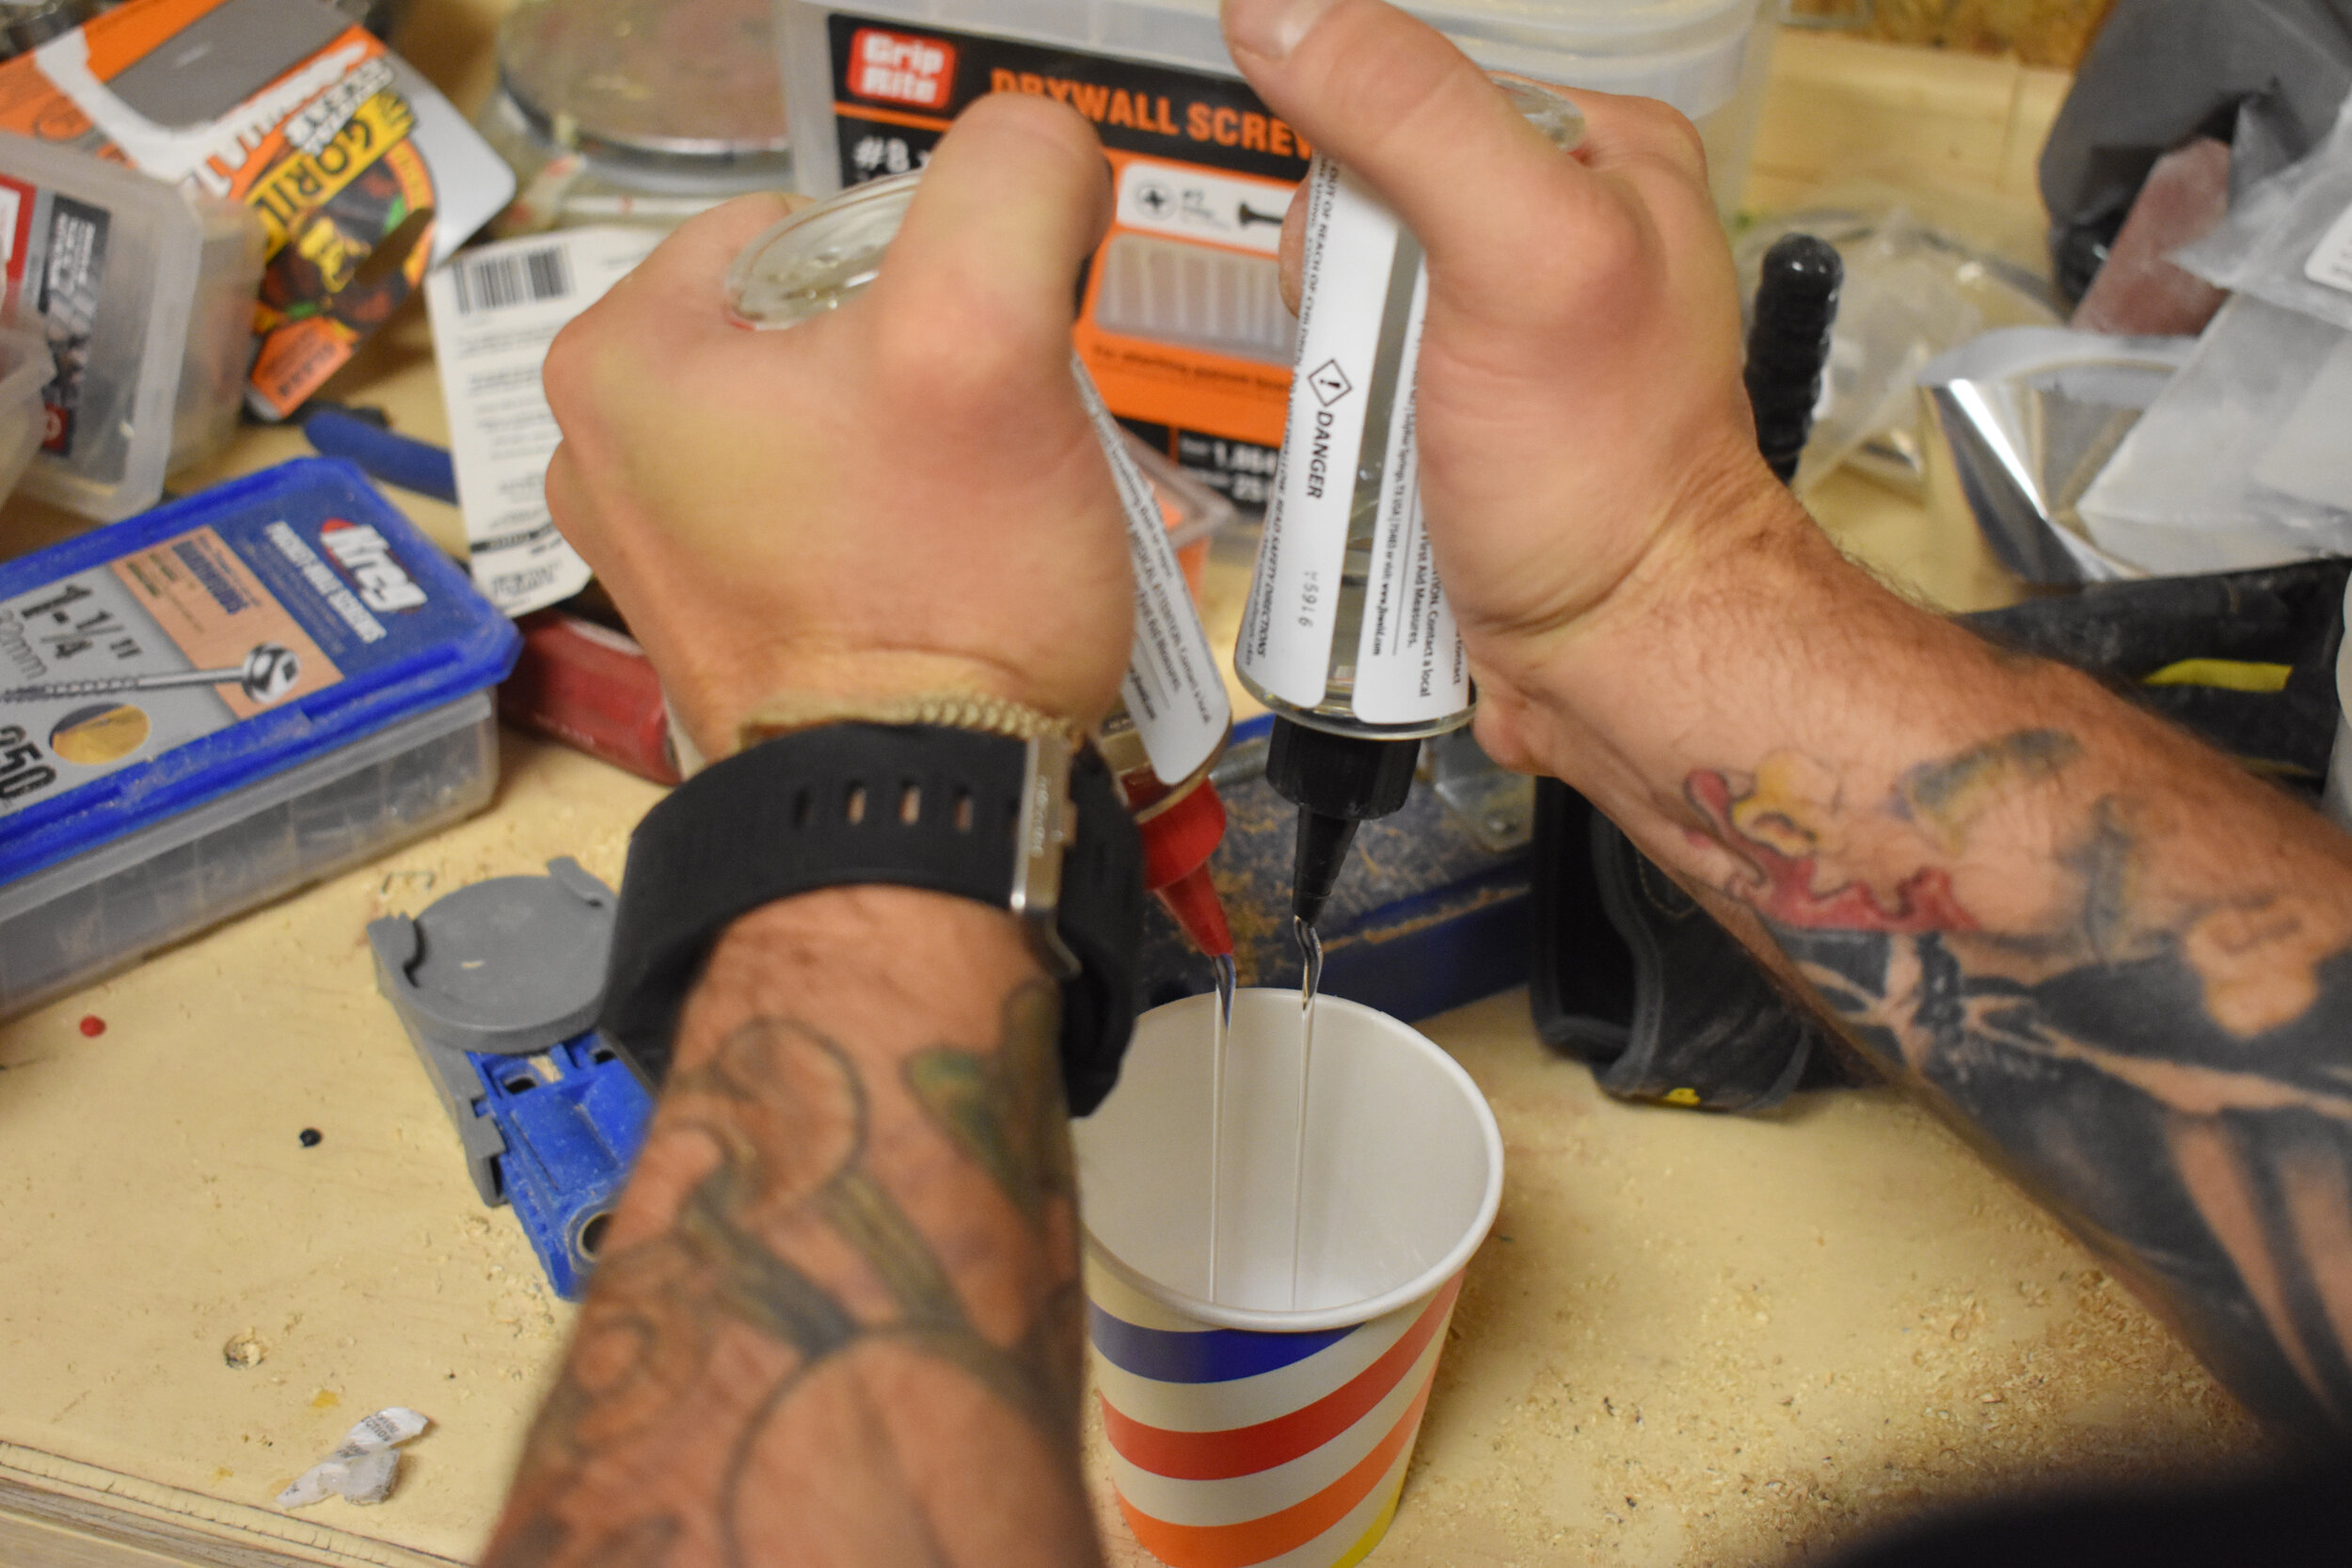
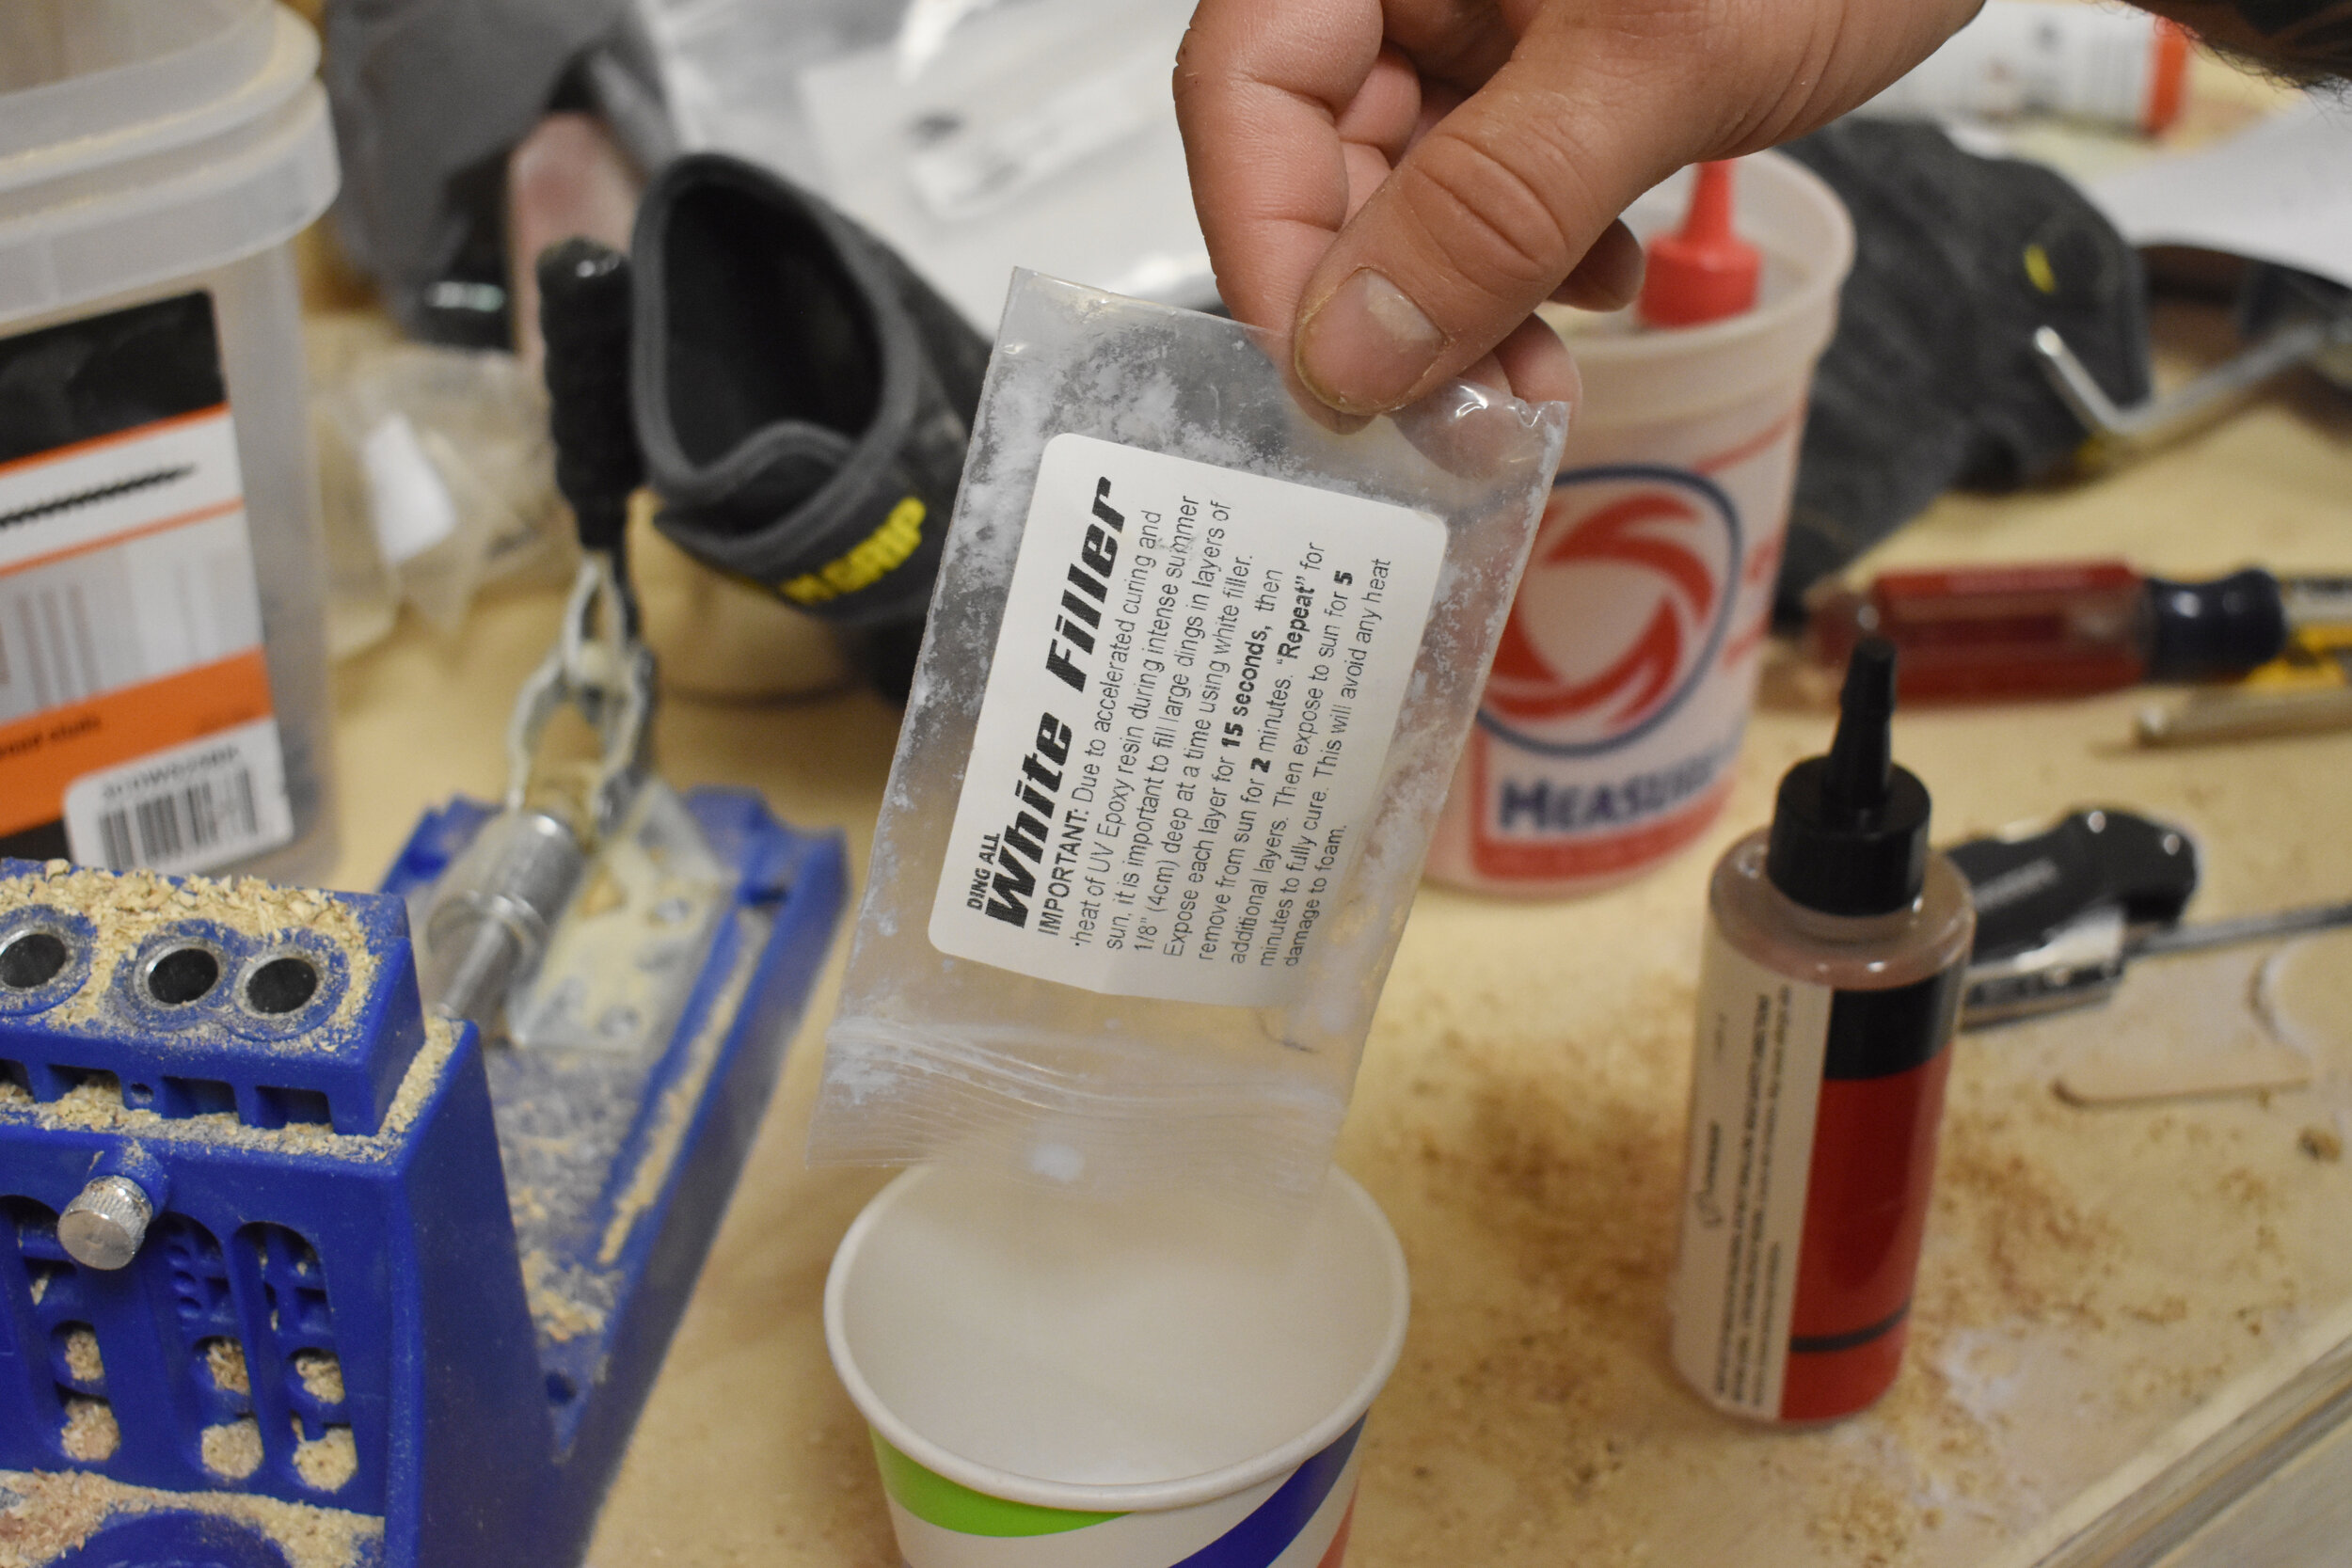
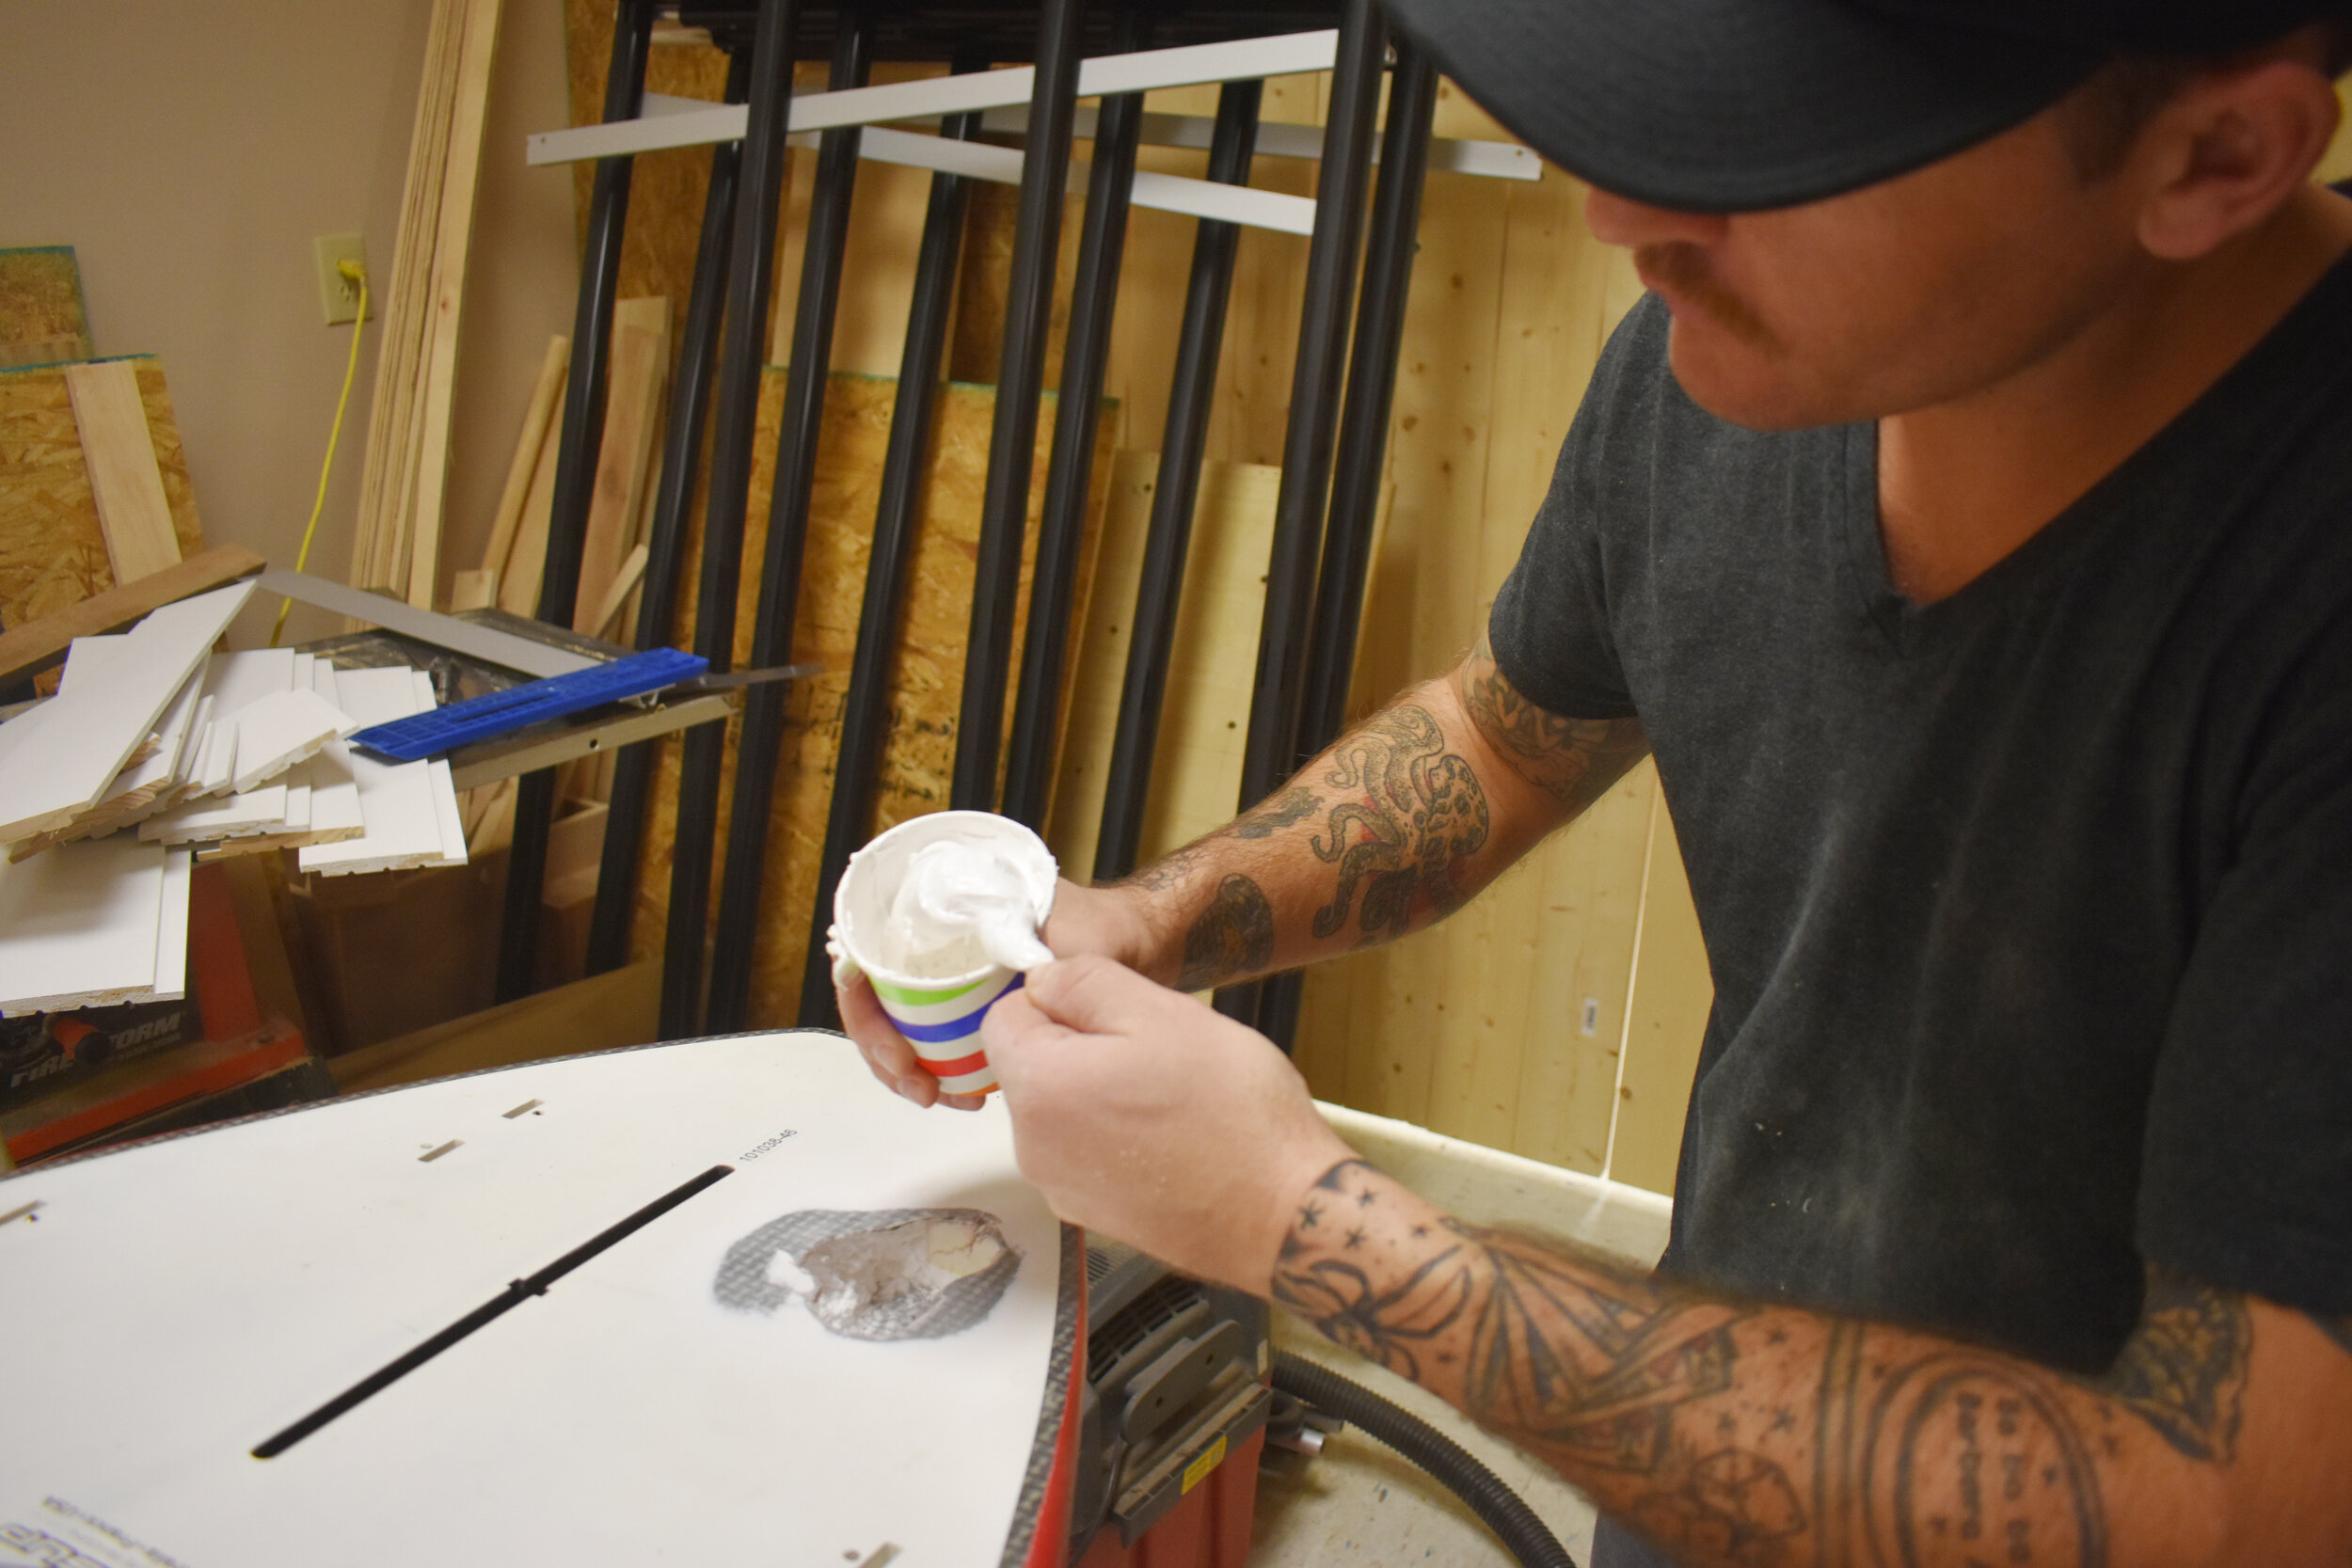
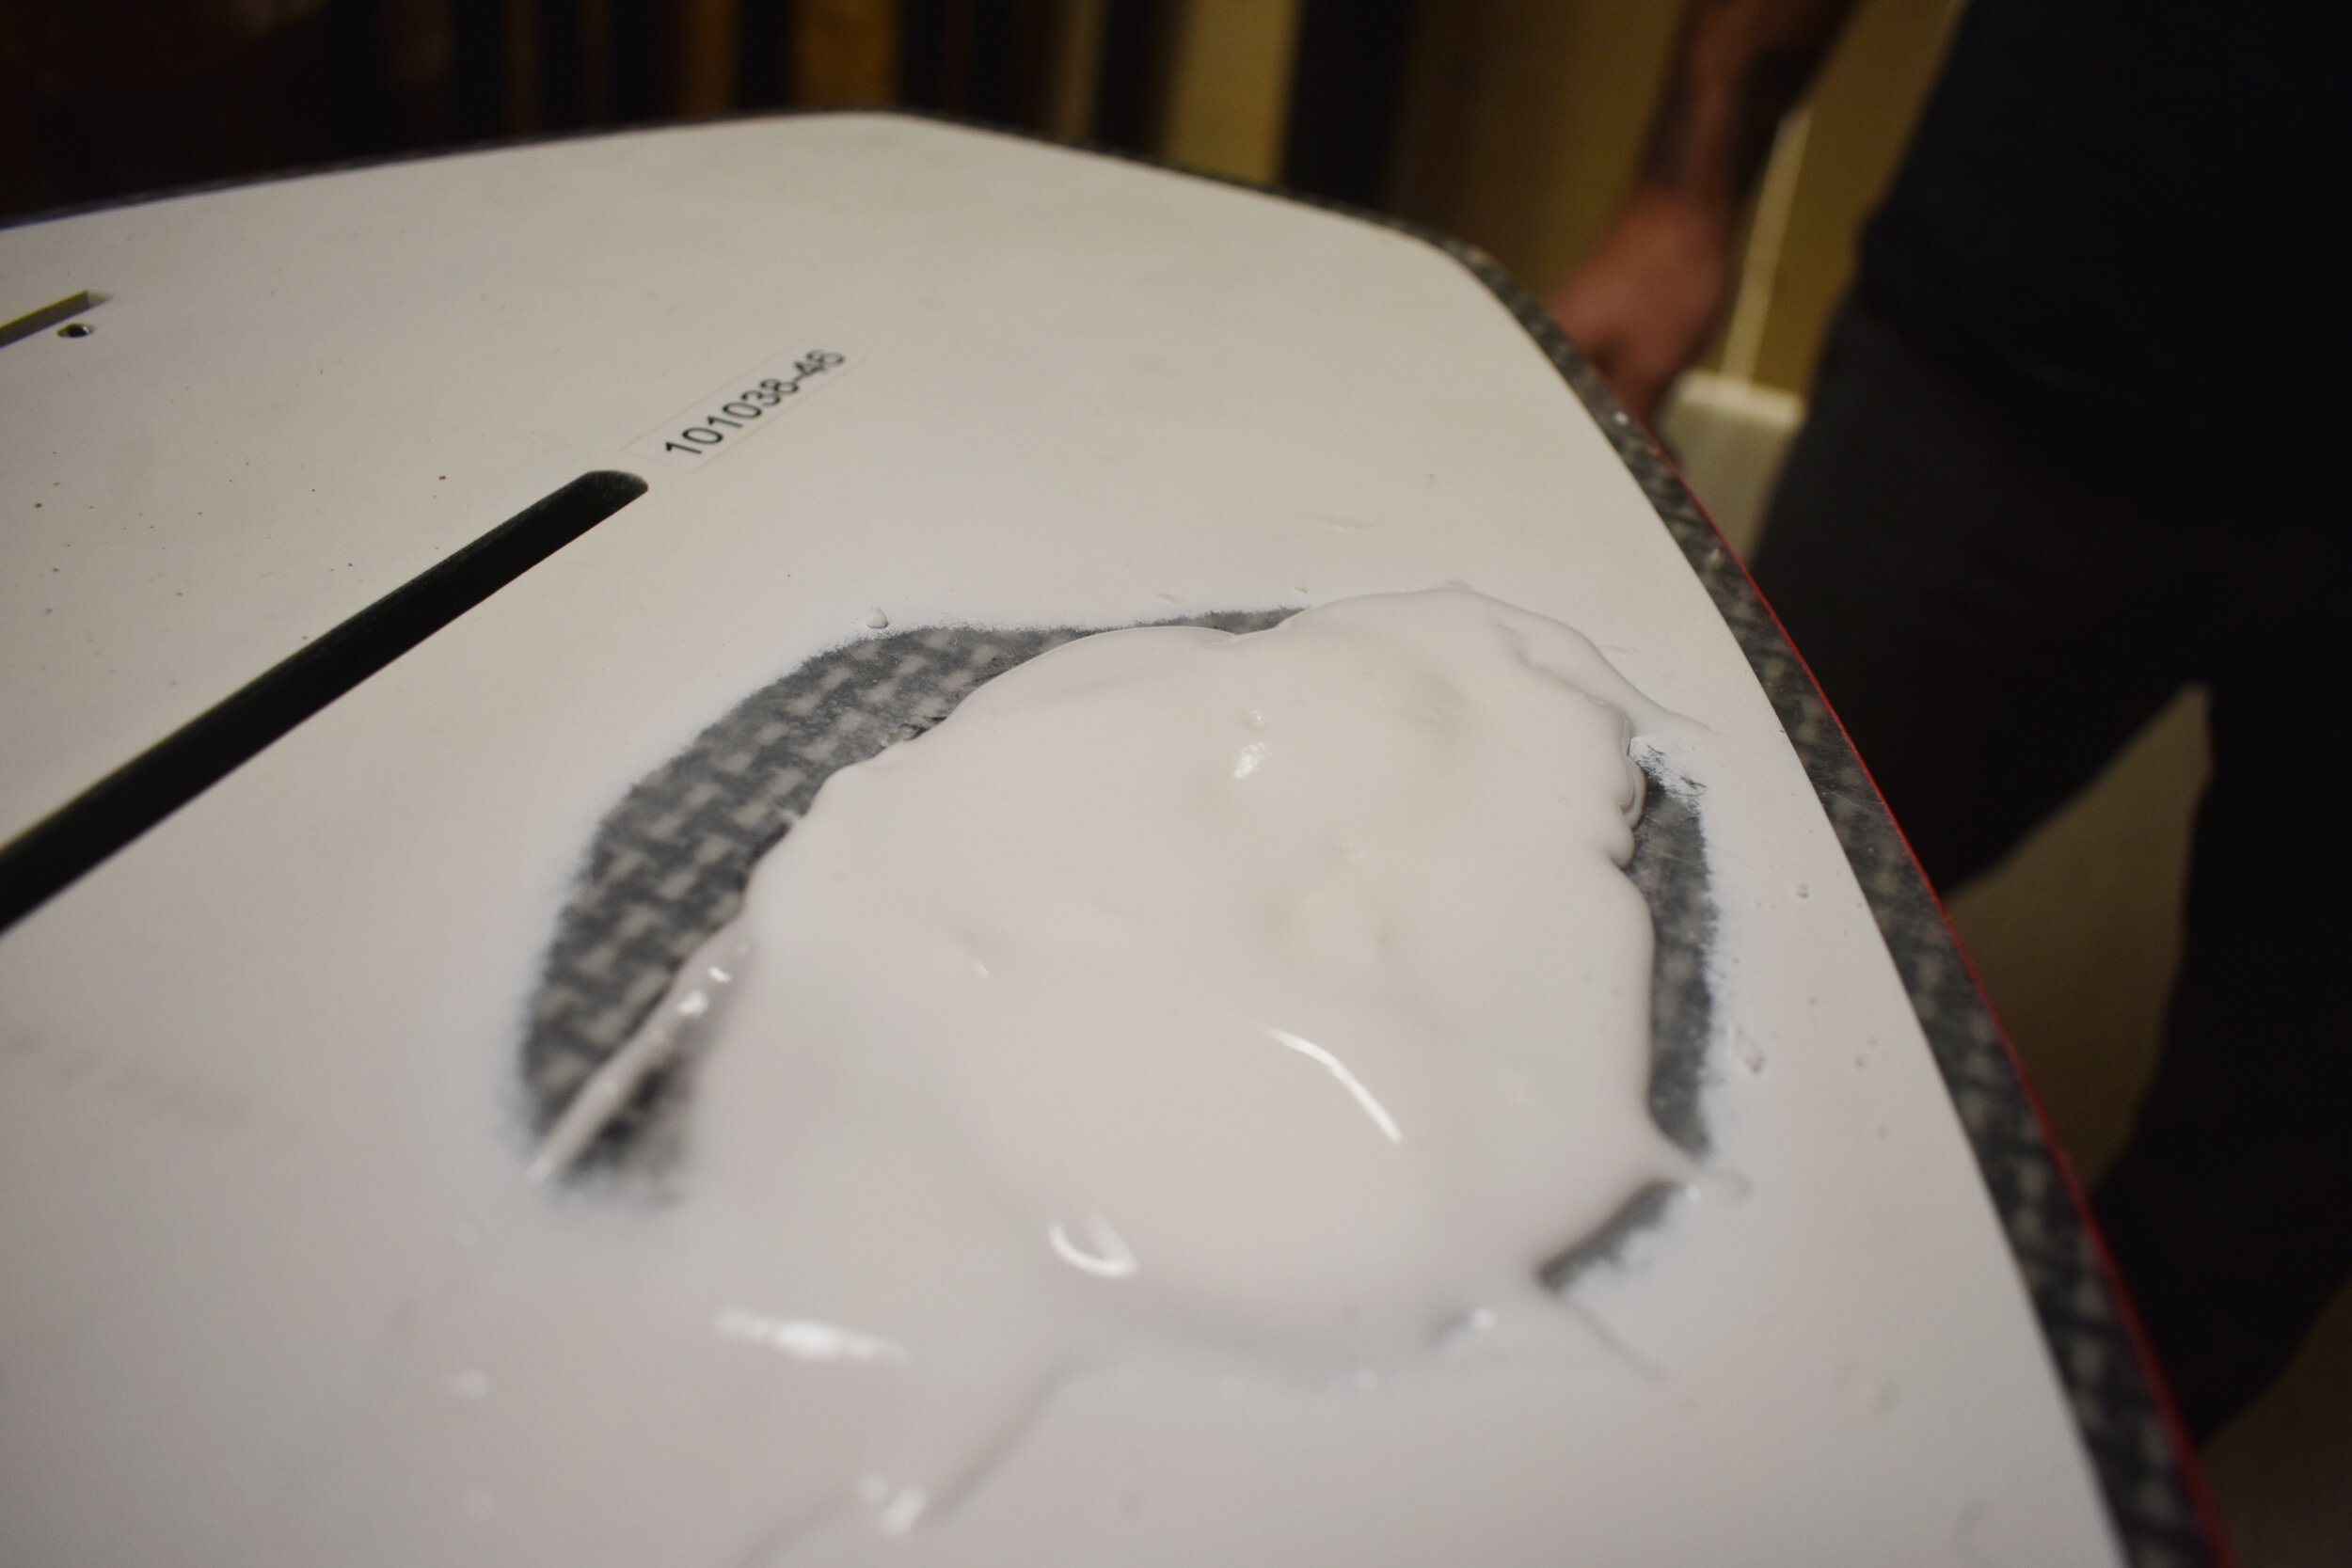
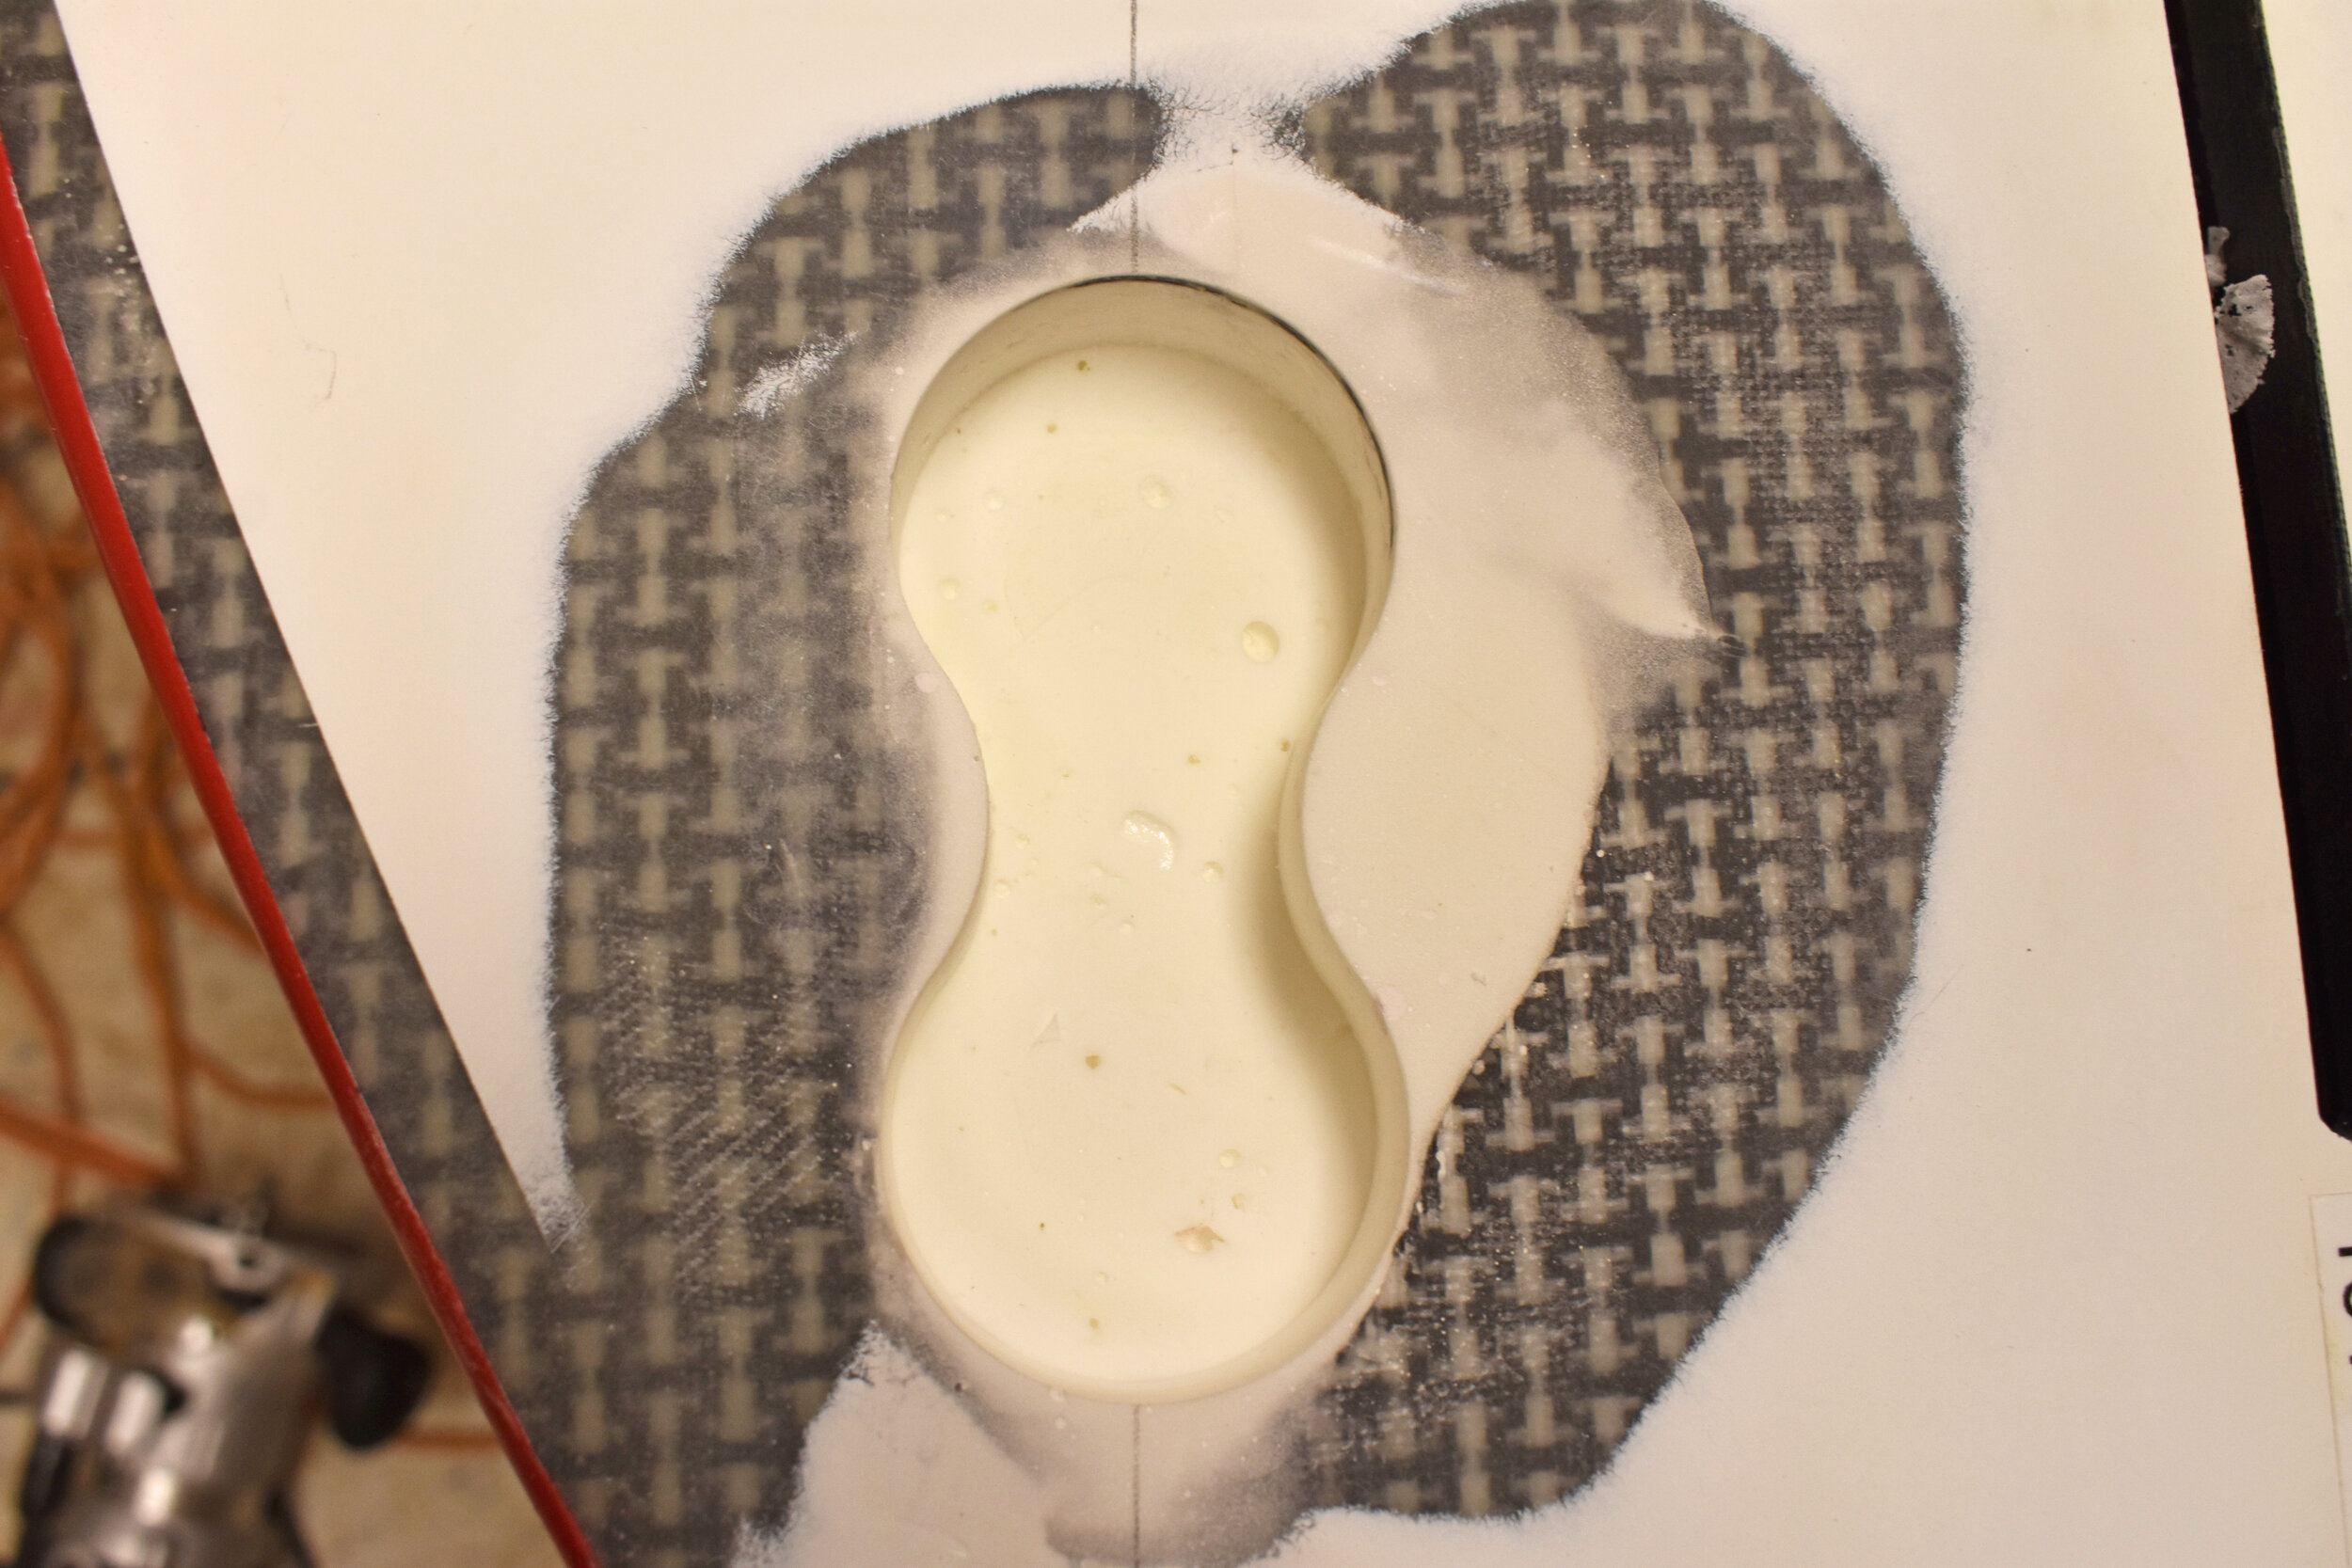
Step 3: You’ll be left with a pretty big cavity where your fin box was. Next step is to fill that cavity with Q cell. Using a 2 part epoxy, evenly mix then add Q cell til it becomes thicker like a toothpaste like consistency. Also important to wear gloves and a mask unlike we did in the images. Be smarter than us. Once mixed with Q cell, start pouring into the fin box cavity slowly to prevent any air bubbles. Fill more than you need because you’ll sand down to make even in the next step. Let sit til fully cured. It’s also important, that the area you’re repairing is level so it spreads evenly and won’t run to 1 side.
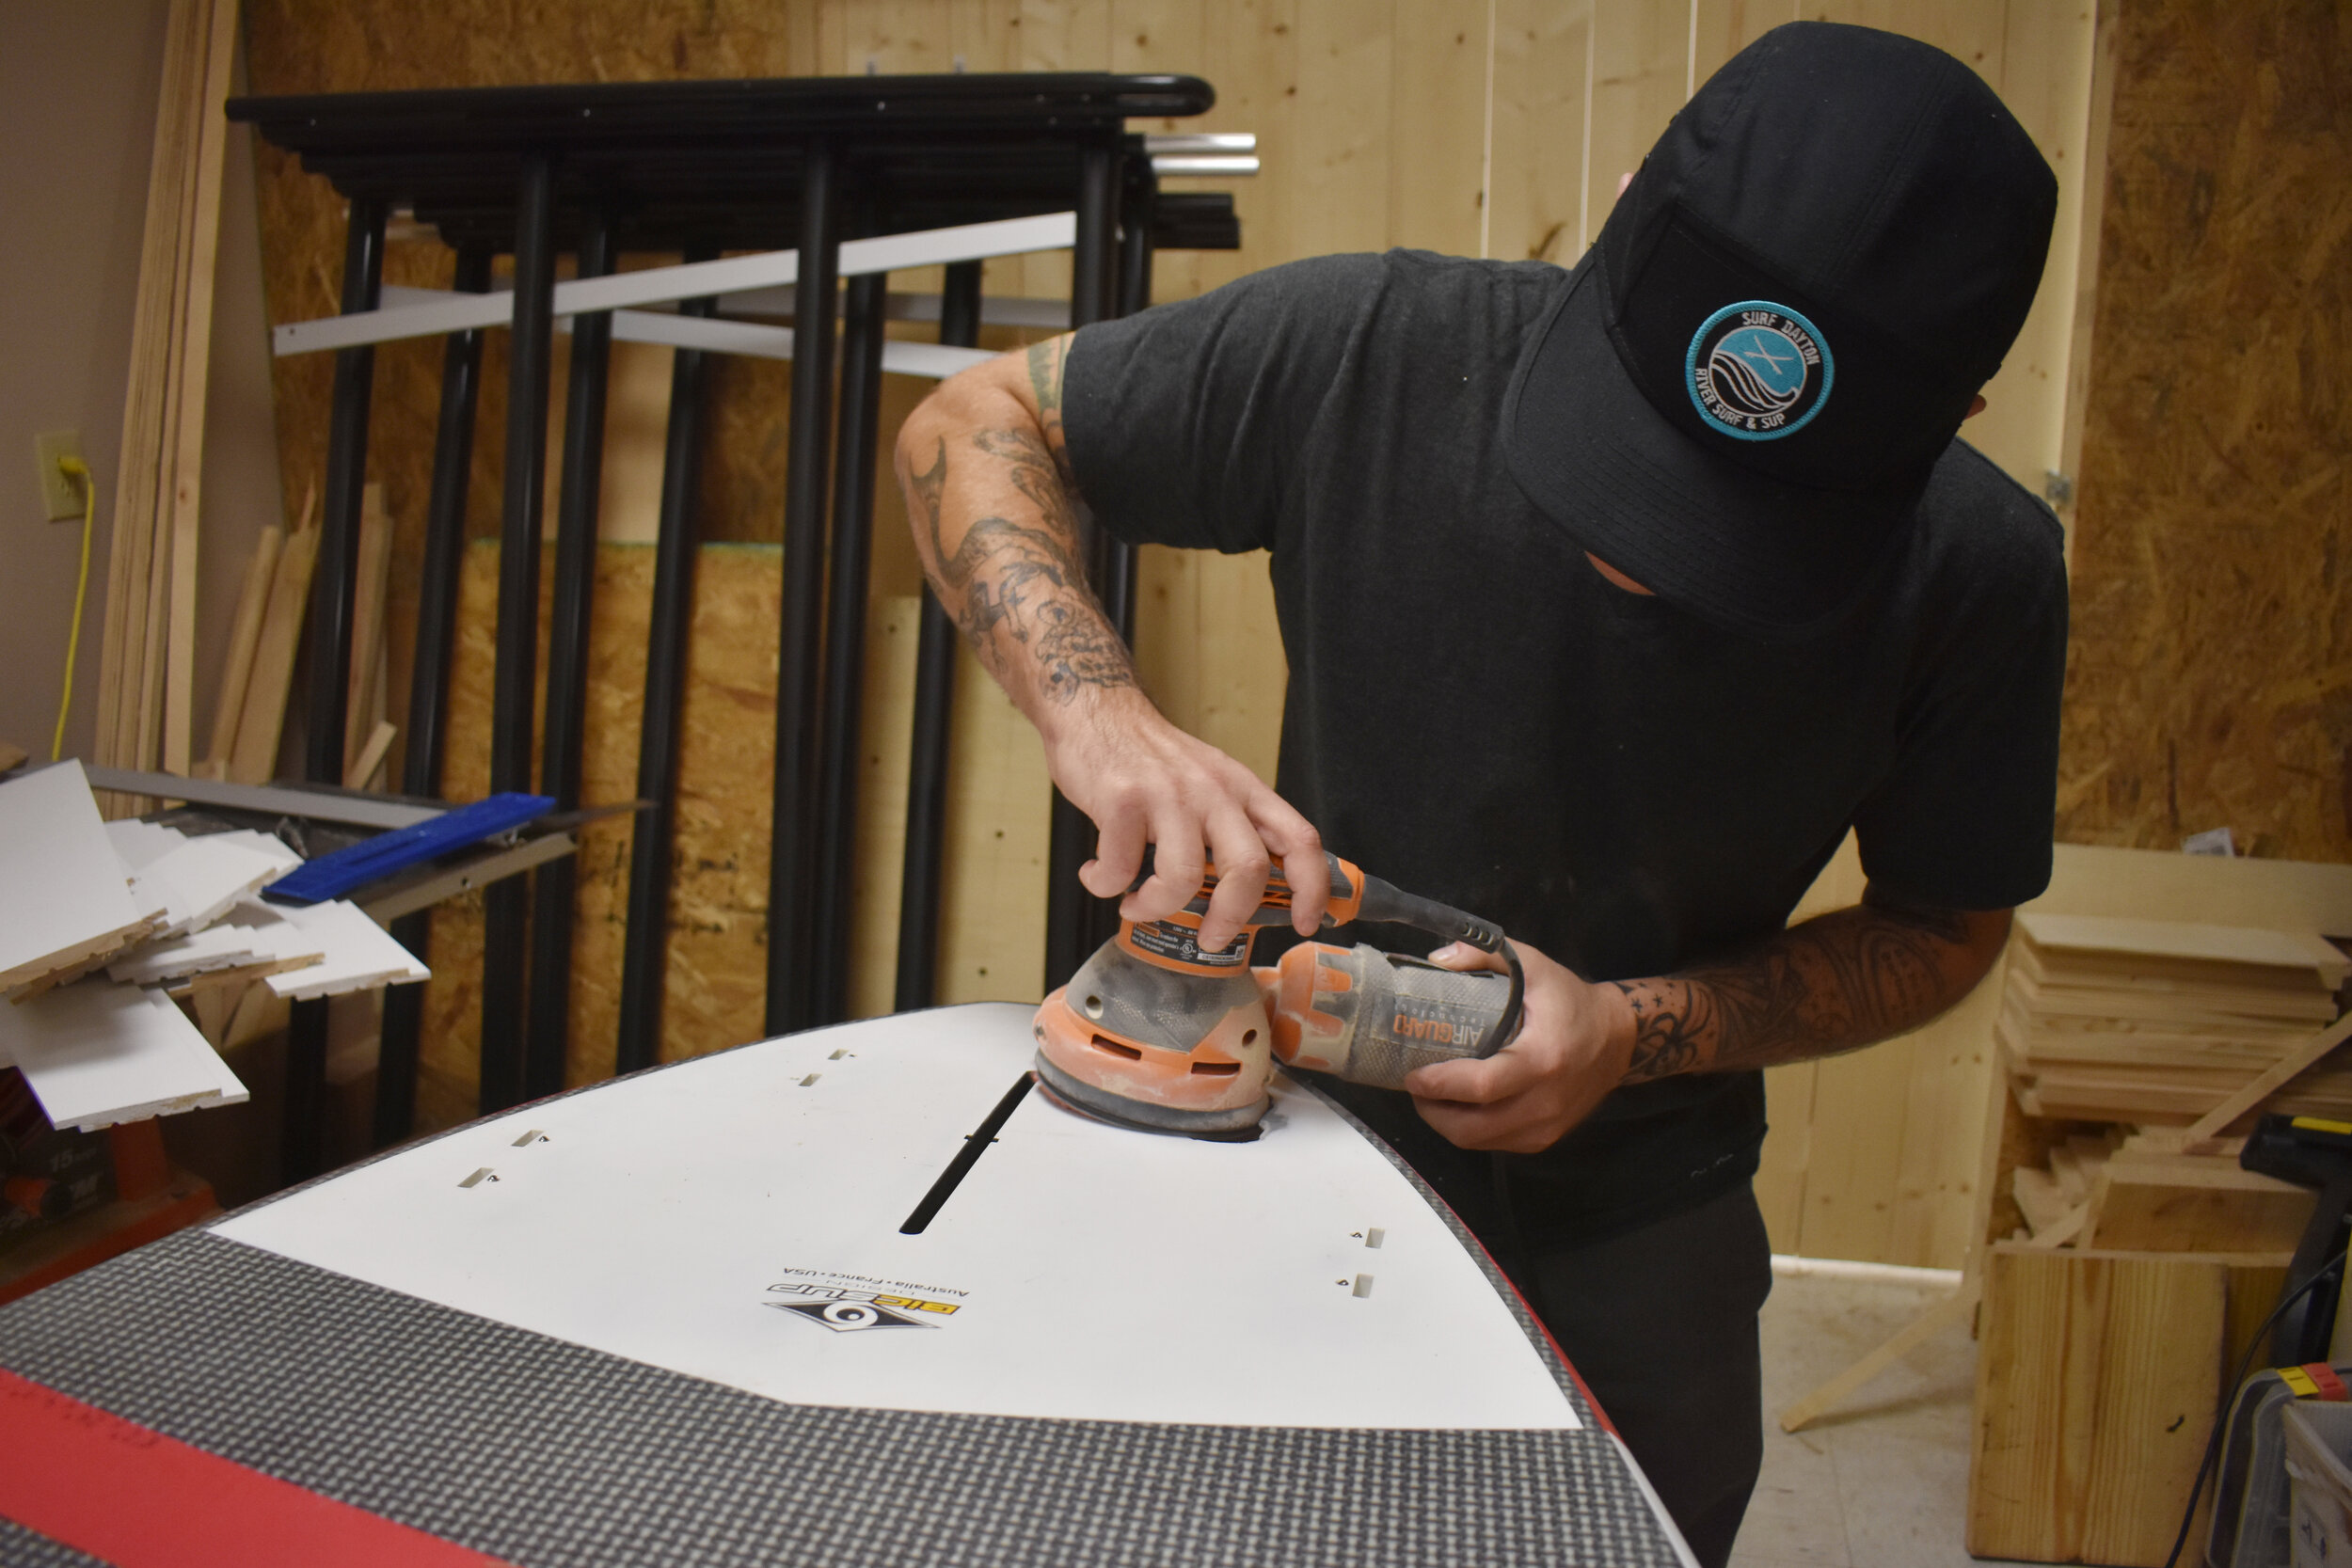
Step 4: Your Q Cell is fully cured and now is time to sand the area to make smooth and even.
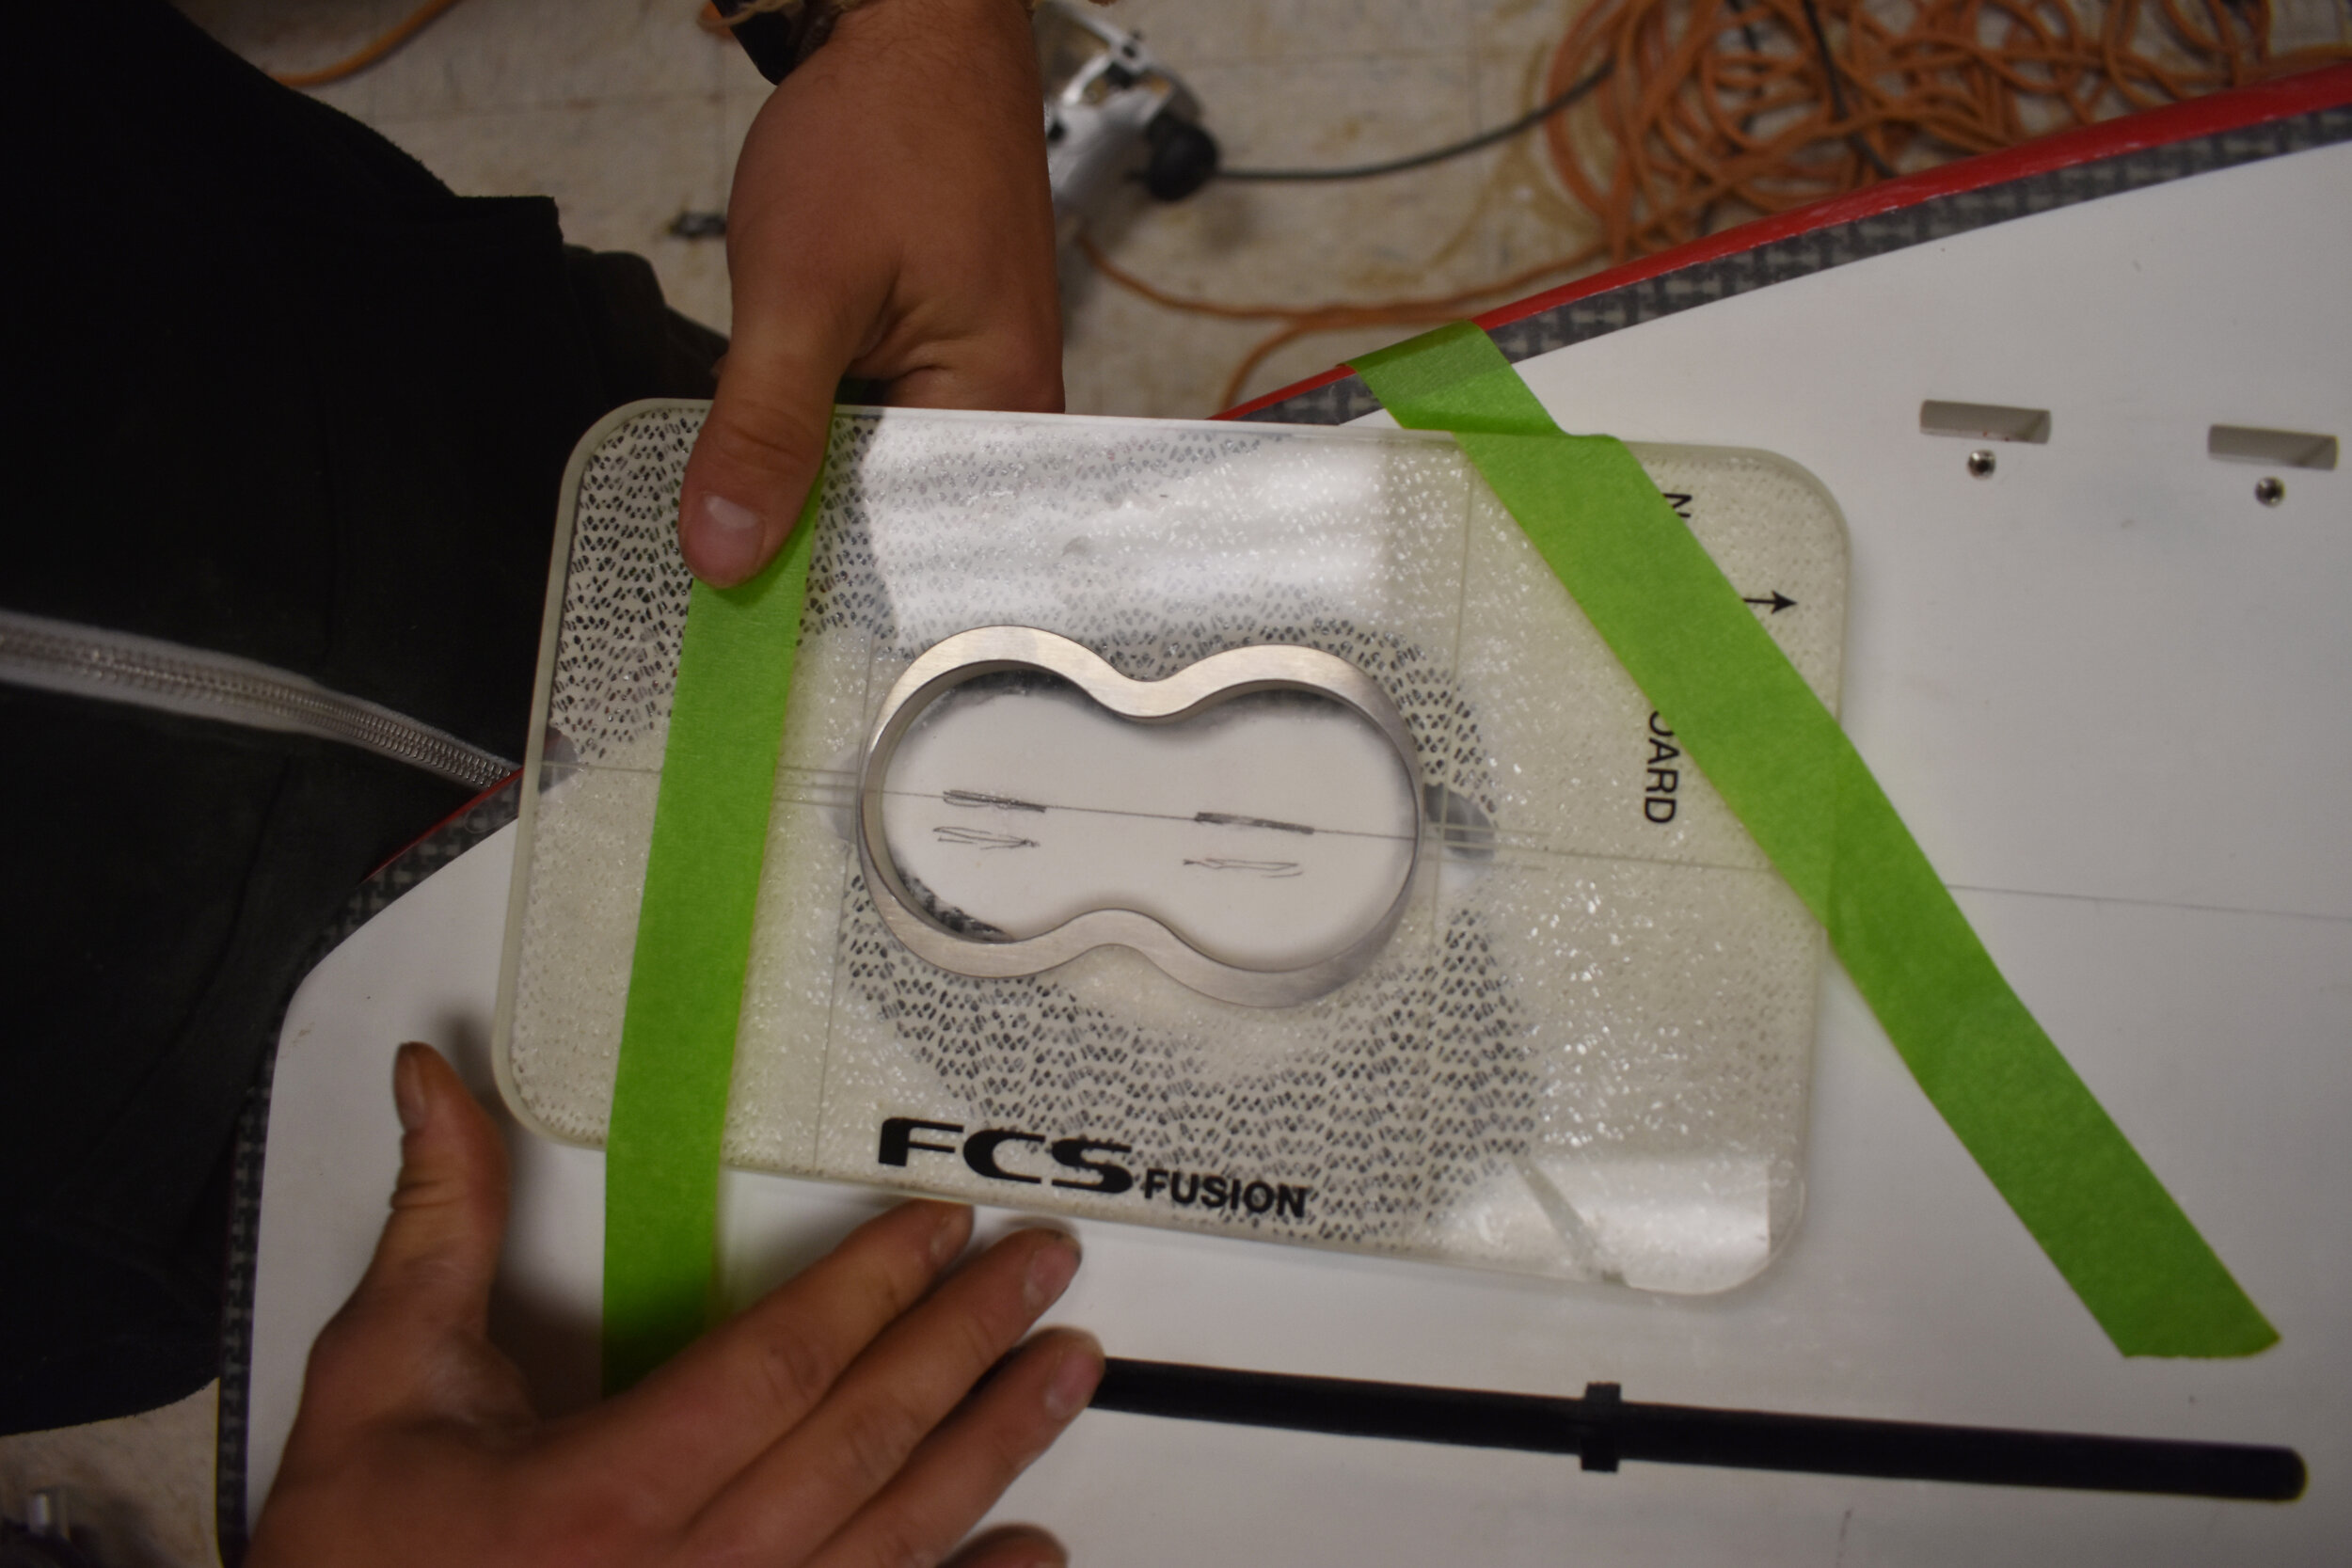
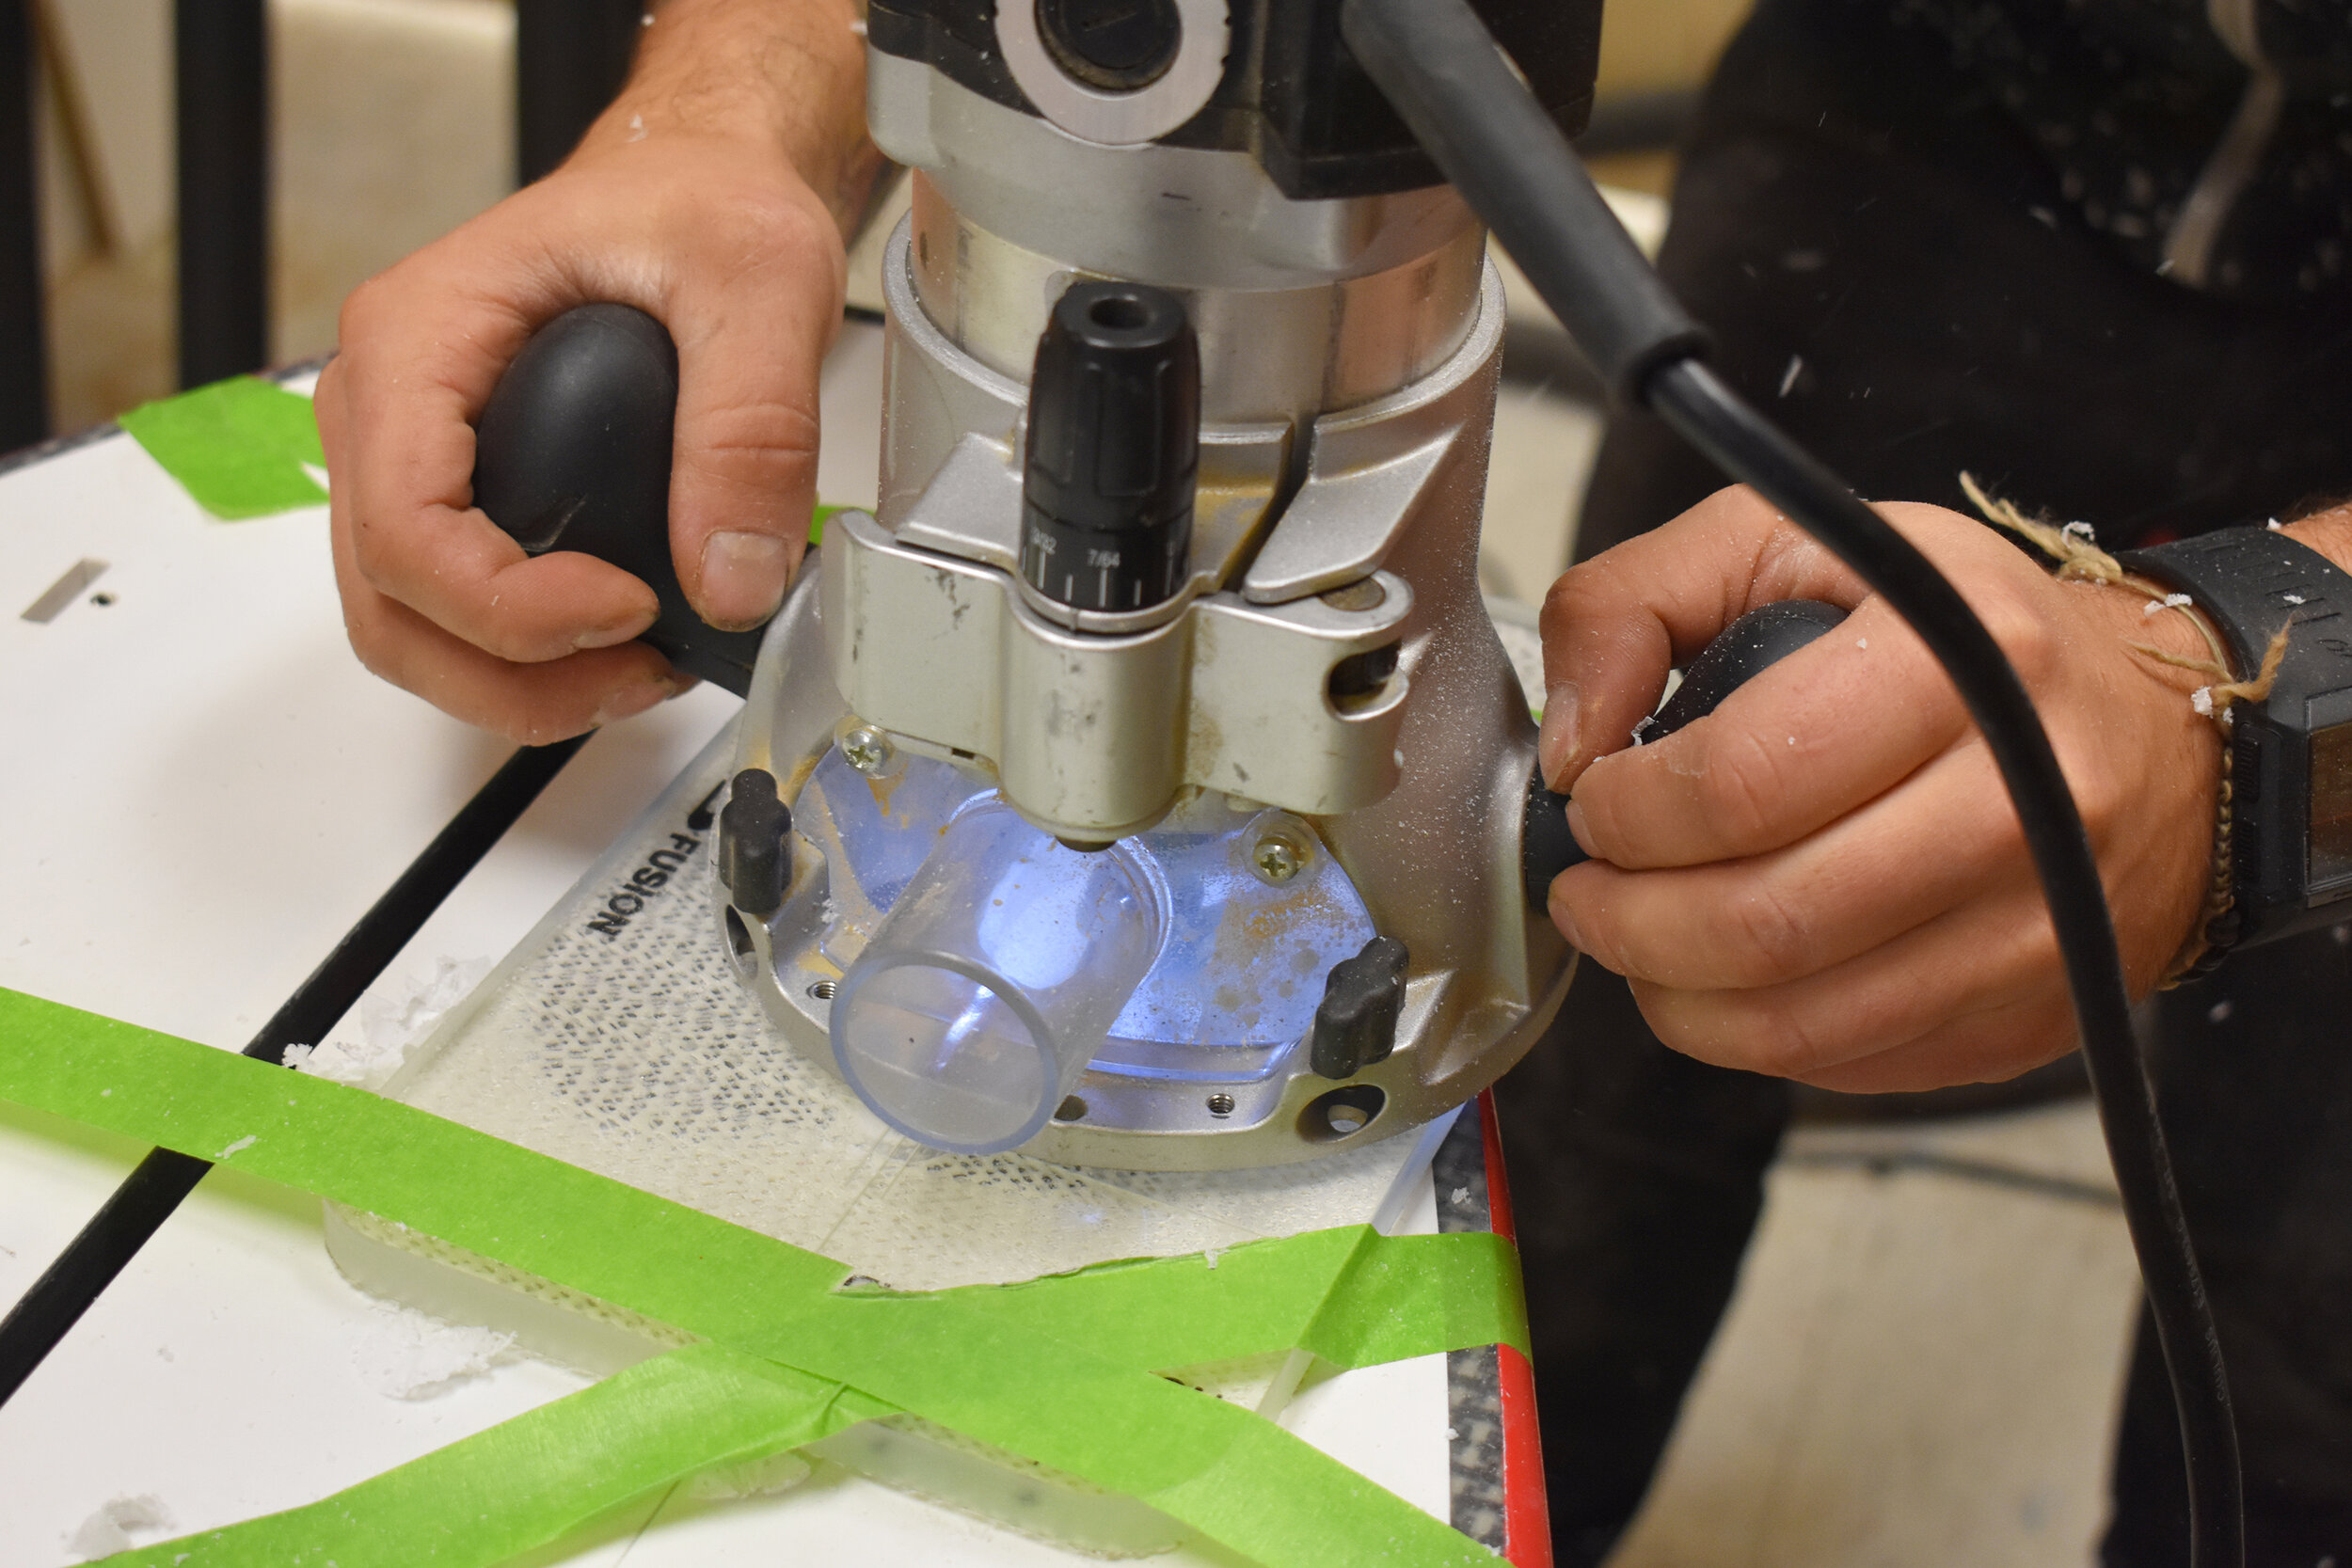
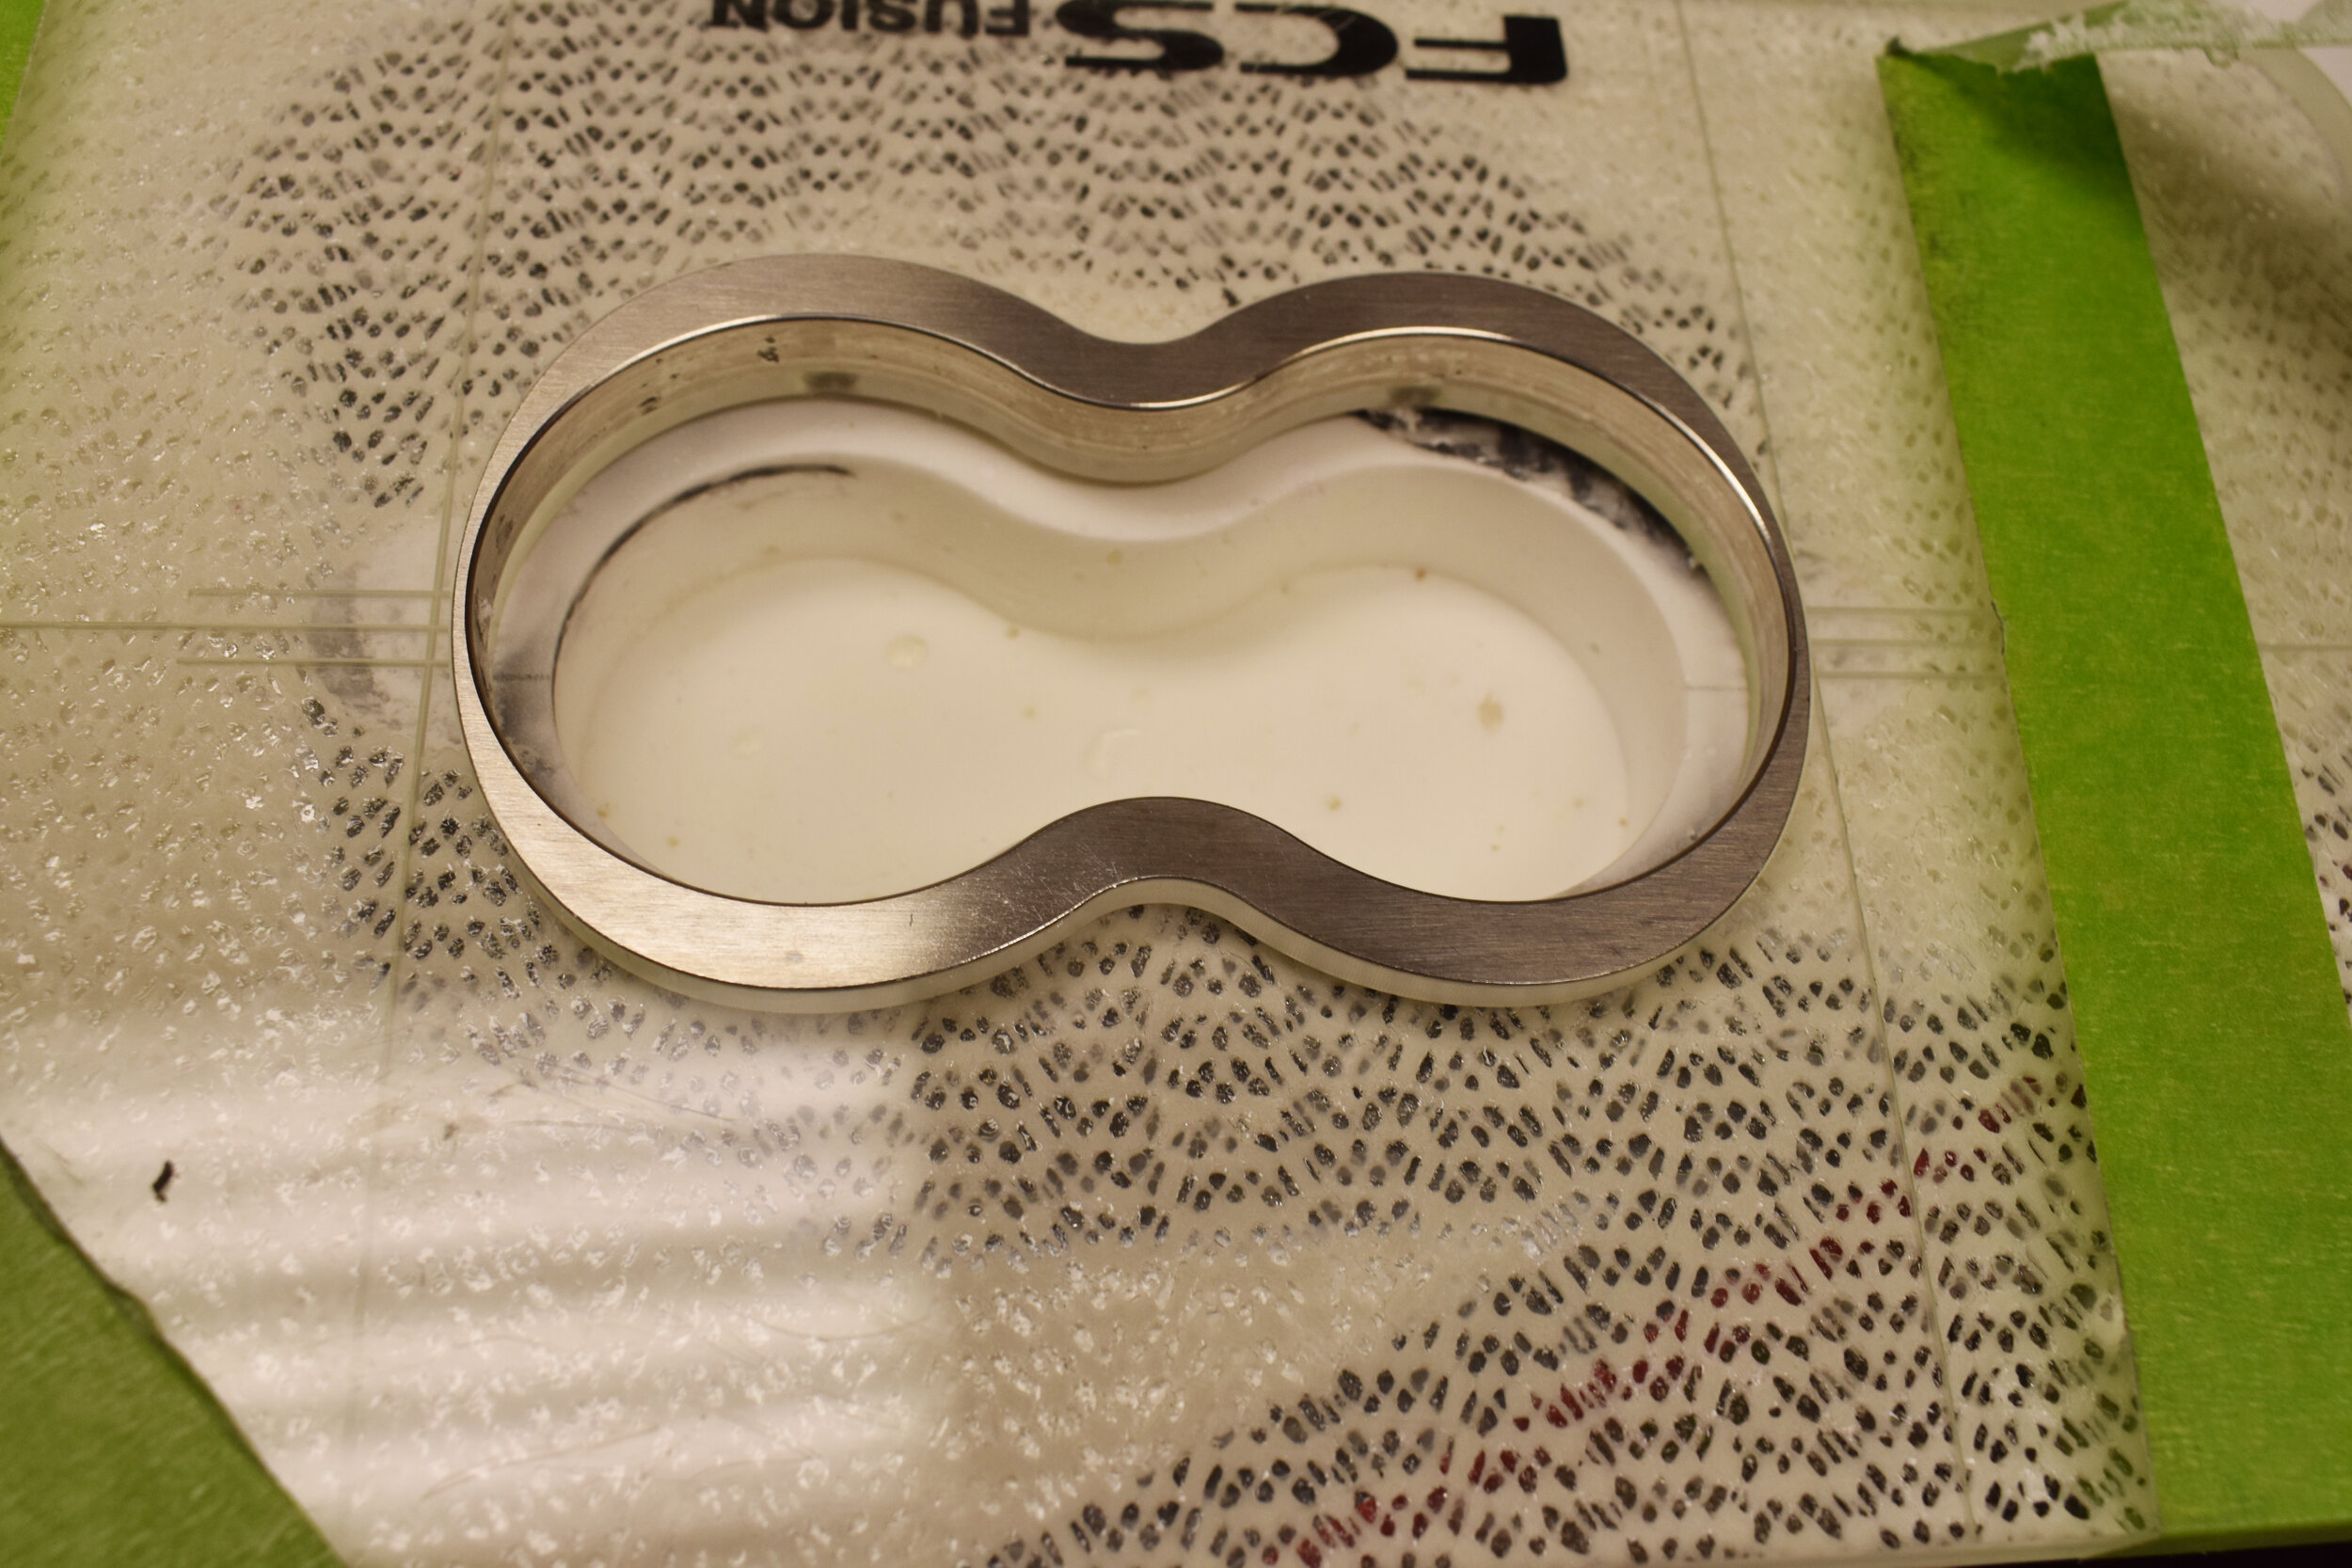
Step 5: Once flat, it’s time to route out the fin box. We purchased the FCS fusion fin box template as well as the router bit. We got ours from www.greenlightsurfsupply.com
Mirroring the other fin box placement, we drew lines at the same angle. (Would of saved time if we would of drew some lines before removing the old fin box) We didn’t have any double sided tape but placed the template in the exact spot we needed and taped down so it wouldn’t move while routing. Make sure to set your router bit at the correct depth. Can always do another pass with the router but if you go too deep, the new fin box will sit too deep. As you can see the jig was a perfect fit. You can also see a few small air bubbles we had but using enough epoxy in the next step will help fill those. Always check and make sure the fin box fits in there snug and at the right depth.
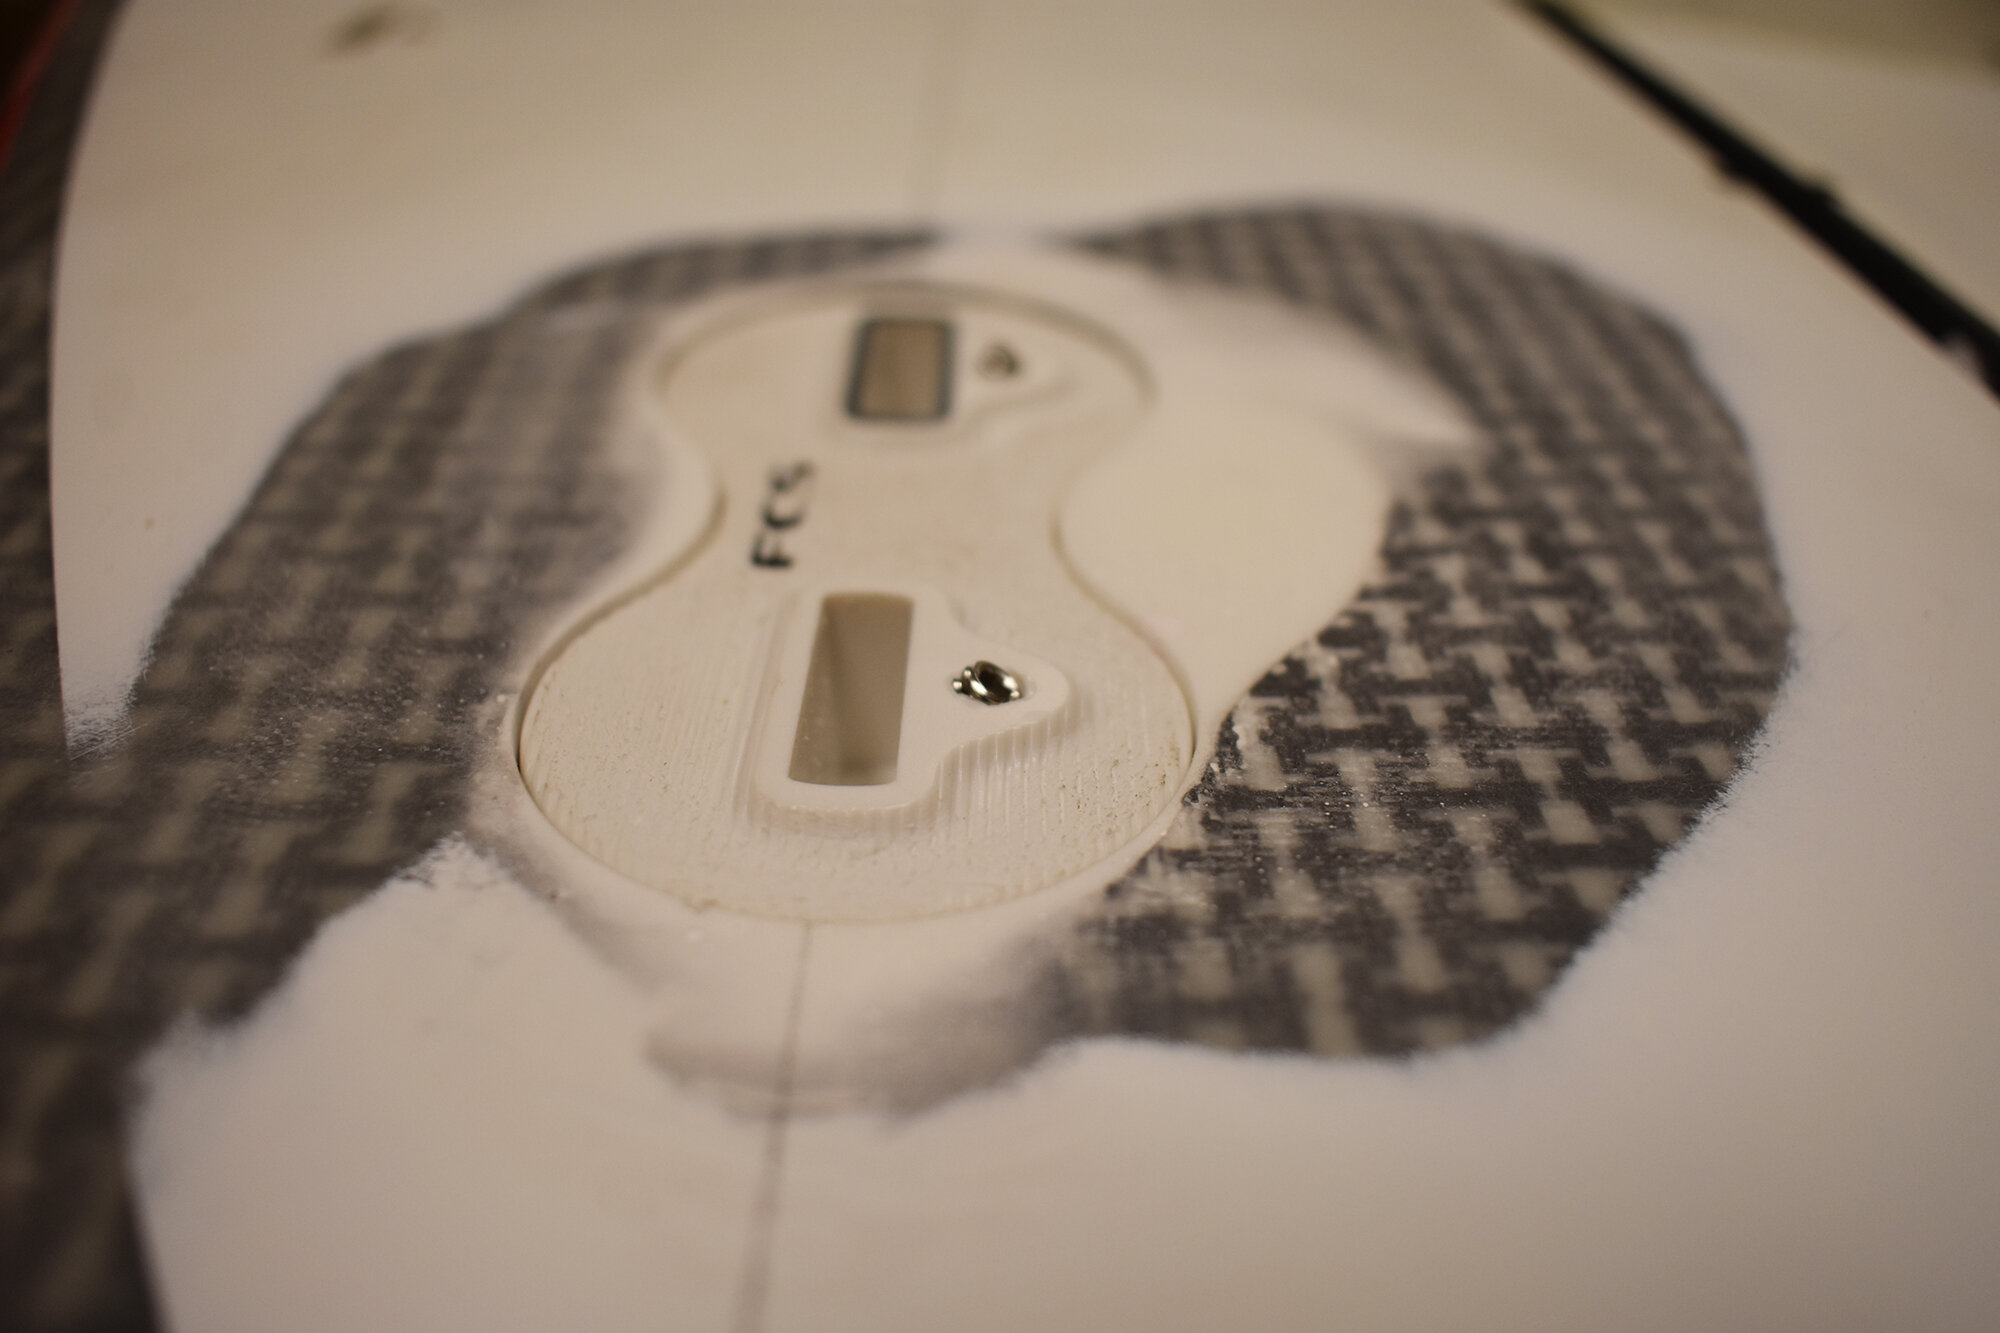
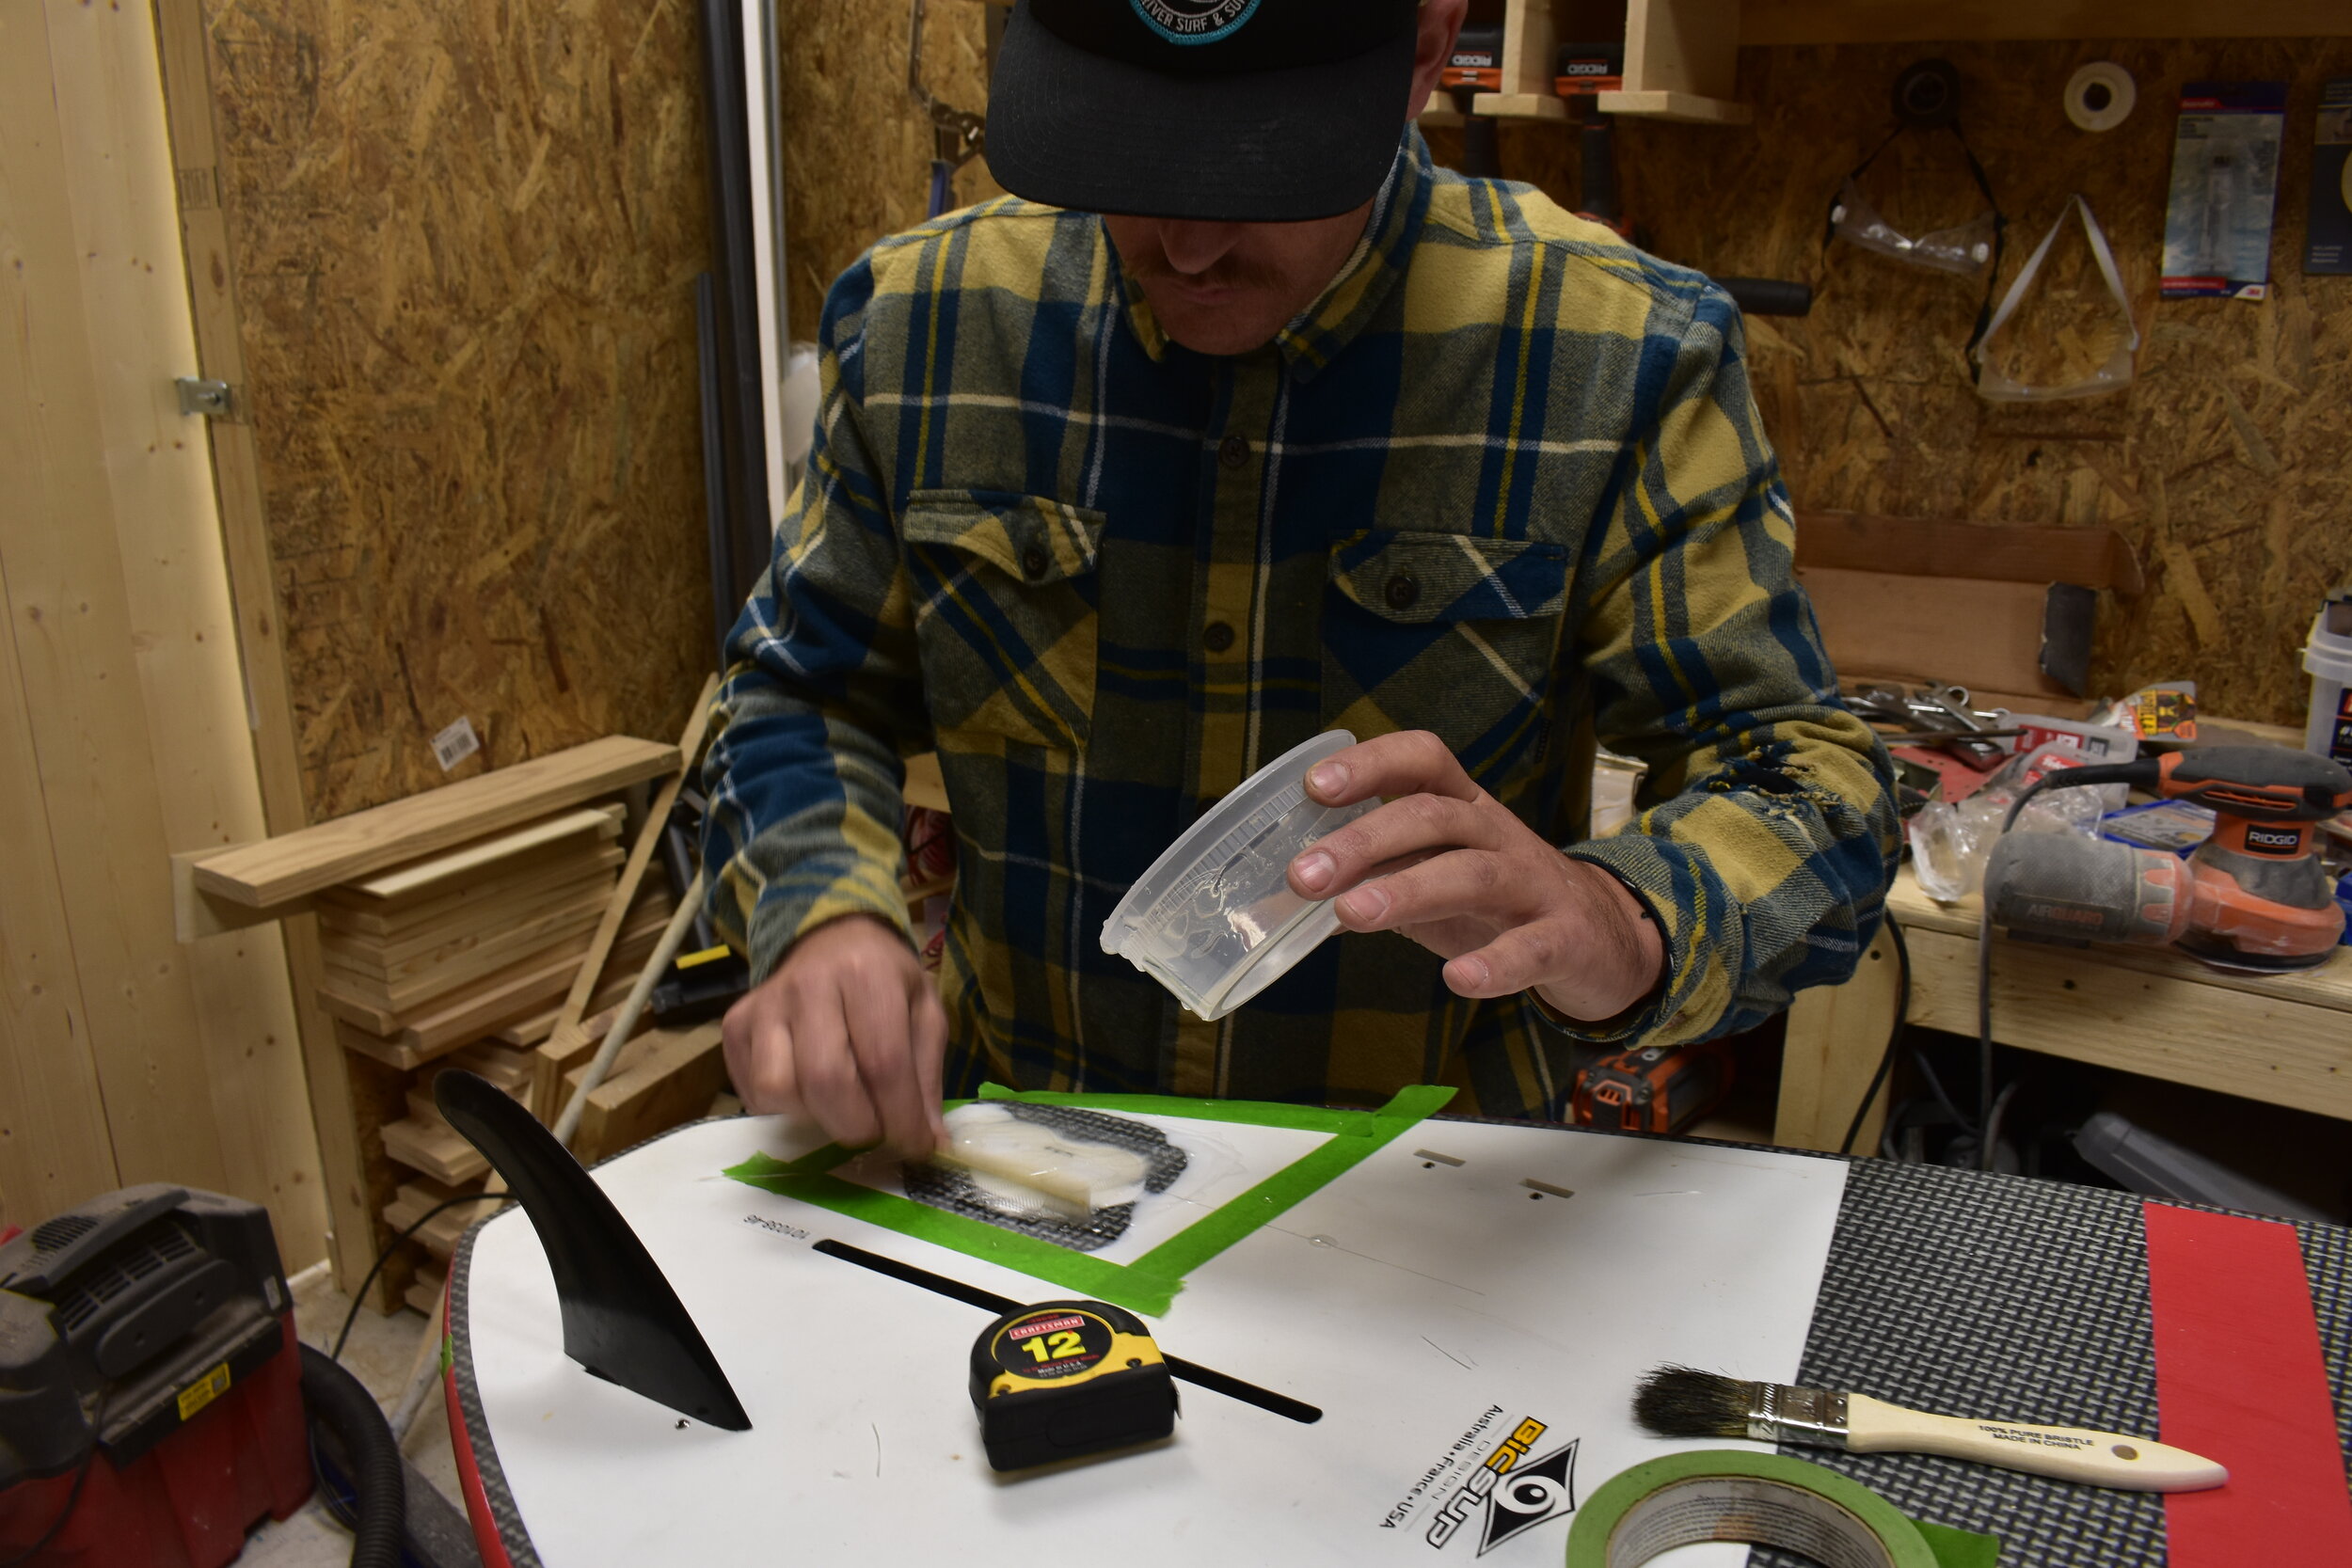
Step 6: Tape off the fin box area, and apply stickers to fin tab holes so no epoxy gets inside. Mix plenty of 2 part epoxy and apply to the walls and around the fin box cavity and on the back and sides of the fin box itself. Having a little extra so it forces the epoxy in all extra little spaces helps, then fit the fin box into it so its snug. Any extra epoxy can be applied to any gaps, then just left to cure.
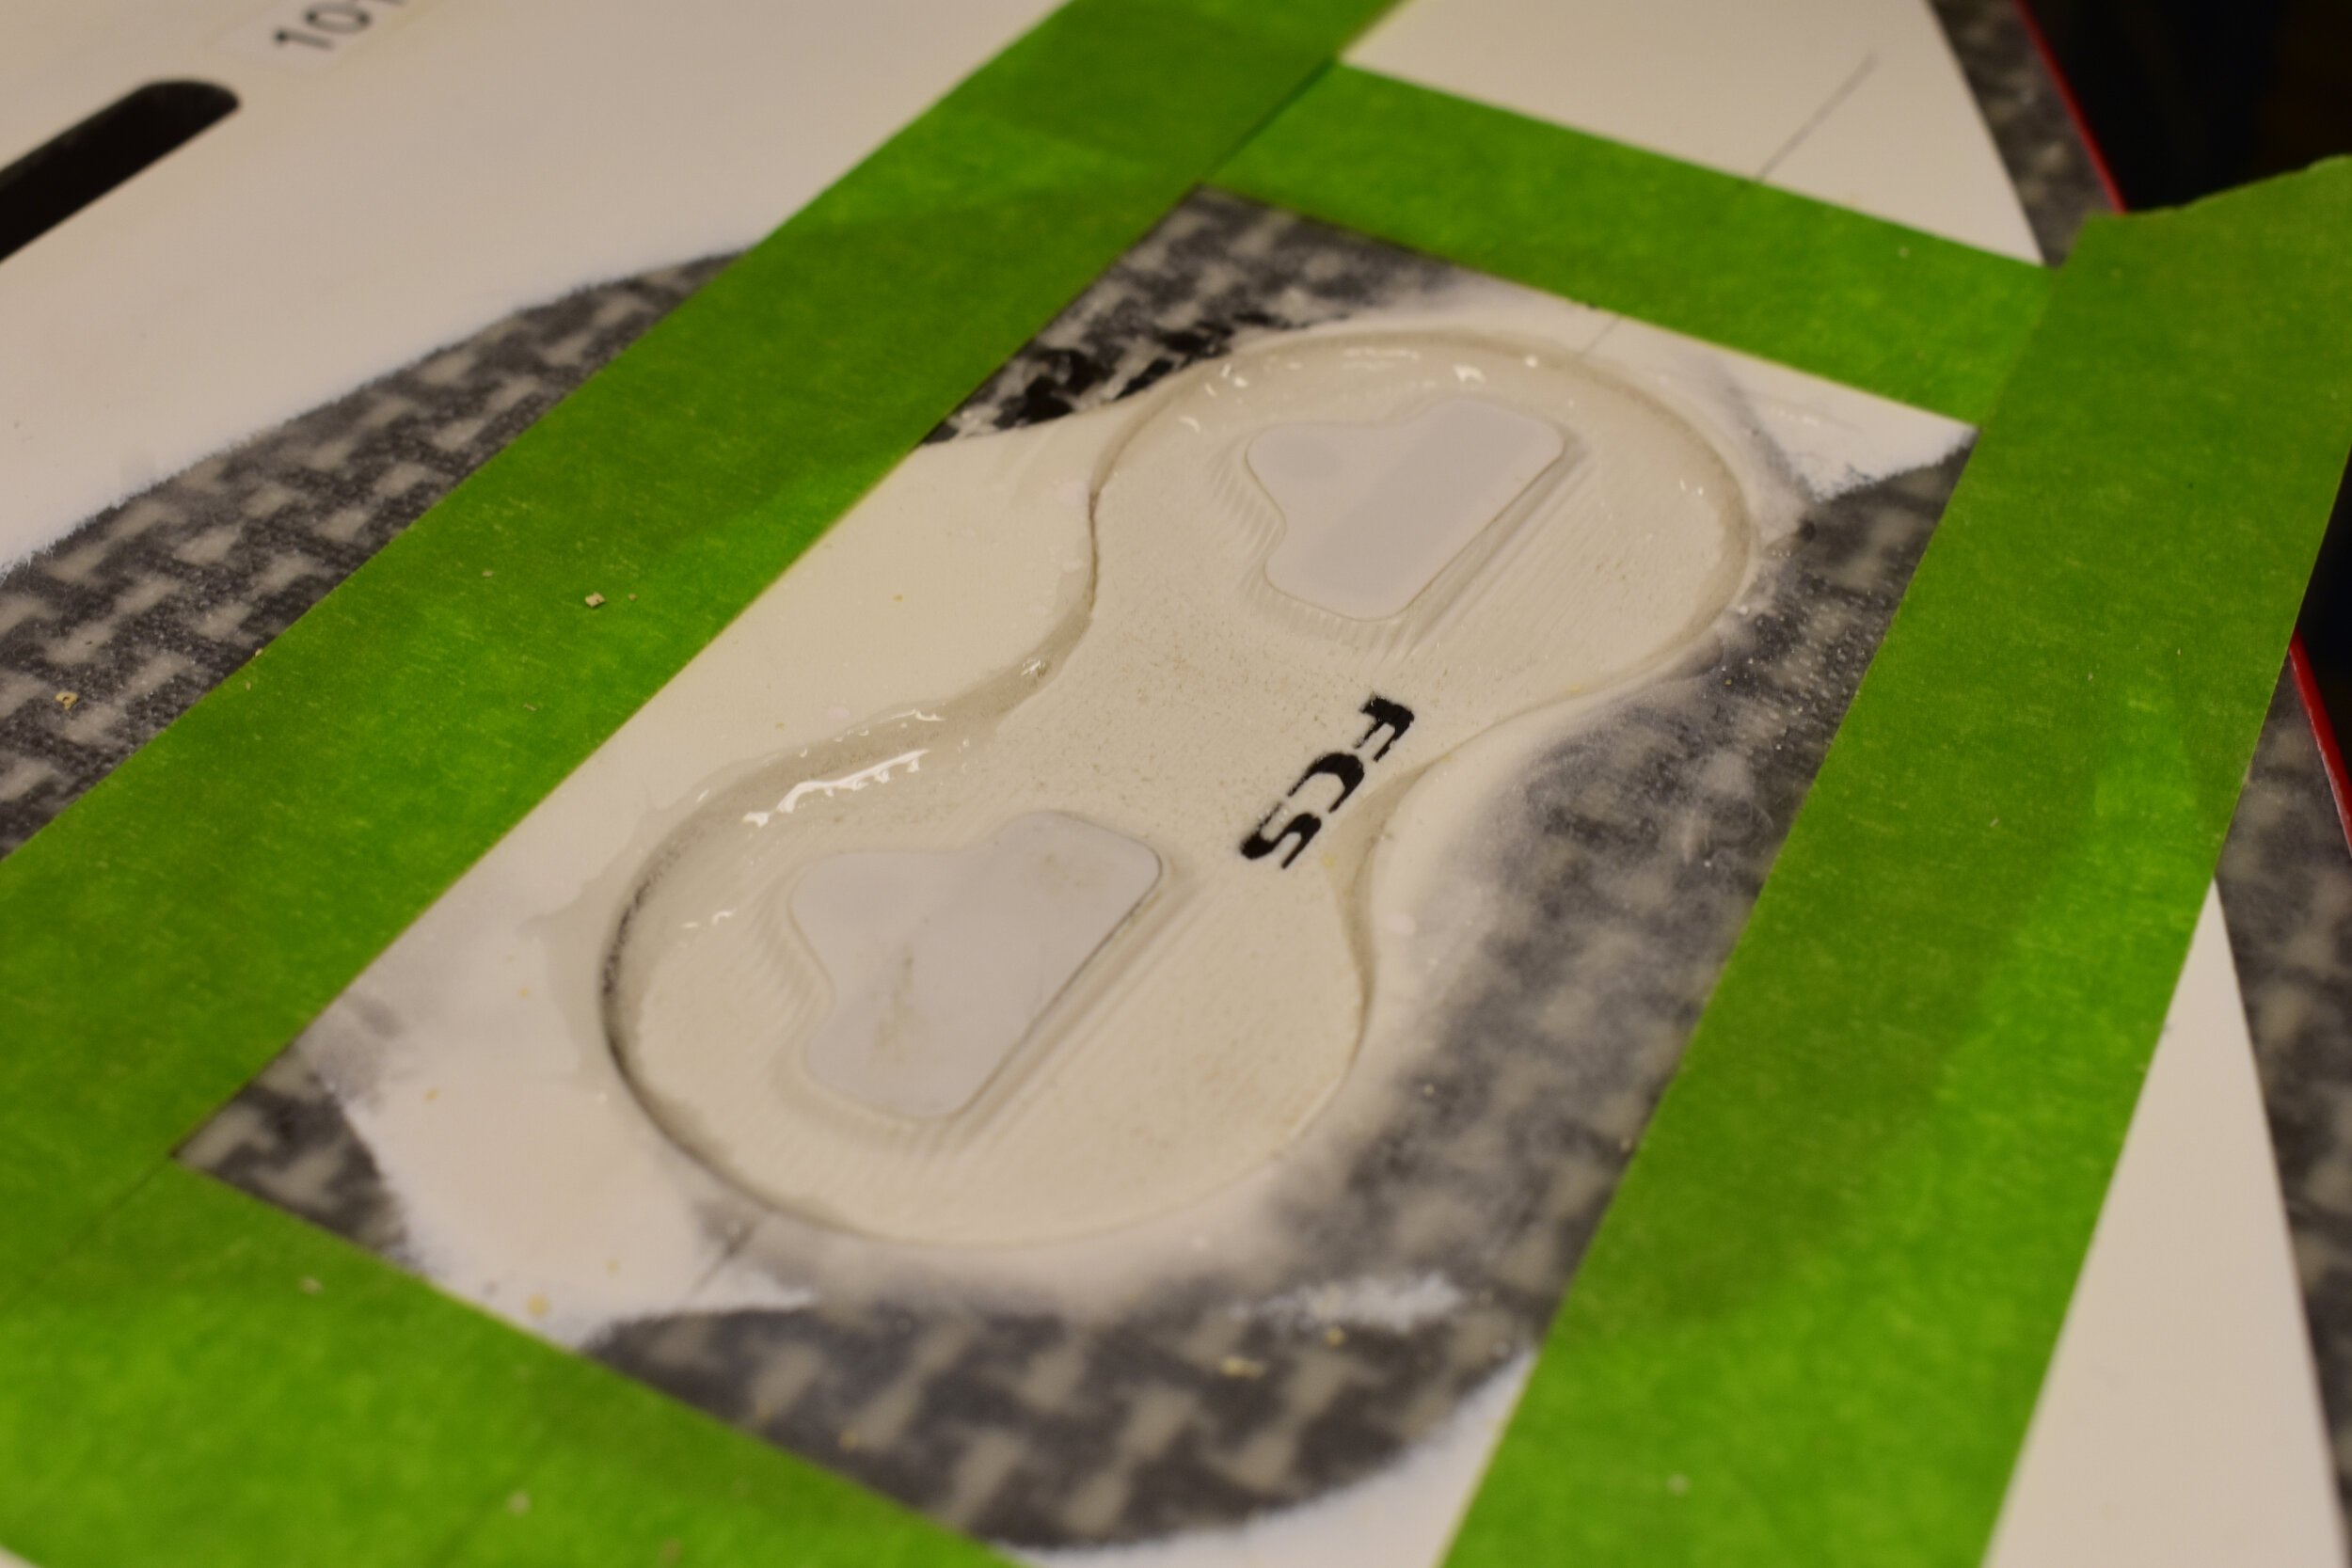
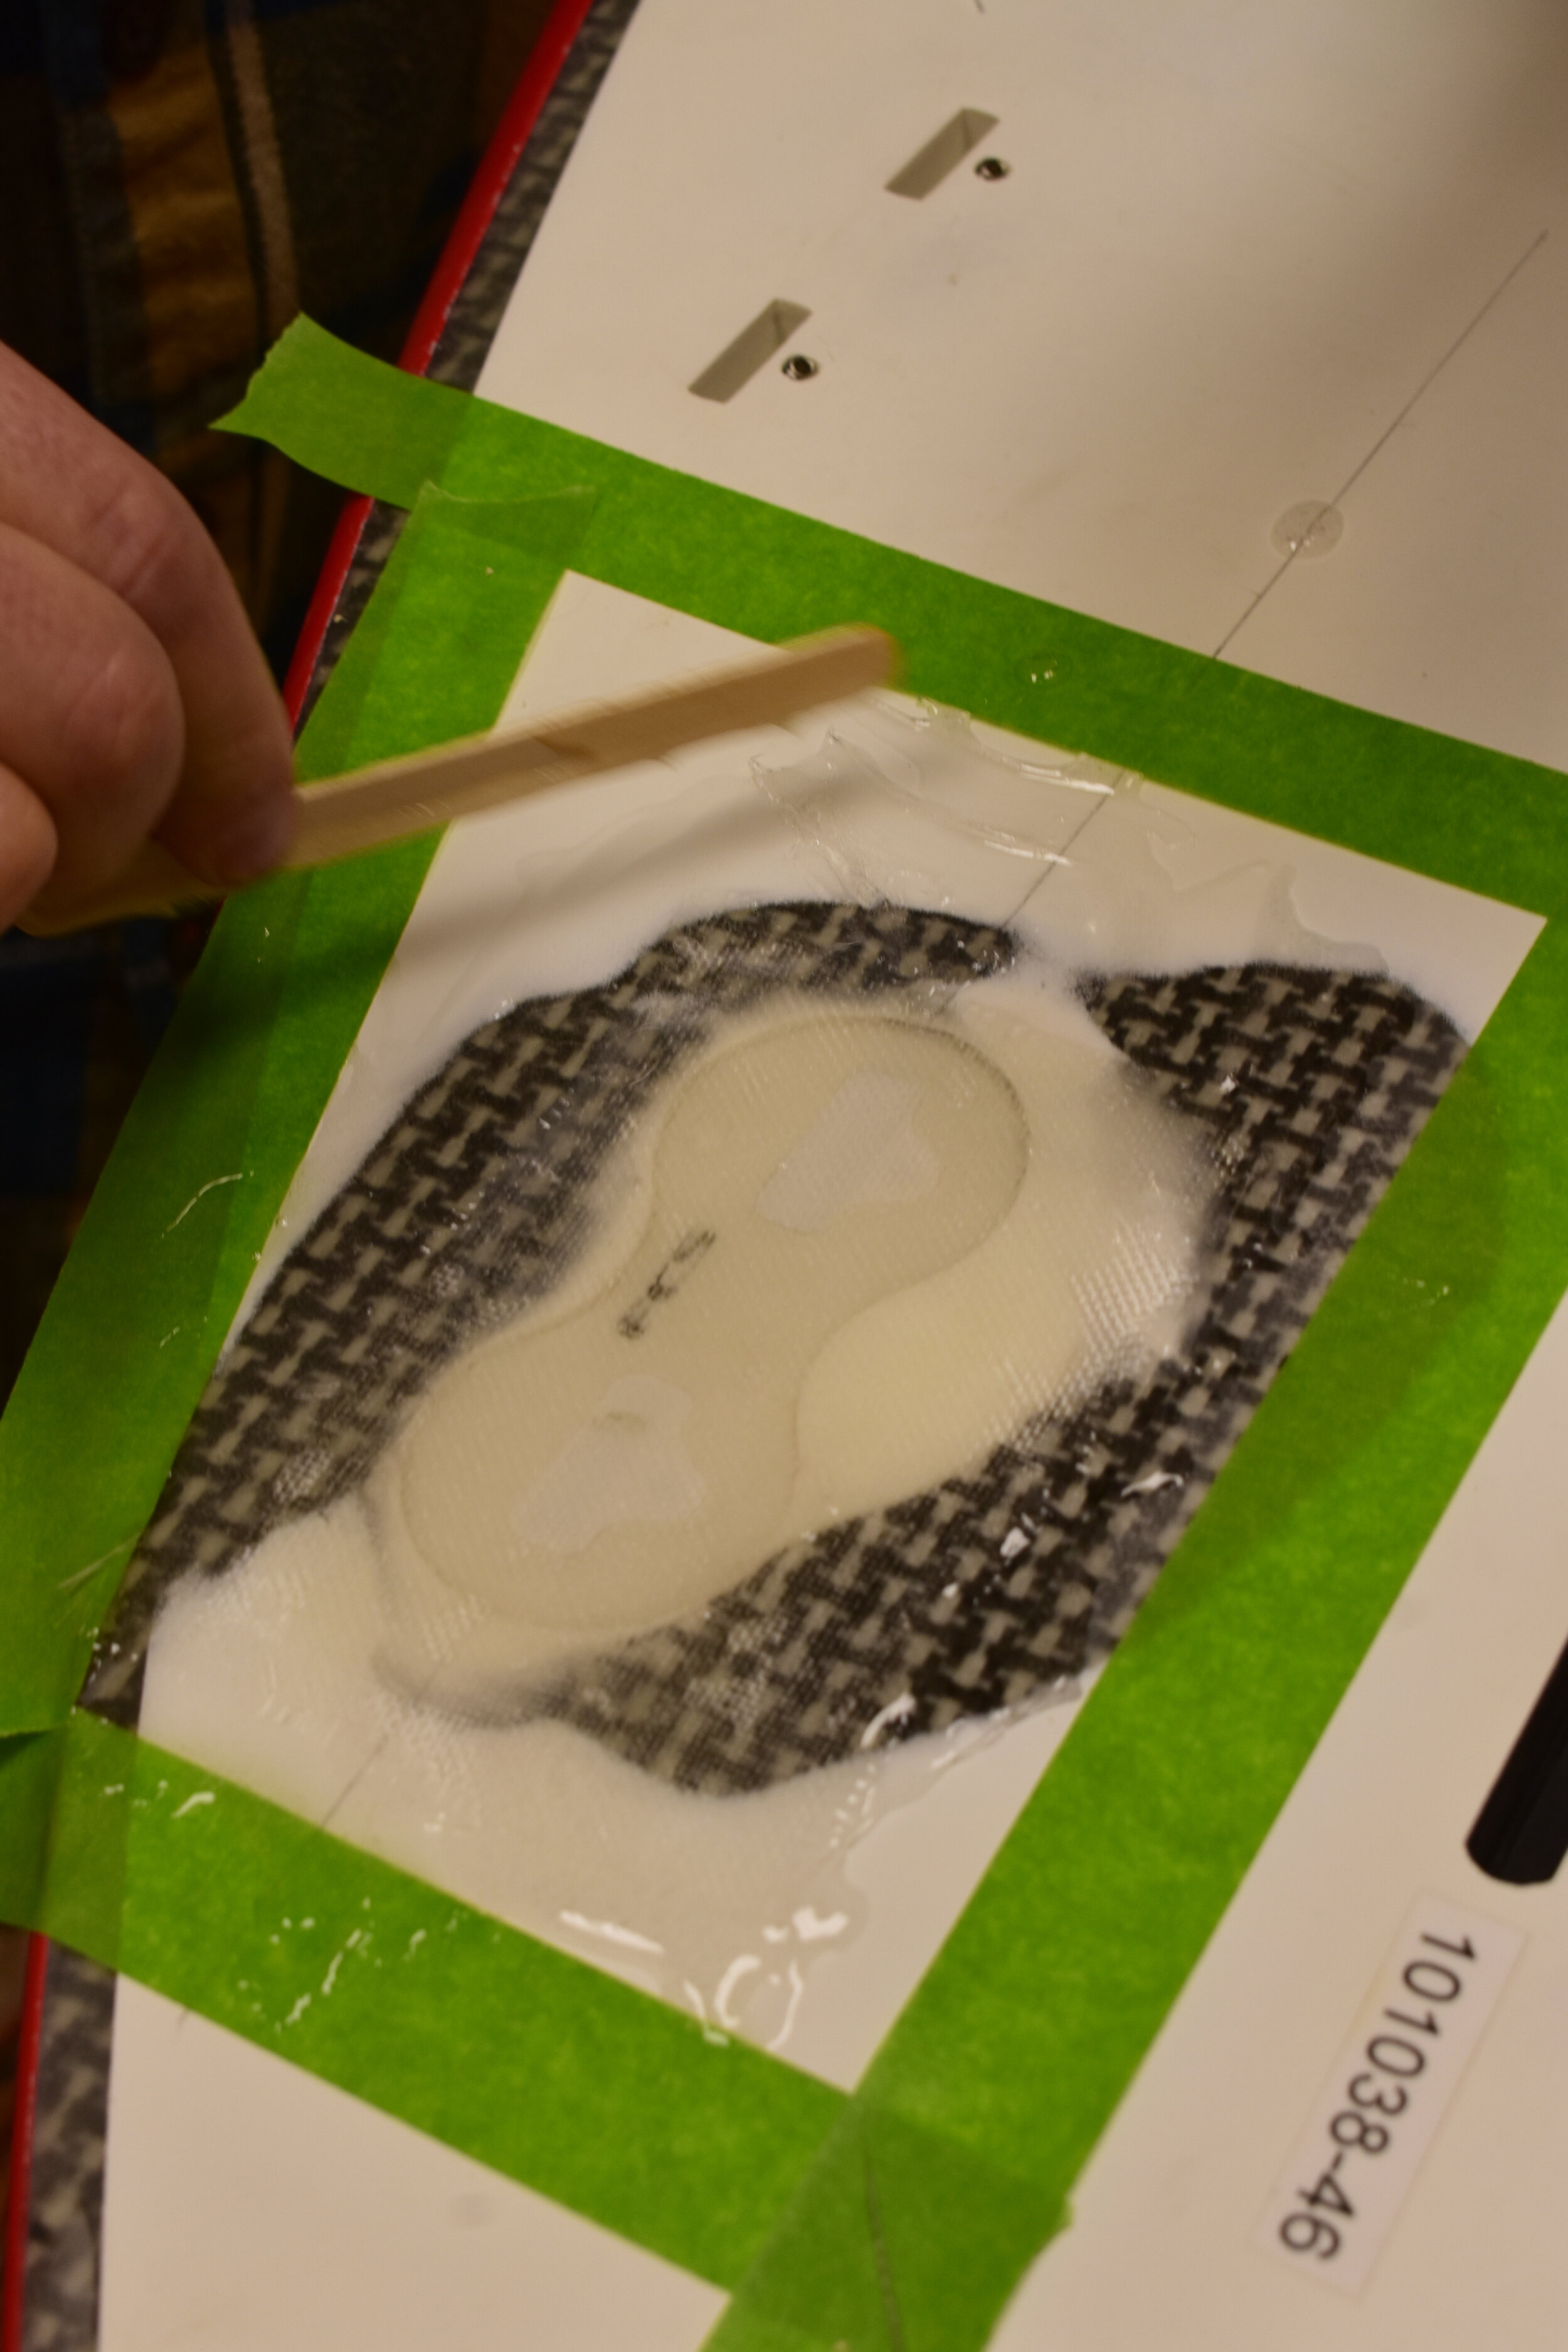
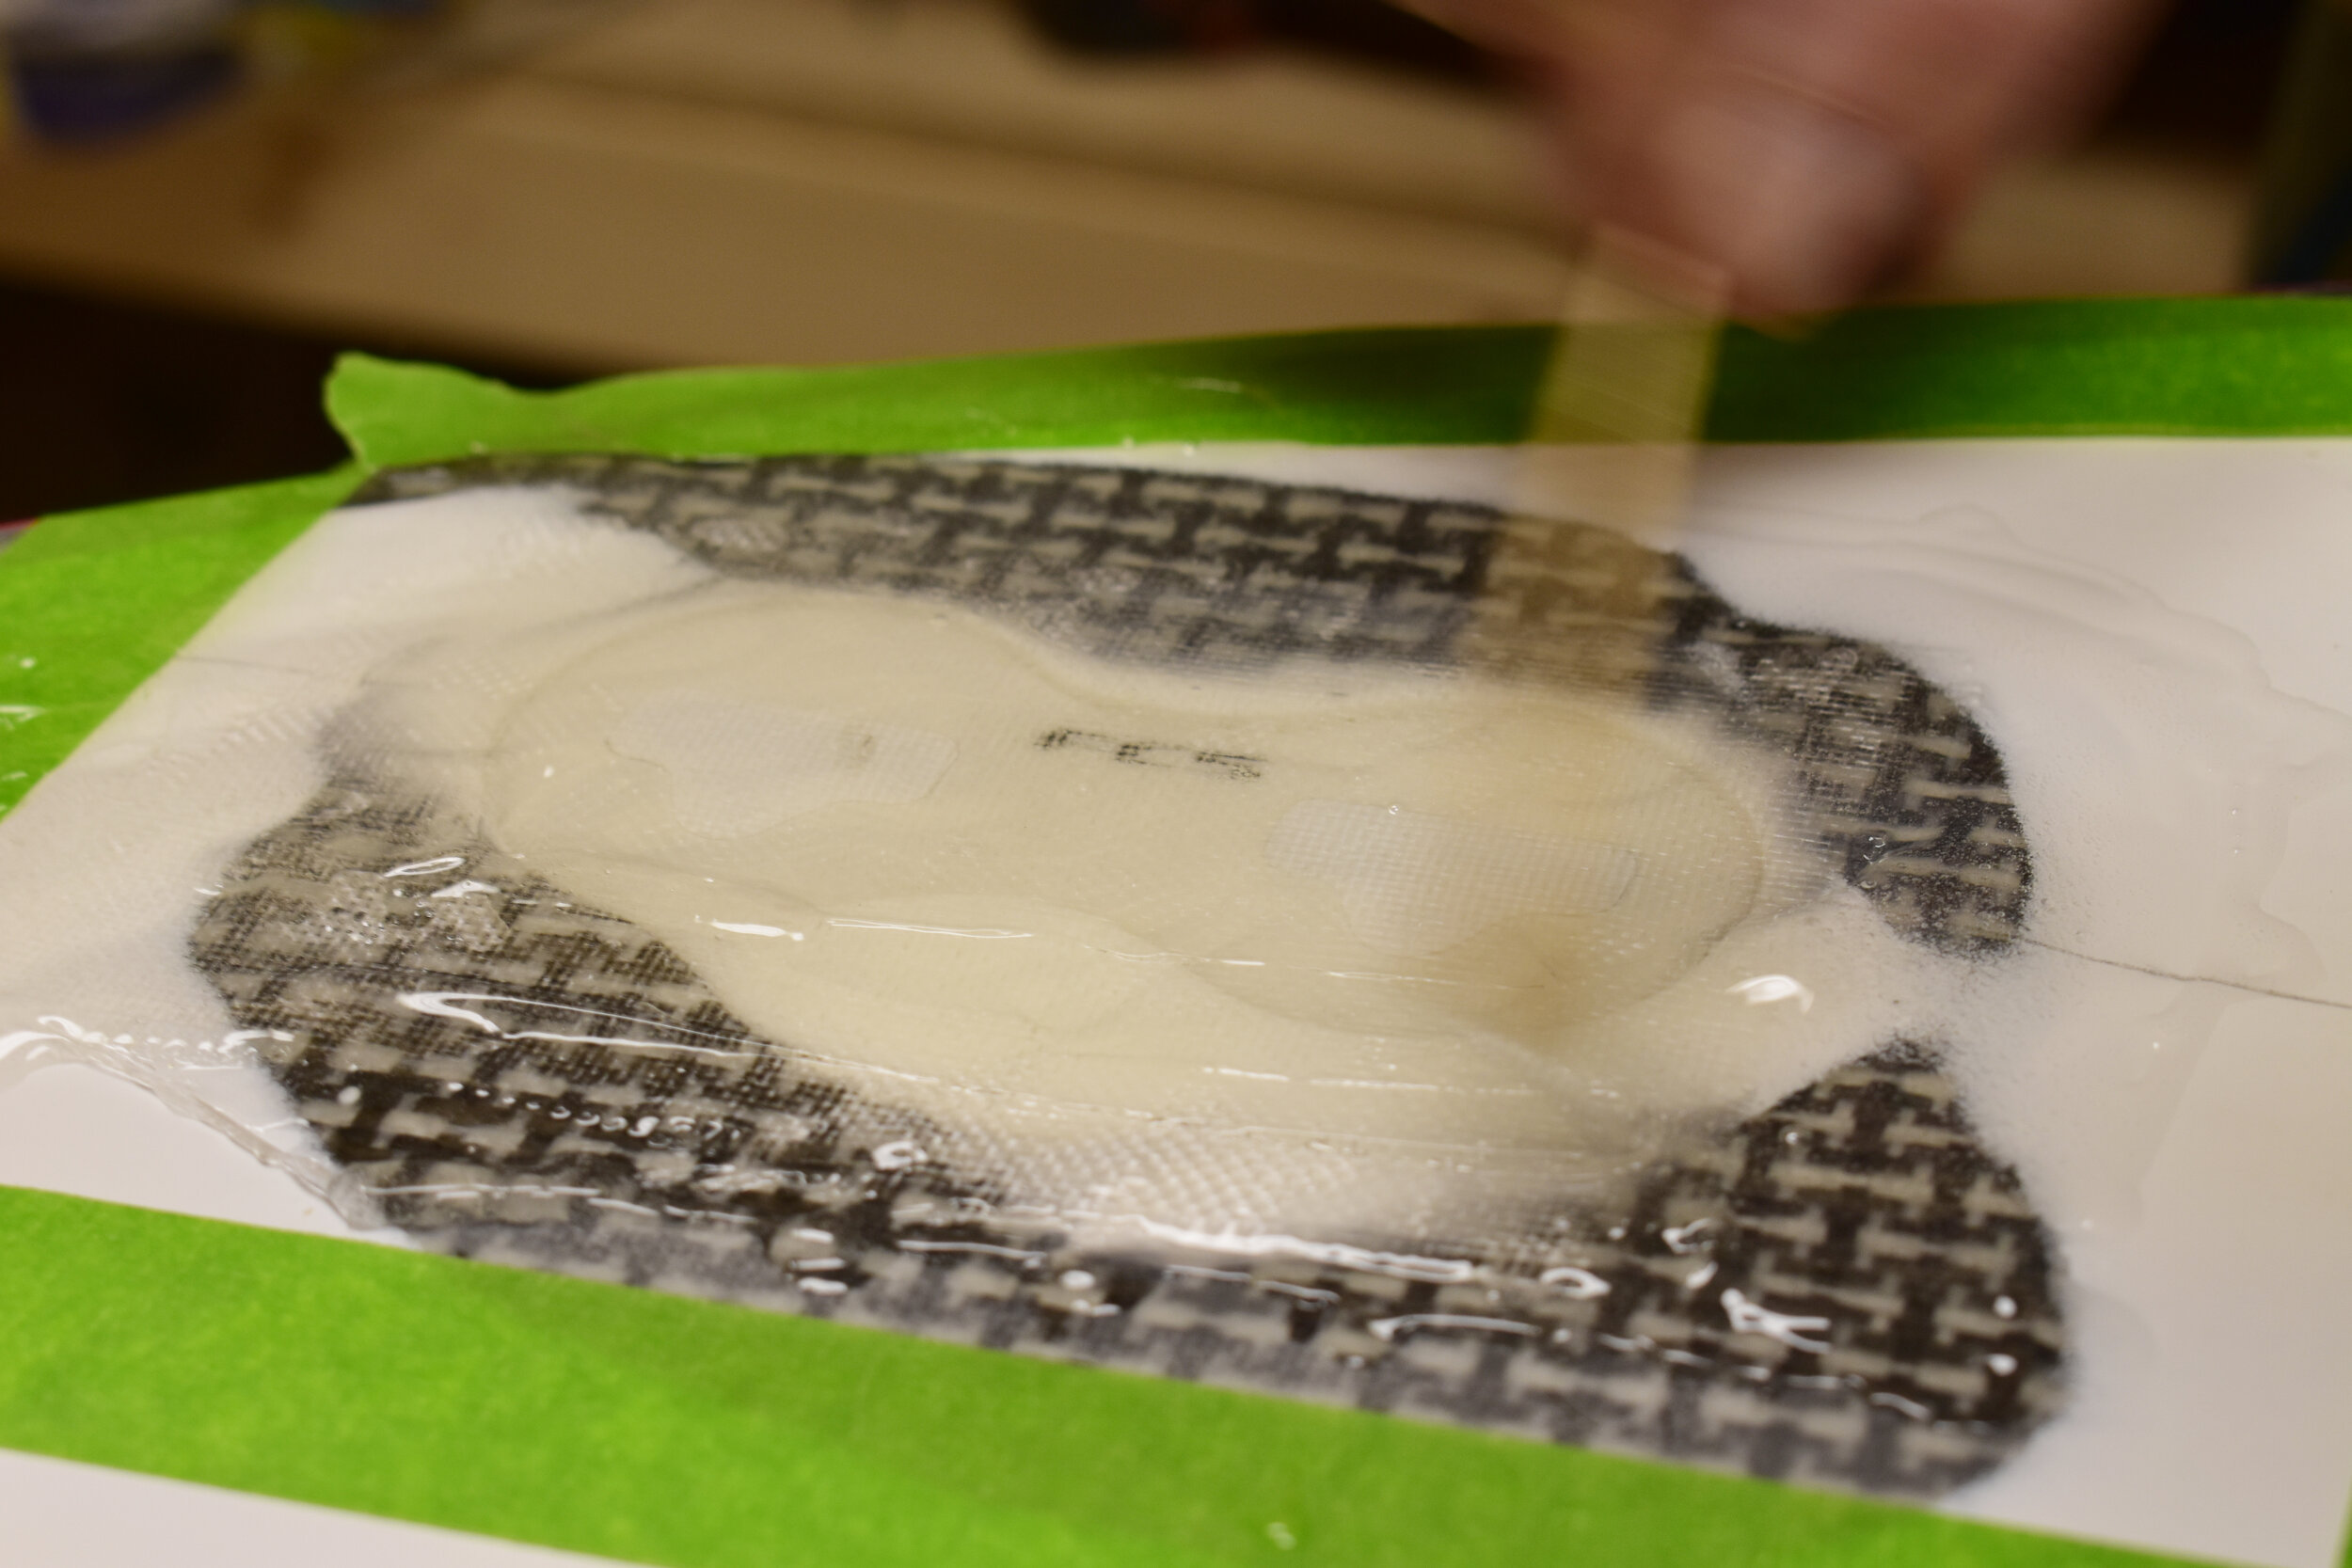
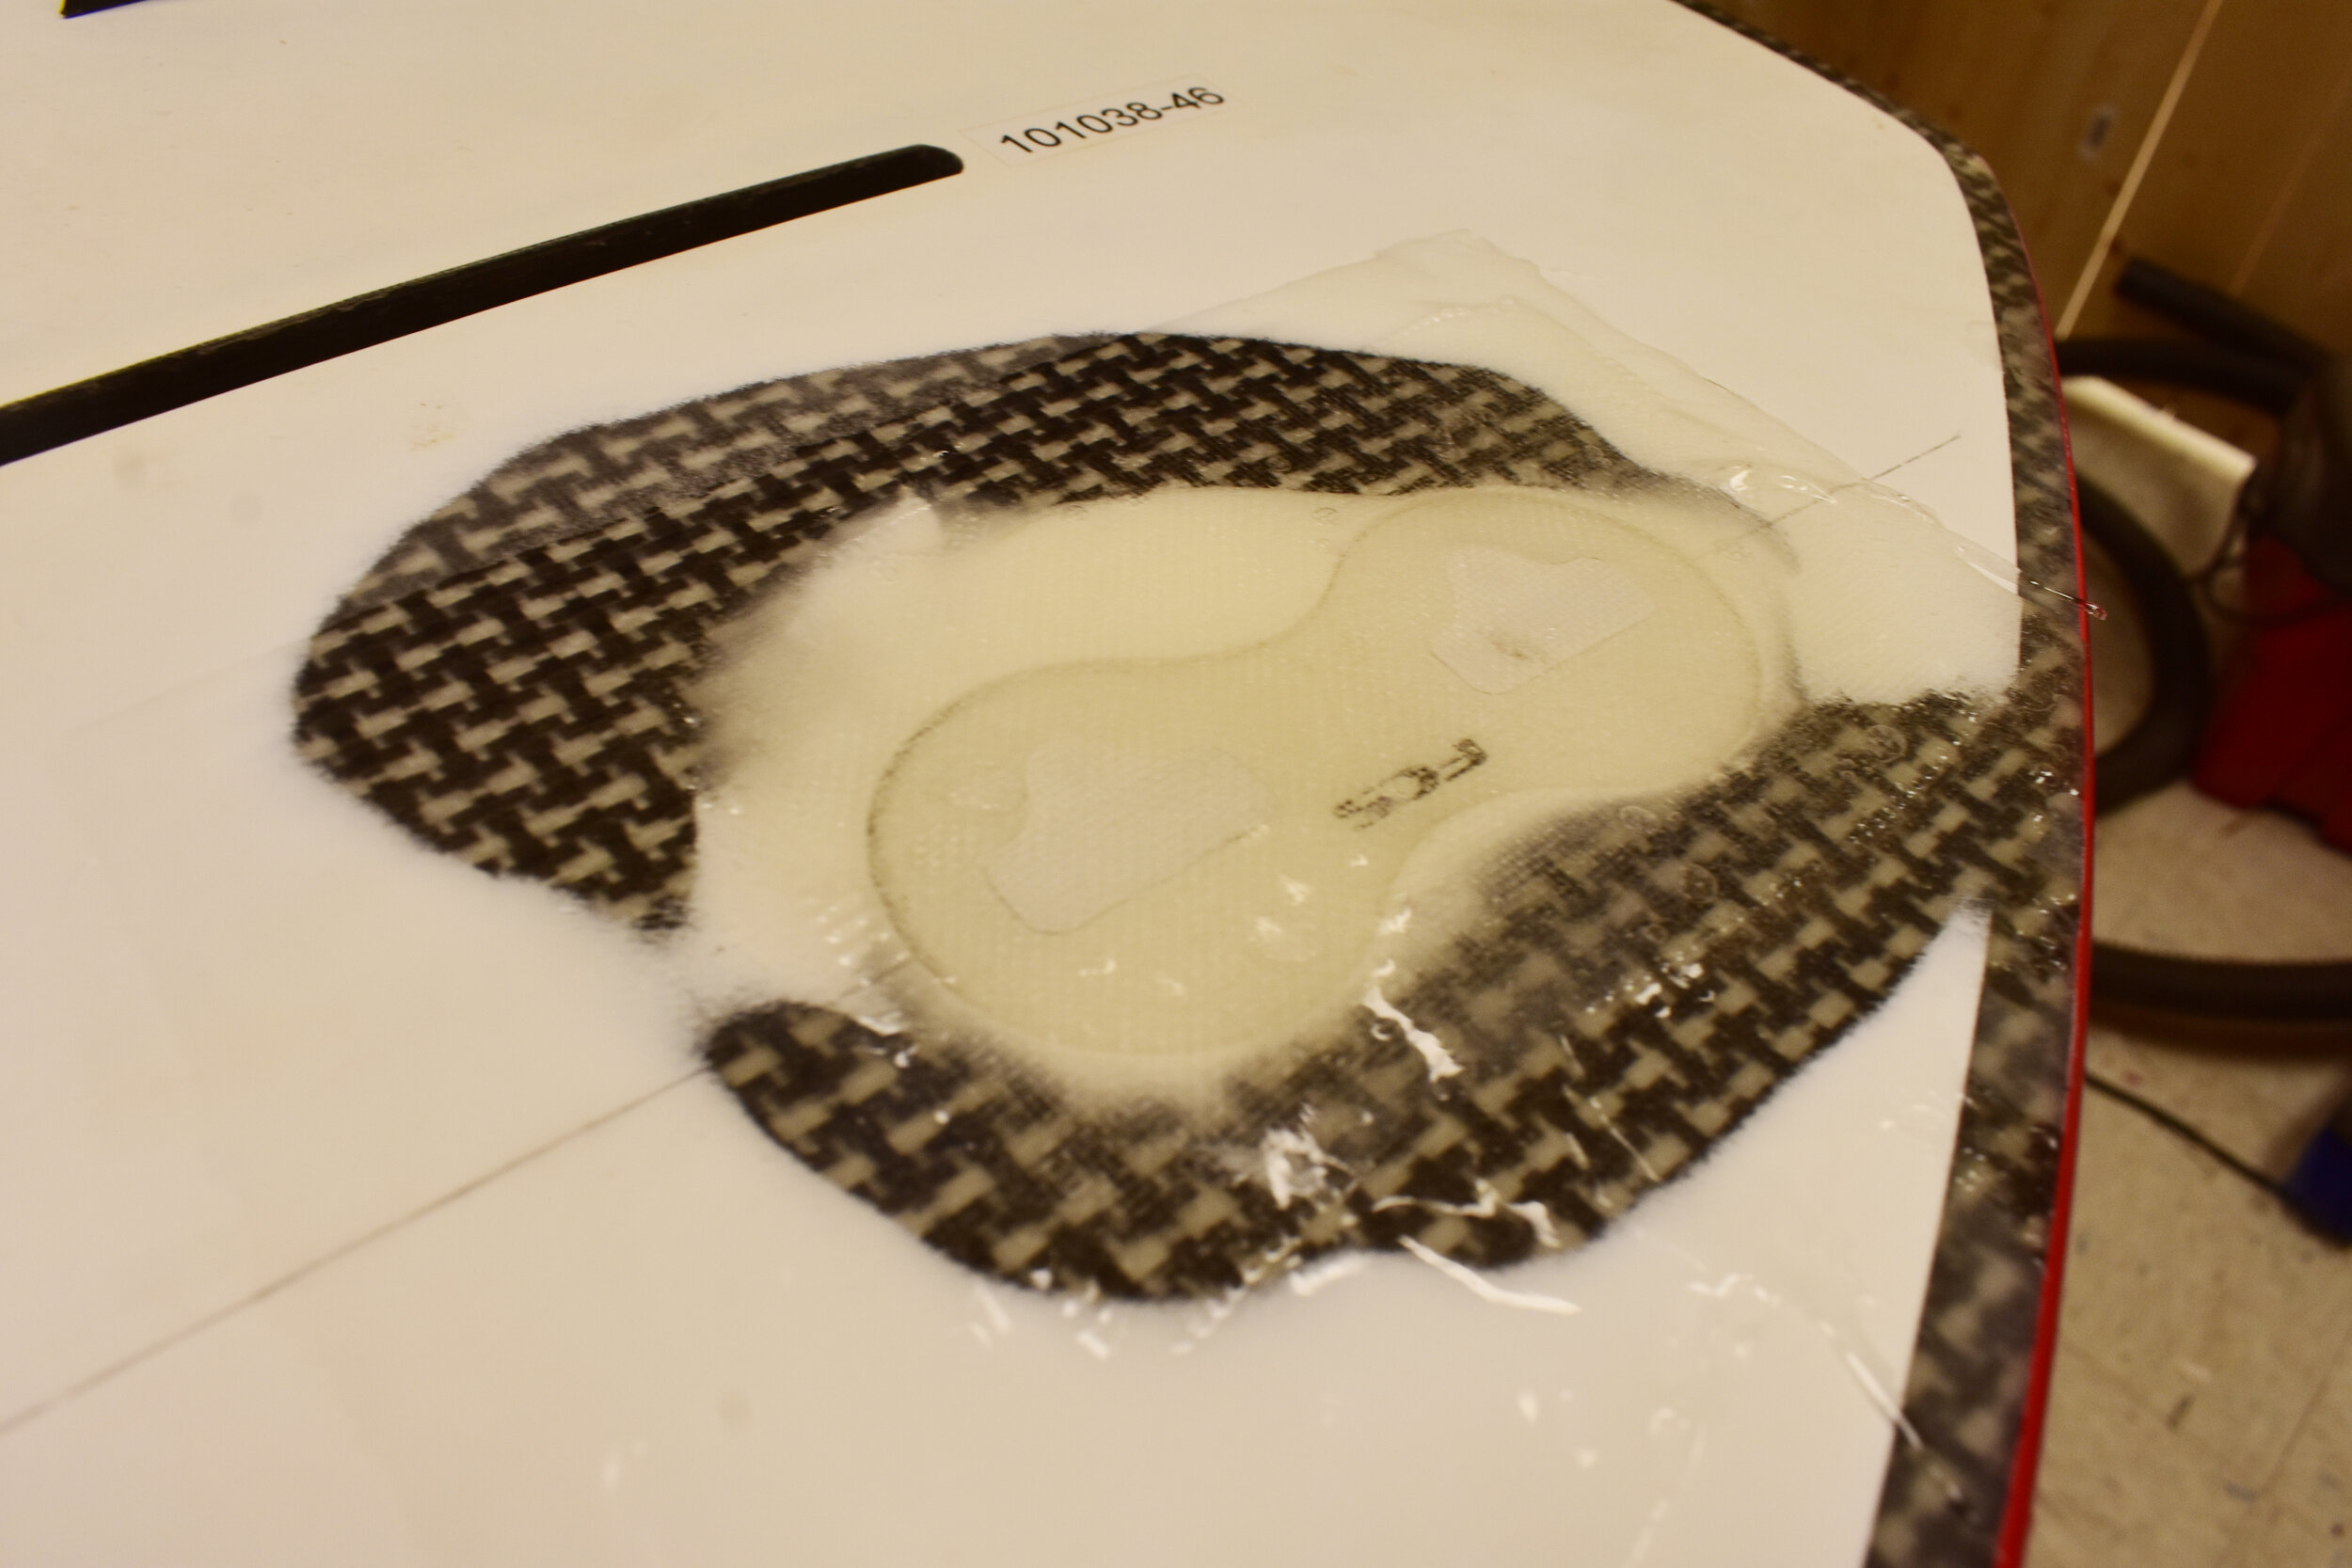
Step 7: After the initial application of the fin box, we lightly sanded excess epoxy around the edges to make flat. Next is to apply fiberglass over top the whole box. If you notice, the tabs sit higher than box. This is so after sanding, the stickers will be sanded away to expose the fin tab slots and fin key holes. We carefully cut 2 pieces of glass with 1 little bit larger than the other by maybe half an inch. Laying down the smaller piece of glass first then the larger centered over the fin box, we then poured mixed epoxy overtop the glass and using a squeegee or popsicle stick, we spread the epoxy from the center outwards past the edges of the fiberglass. Trying to keep an even coat and no air bubbles. Once finished let sit for 5 mins and remove the tape before fully curing.
Step 8: Once the glass has fully cured you can begin the process of sanding down to make even with the rest of the board and exposing the fin tab and screw holes.

Step 9: Once your fin box has been sanded down after glassing, clean the area and retape off the area and apply new stickers to the fin box tab holes. You are then ready for a “hot coat.”
A “hot coat” is when you use a single use brush and paint on a thin layer of epoxy over top the fresh fiberglass areas. Make sure to spread a little farther than the freshly fiberglassed area. Before the hot coat is cured, we peeled the stickers off the fin tabs before curing too much. Once the hot coat has fully cured. Sand again to make even and ensure its a smooth area all around. At this point, the repair is finished but I taped off the rain and did a coat of primer and then white spray paint to help seal. Once it was dry, you could barely tell a repair had even been done.

Thats it though! It can seem intimidating but once you do it, it’s pretty easy. There’s a few other methods that Ive seen like a layer of glass inside the fin box or replacing all the foam in the whole area. This however was our chosen method. Be sure to wear gloves and a mask! -Shannon Thomas